Food | Baking: Chocolate and Ginger Cake

Hello again!  So I have decided to do another recipe from the YOU Magazine extra full of Mary Berry recipes as the last one went down well.  This one is a scrumdiddlyumptious chocolate and ginger cake – perfect for this sort of weather with just a hint of spice mixed with indulgent chocolate.  You can also find this recipe online if you search the recipe name (again, here it is on the Sainsbury’s website).

Recipe

Cake

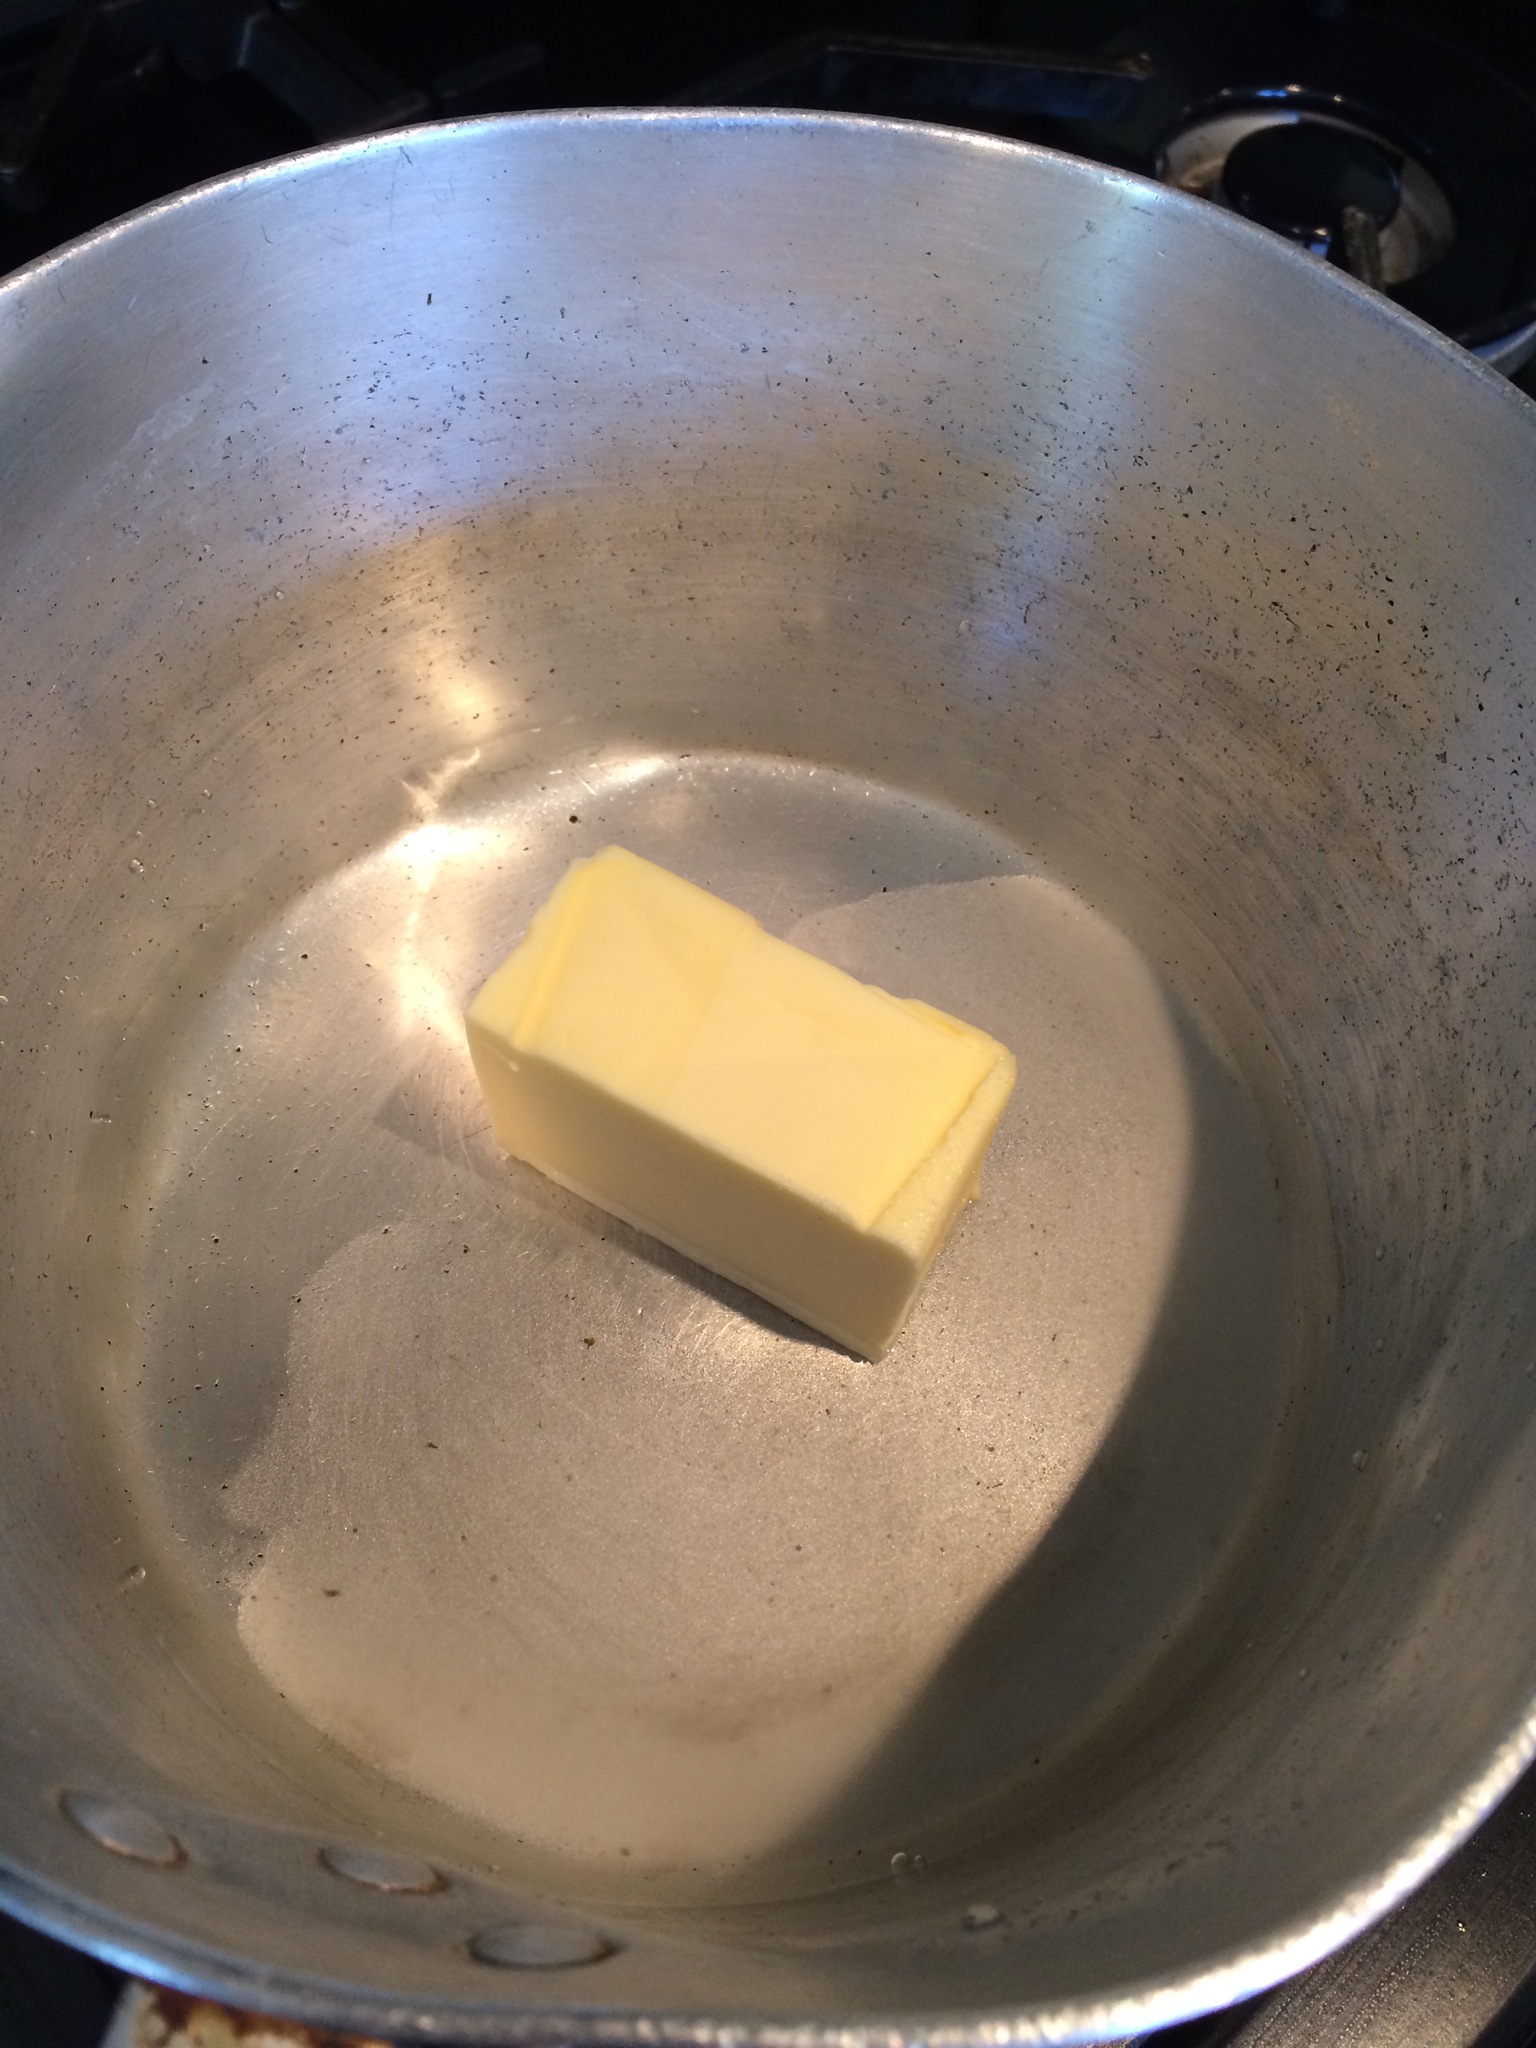
220g/7oz butter (room temperature and at least 70% fat) plus extra for greasing

50g/1¾ oz cocoa powder

4 tbsp full-fat or semi-skimmed milk
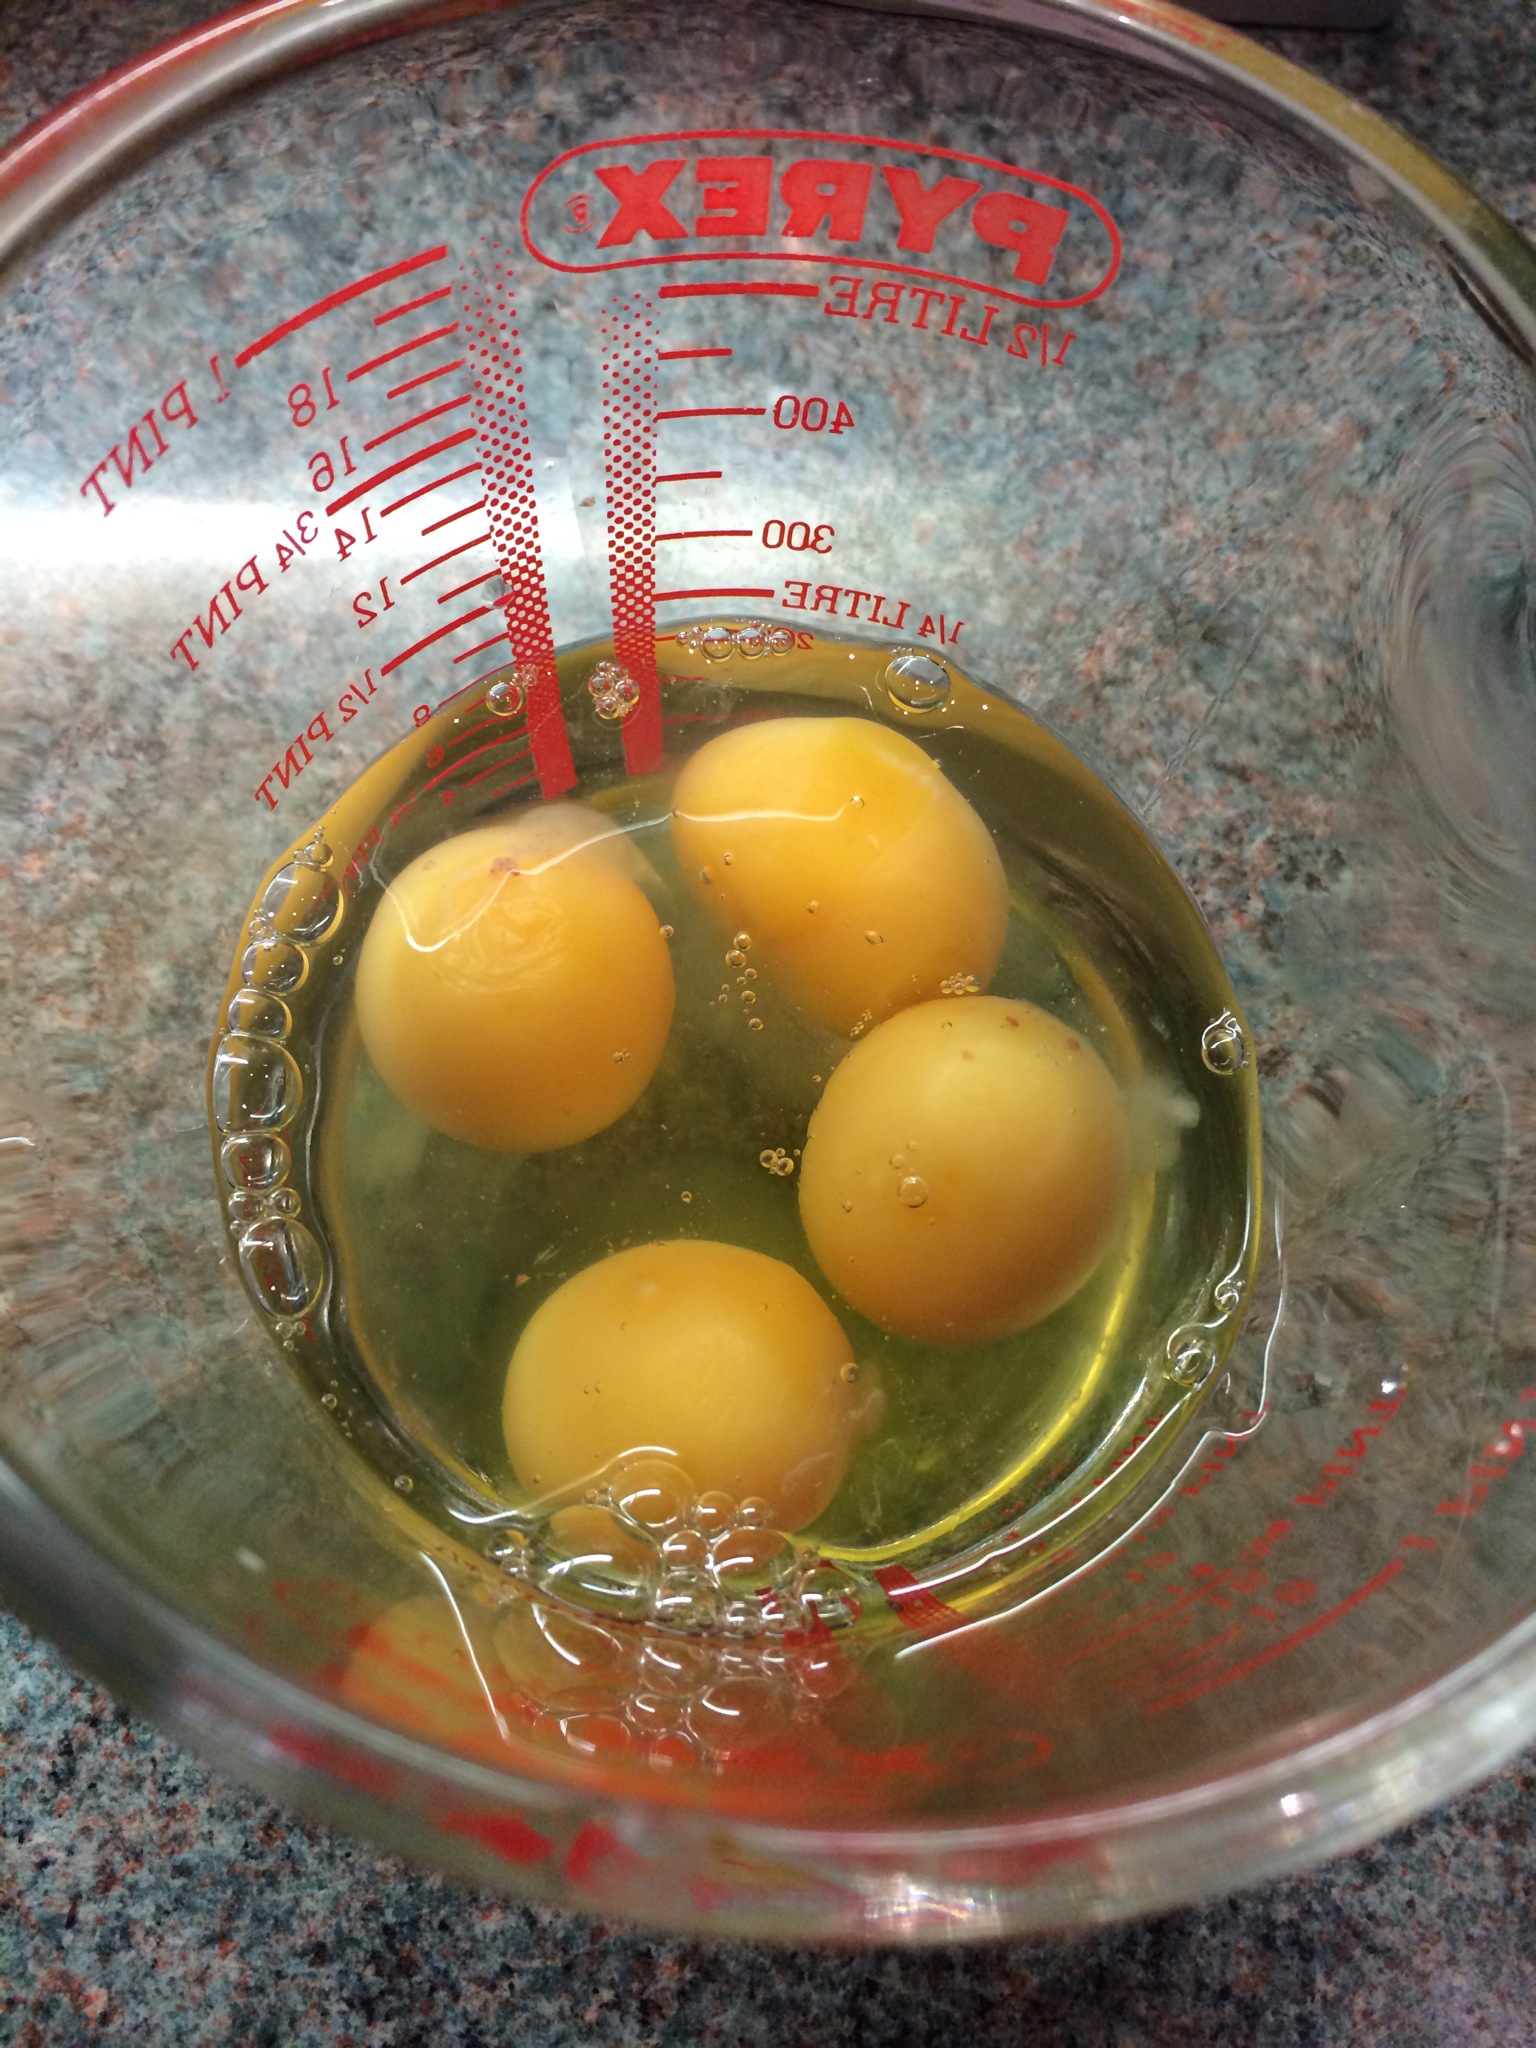
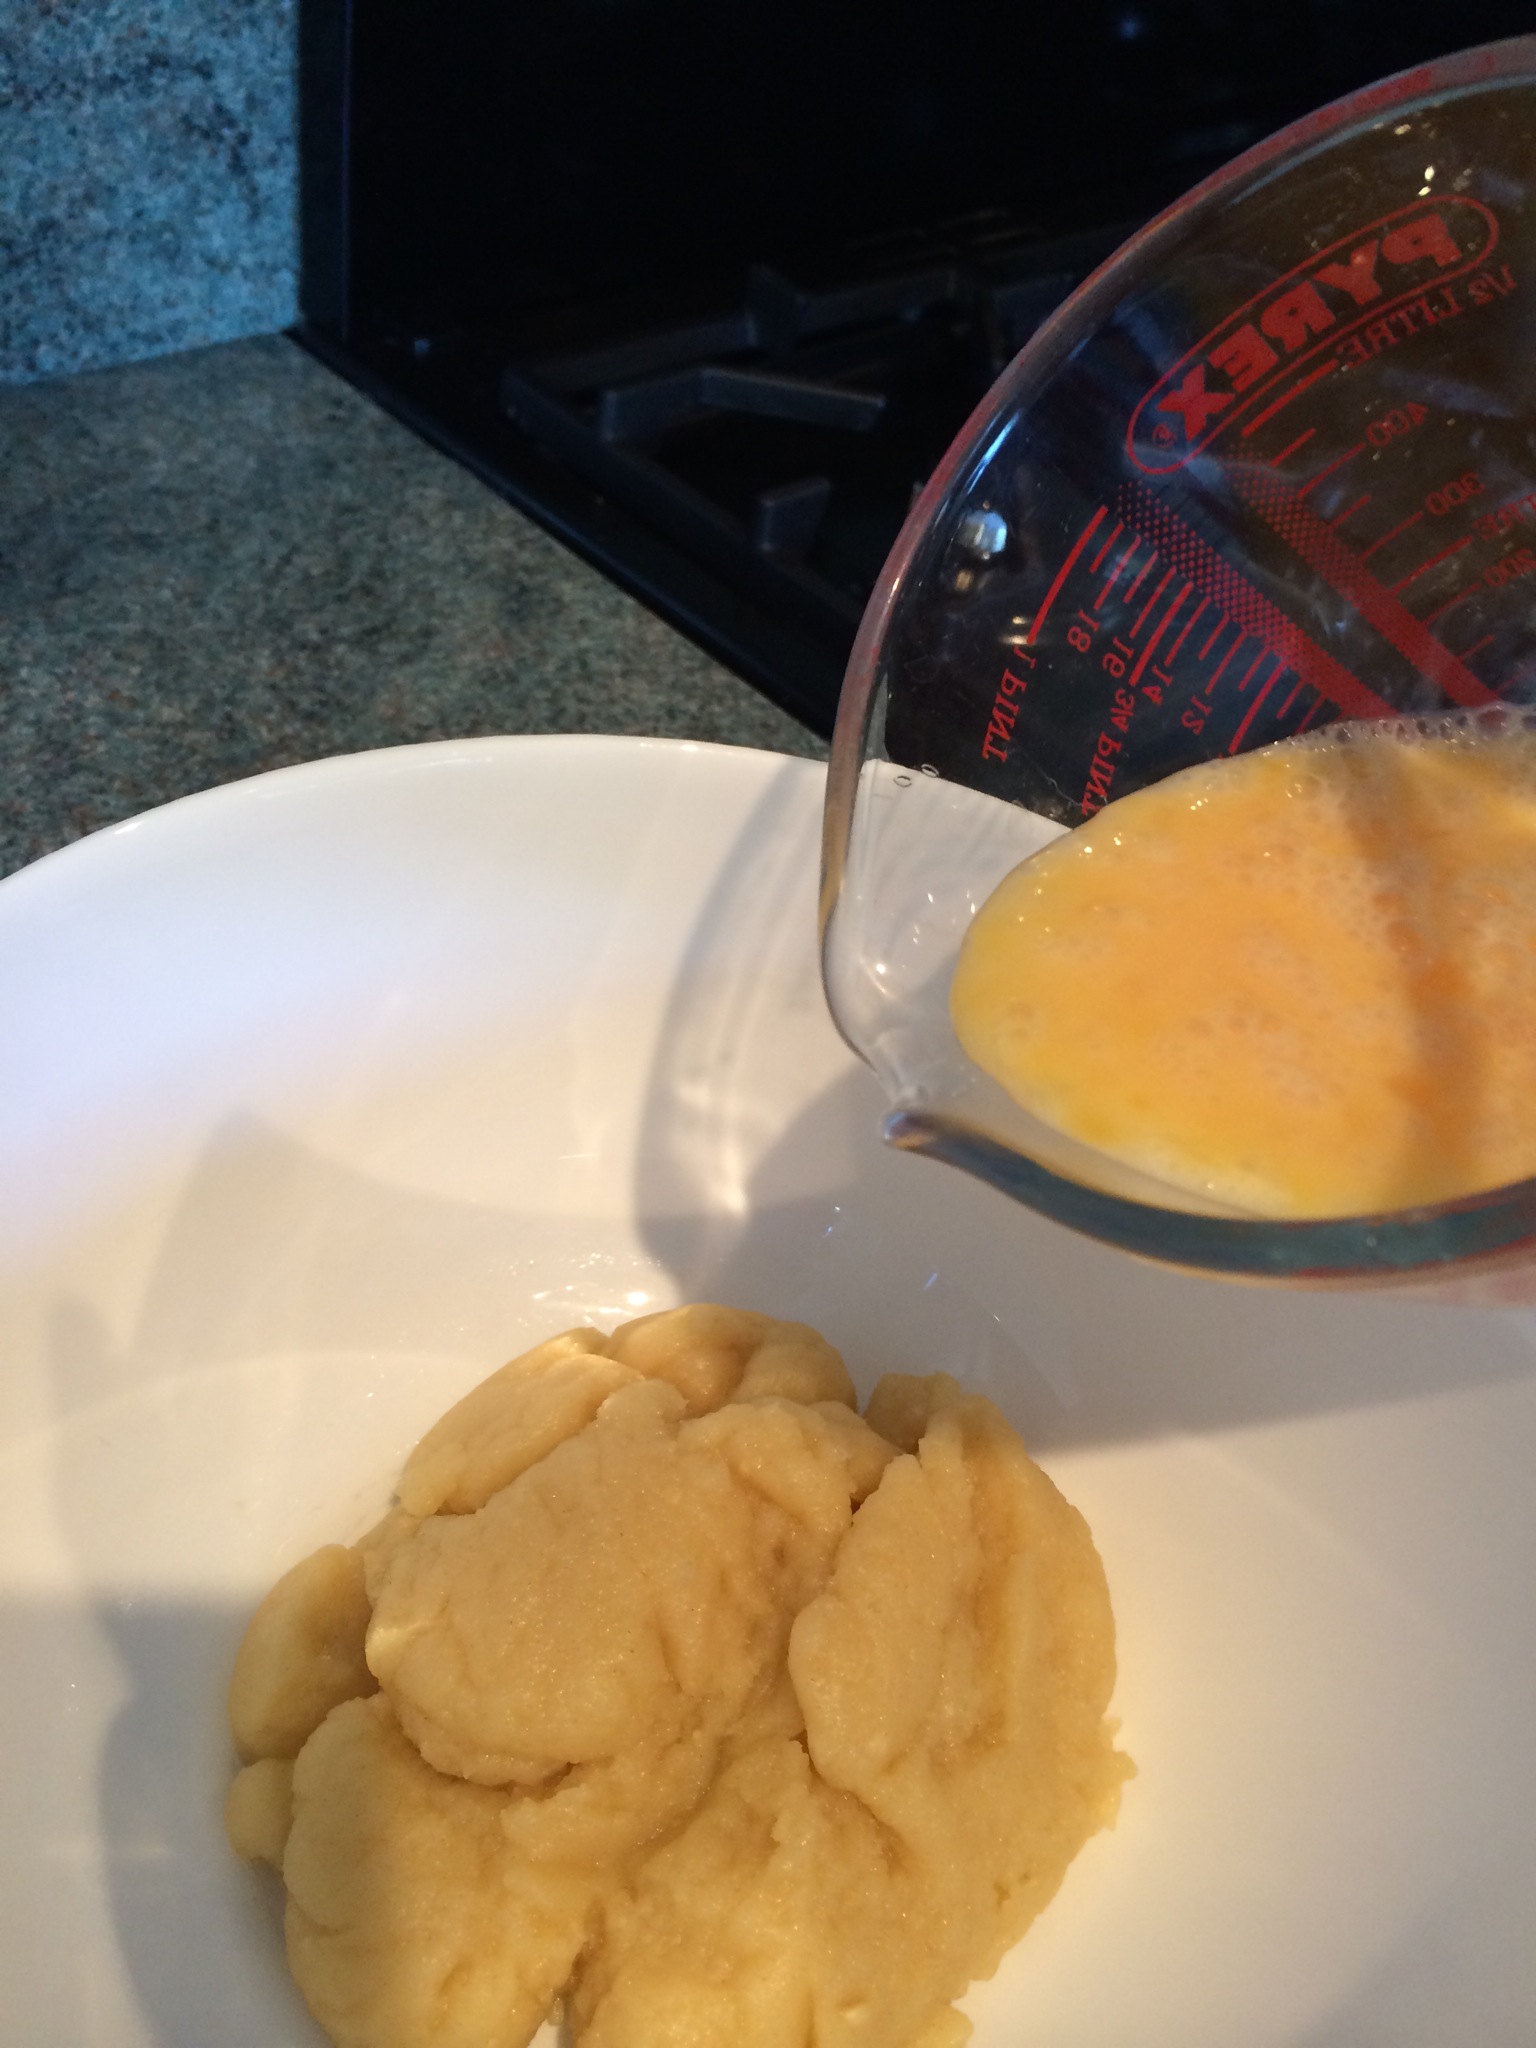
3 eggs

175g/6oz self-raising flour

1 tsp baking powder

1 tsp ground ginger

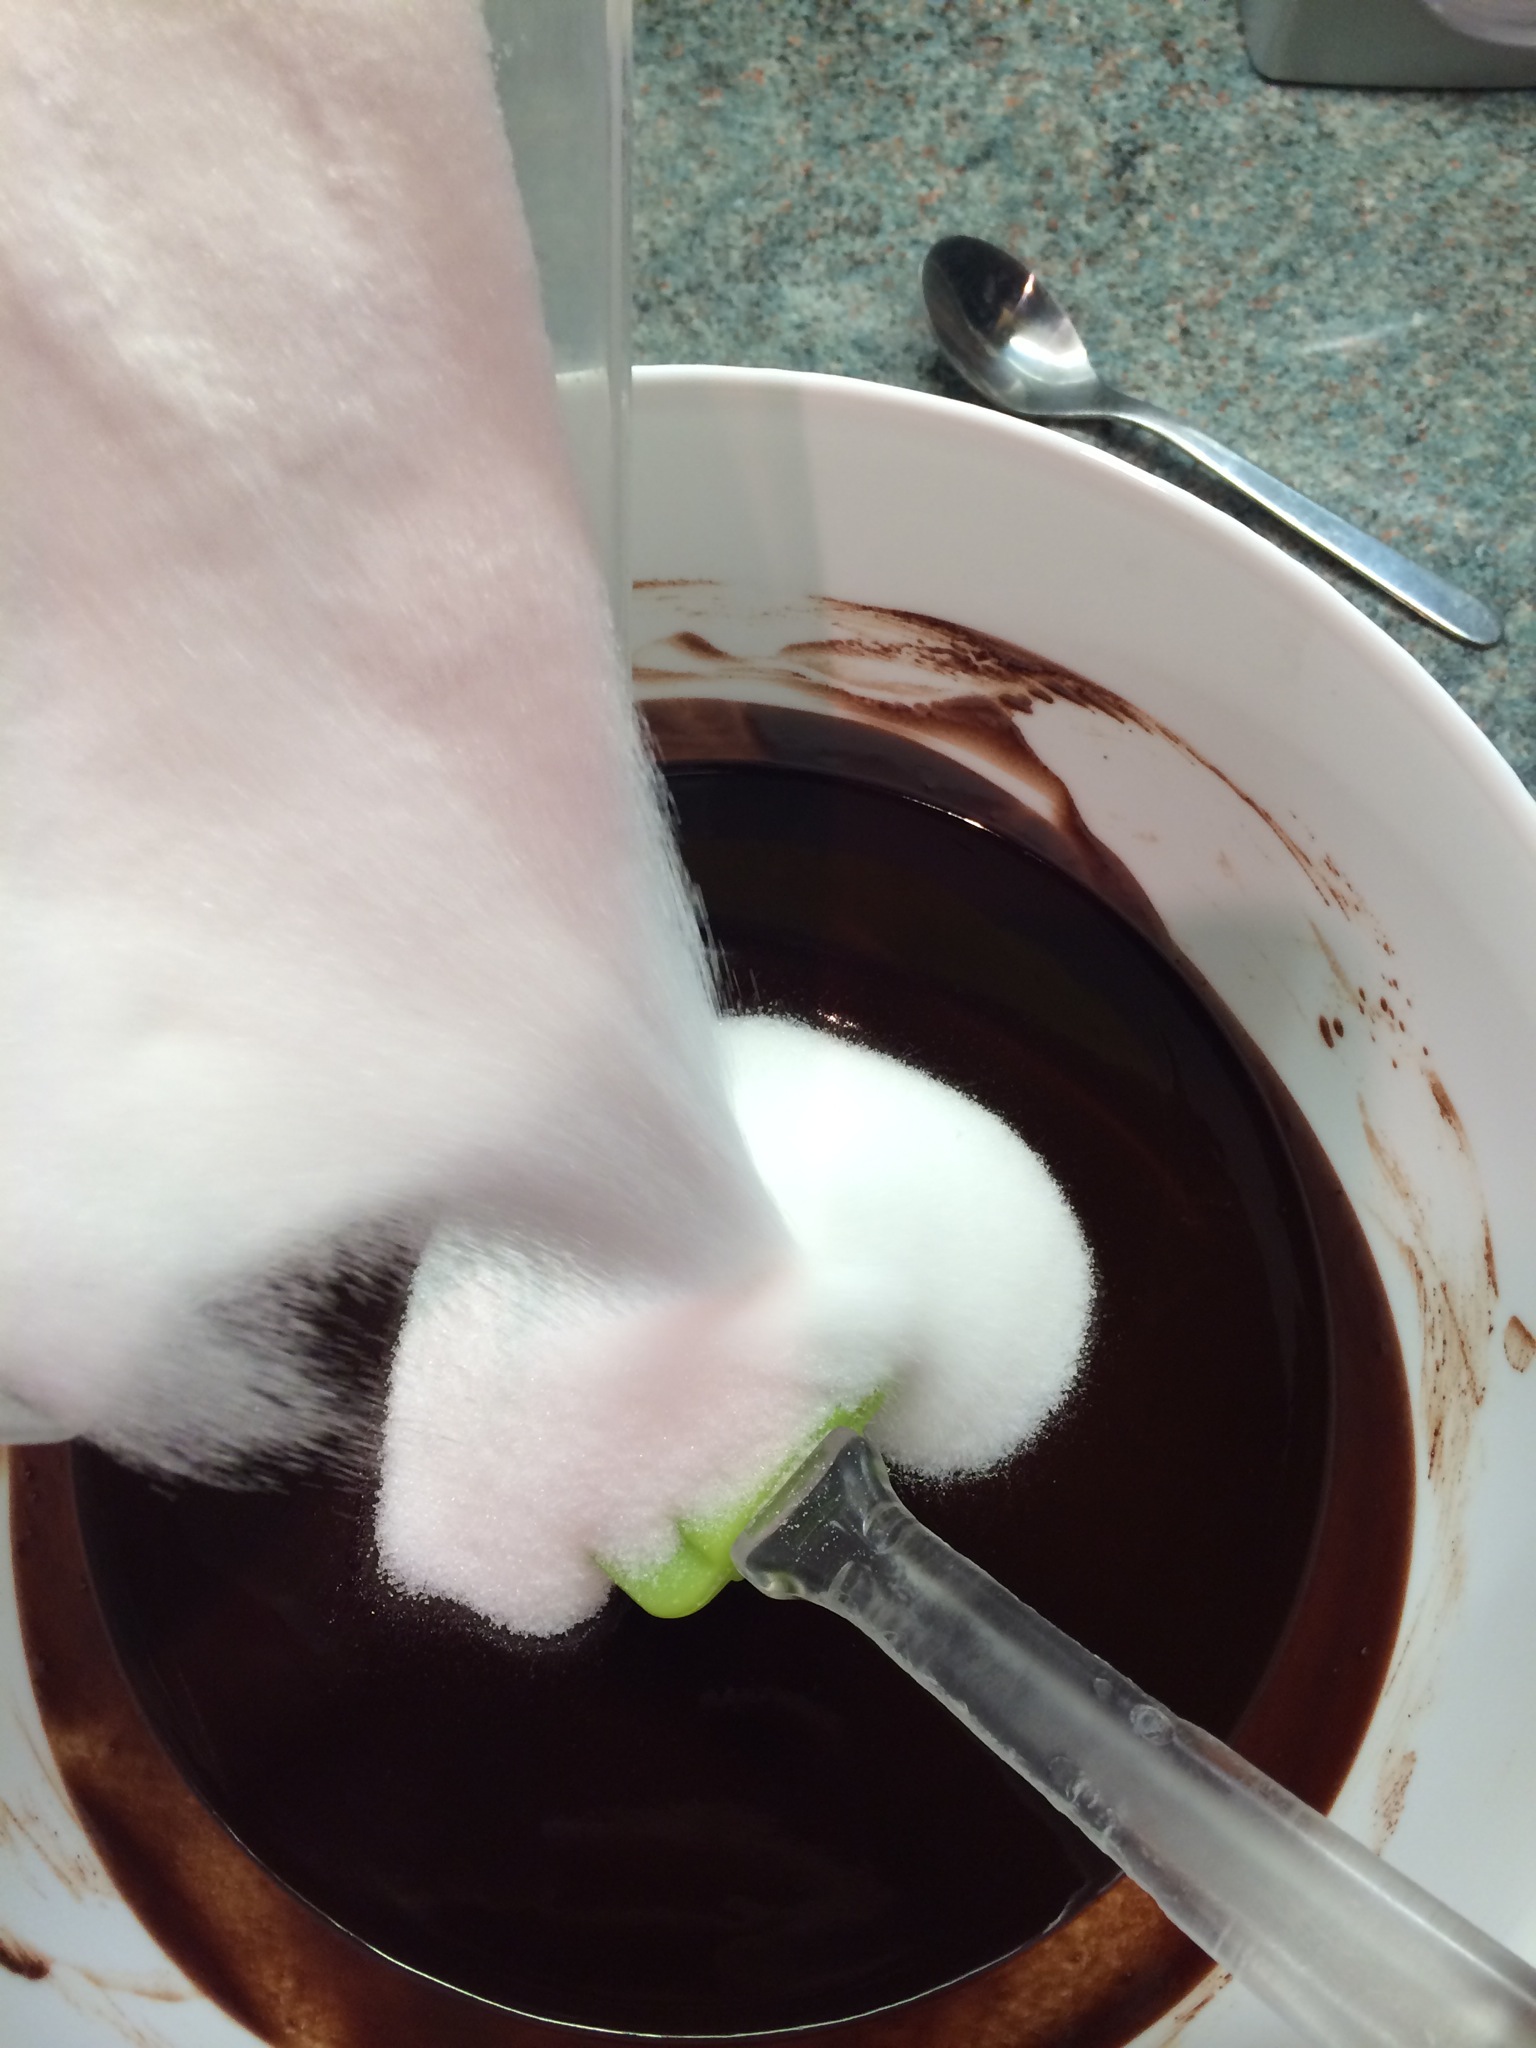
250g/9oz caster sugar

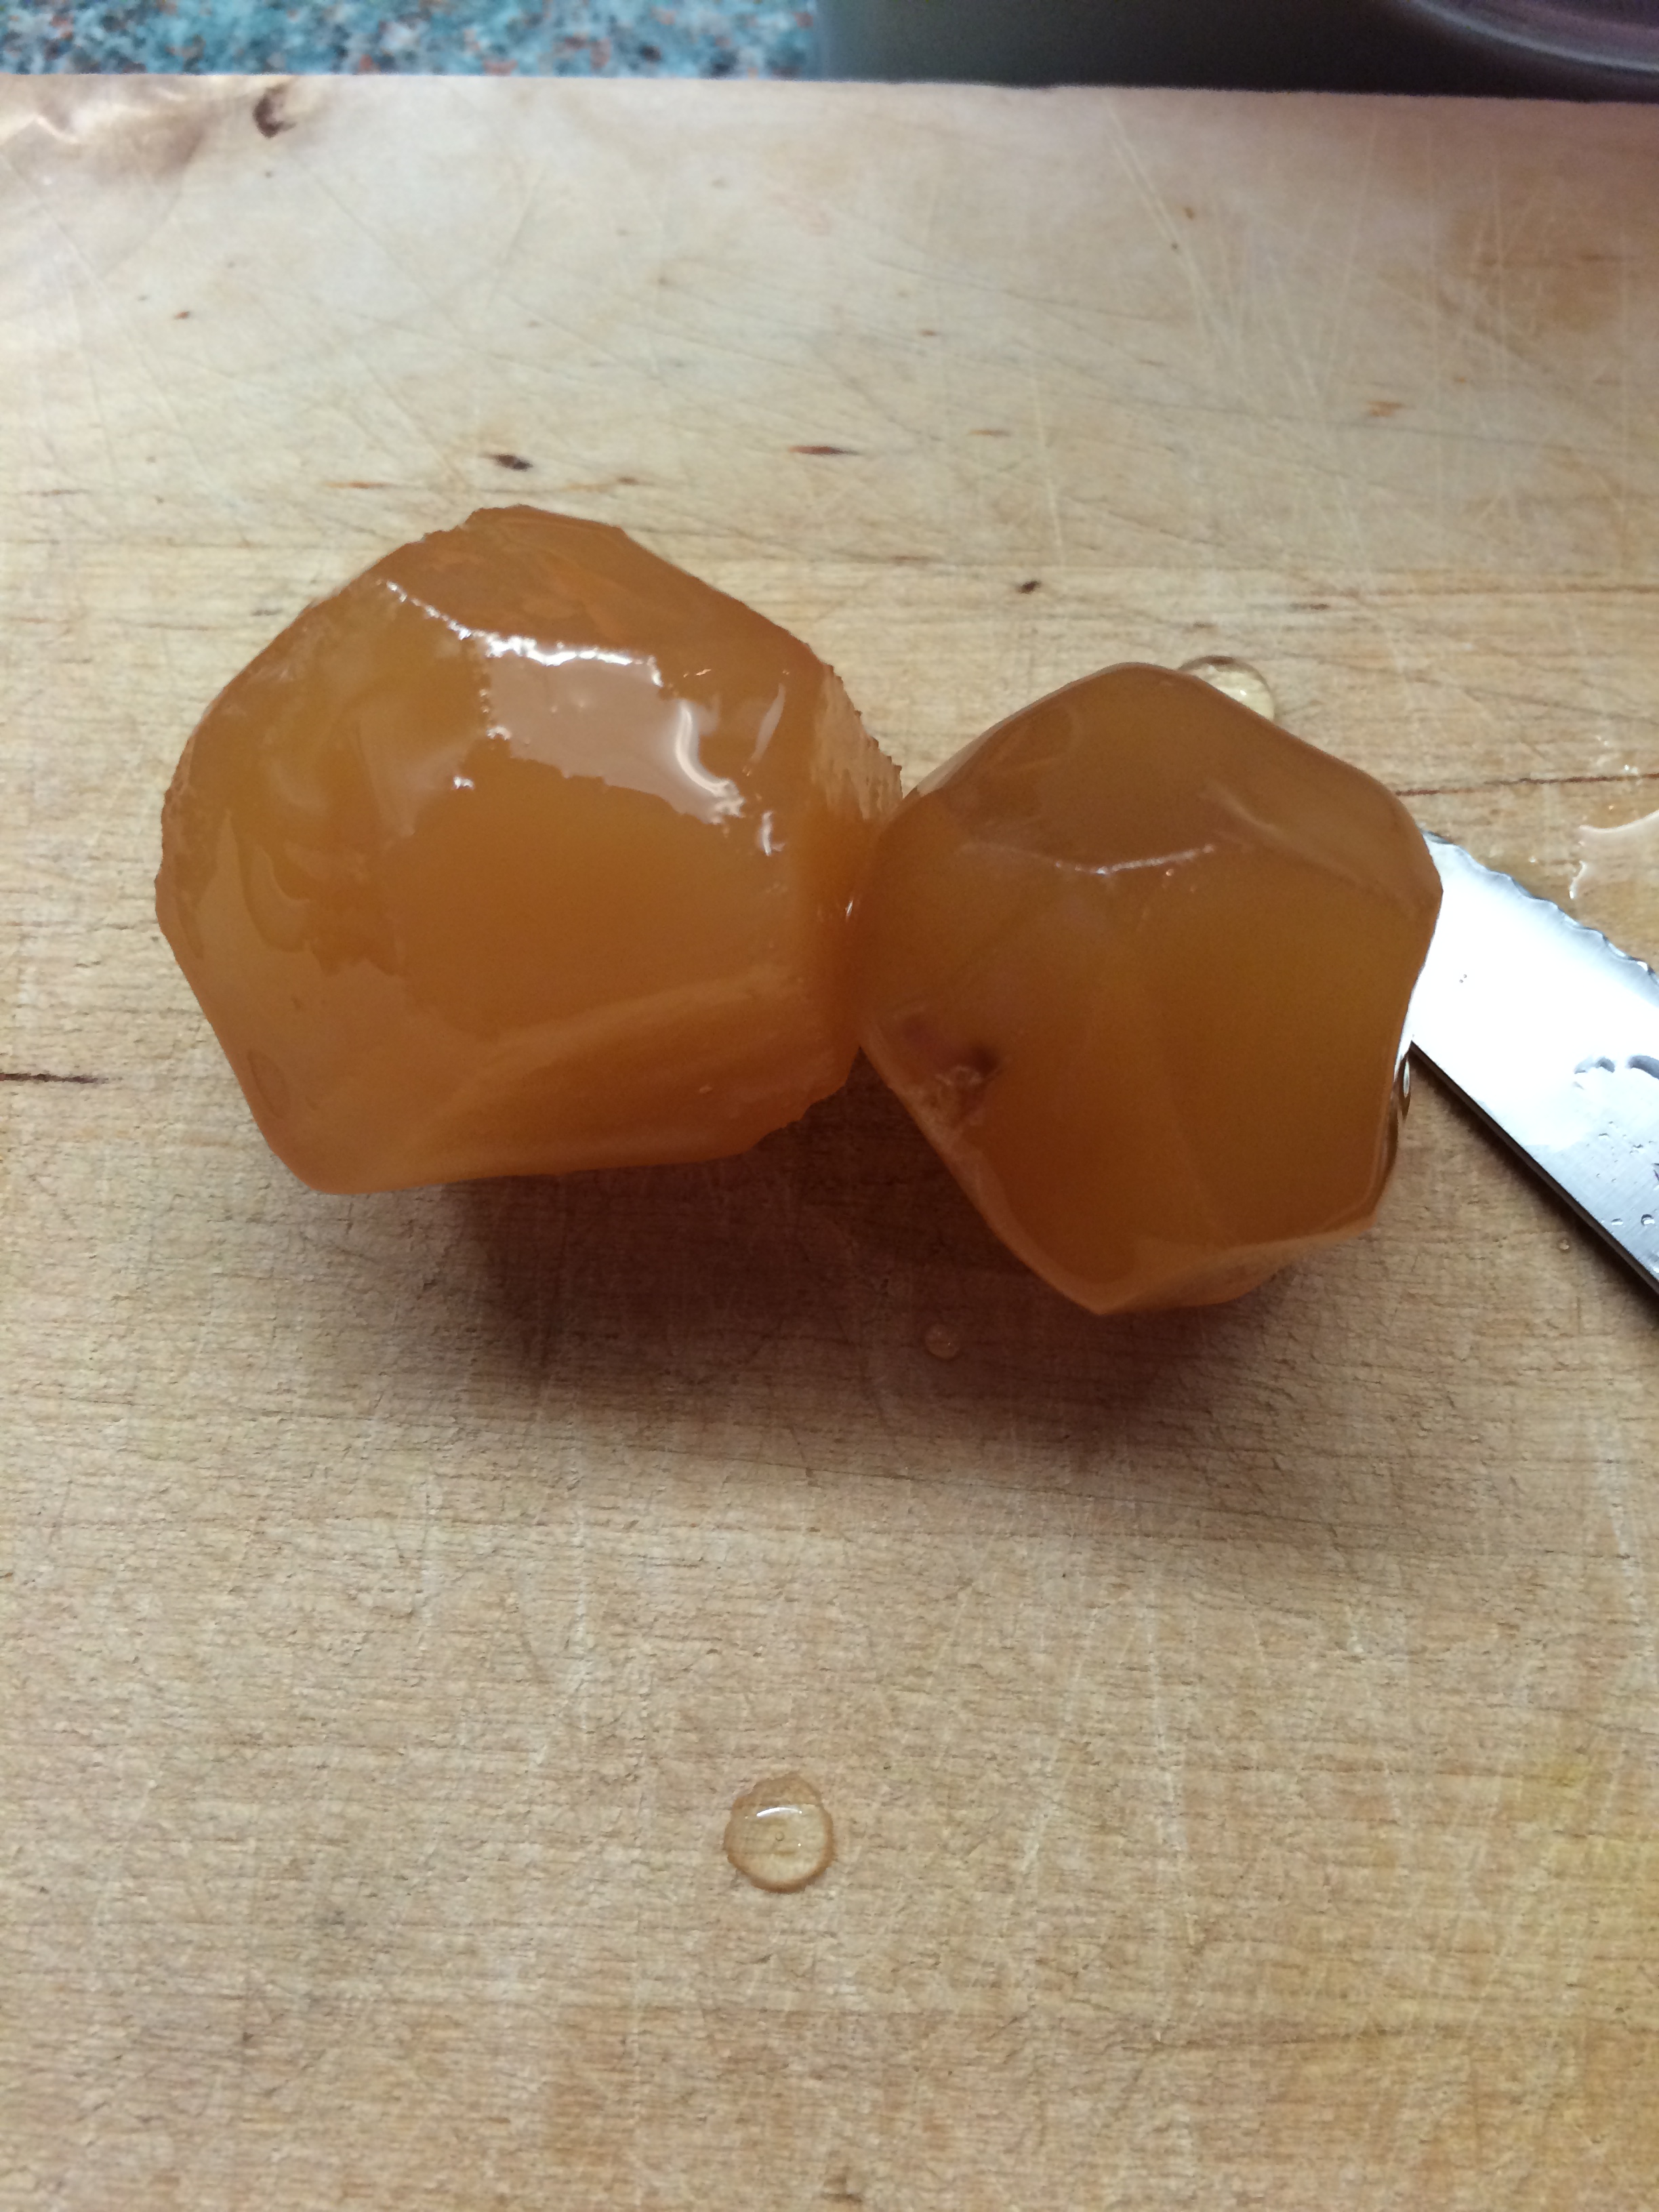
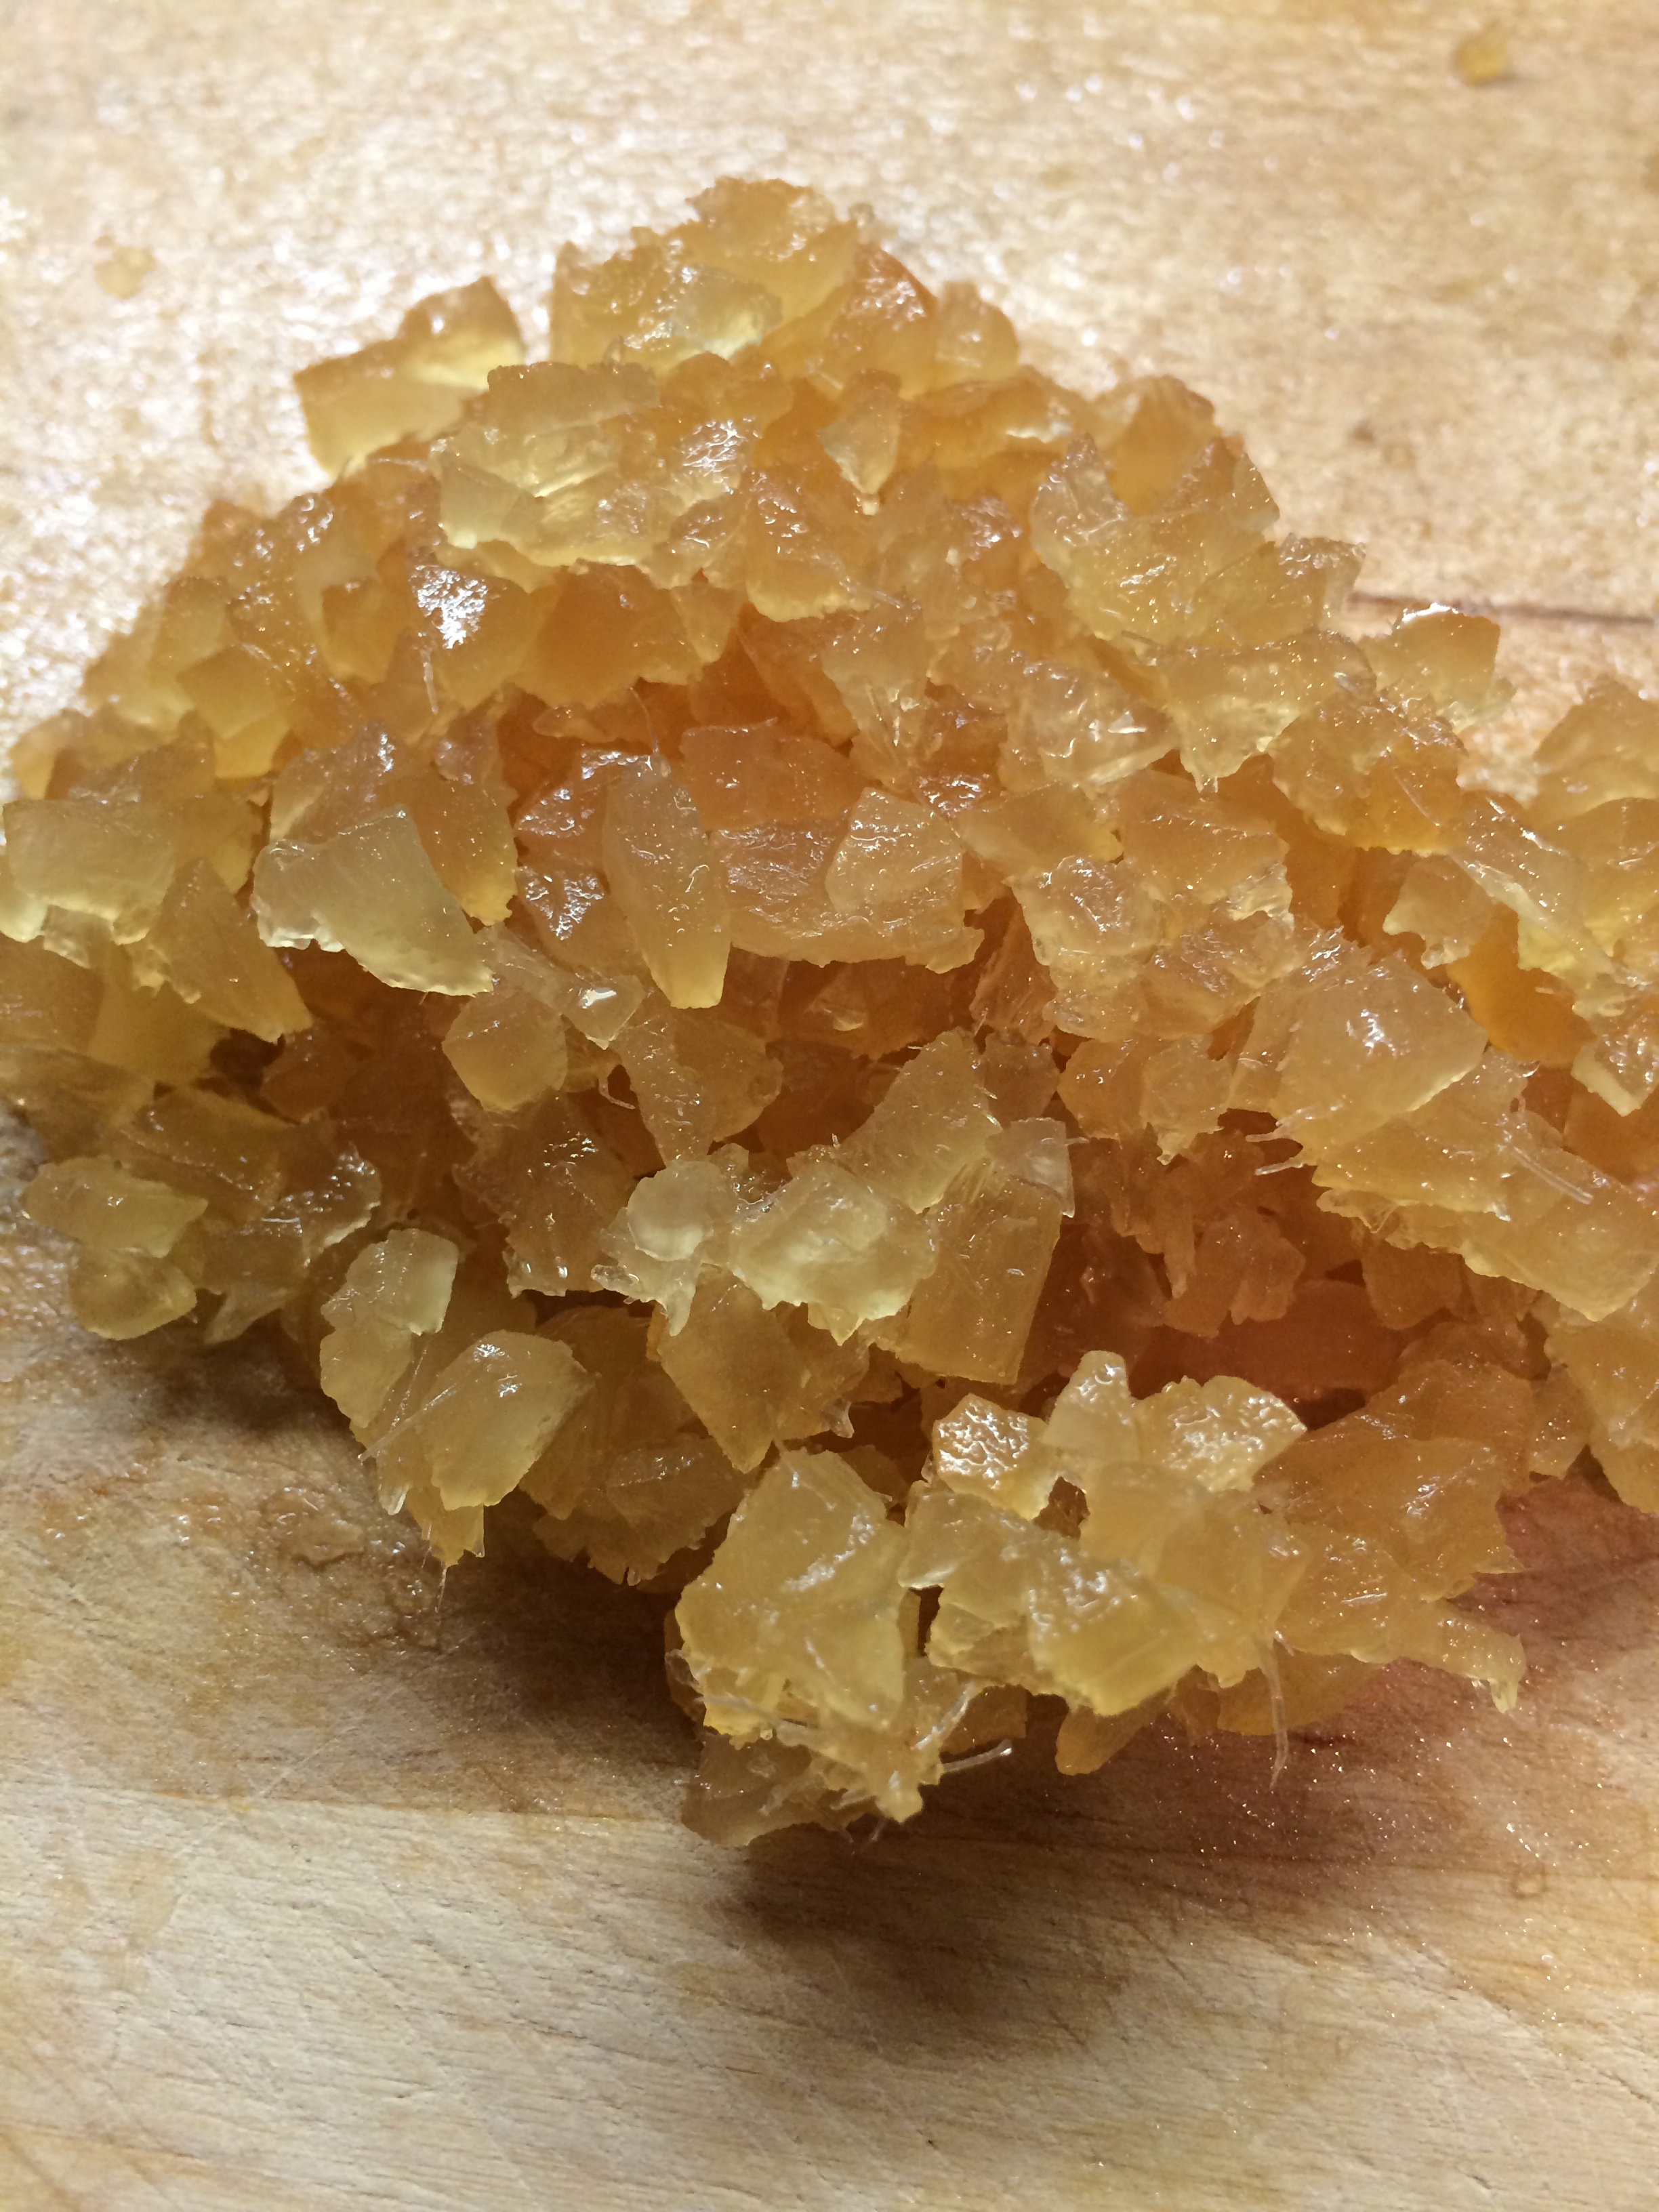
2 pieces of stem ginger (finely chopped)

Filling and Topping

225g/8oz icing sugar

115g/4oz butter (room temperature)

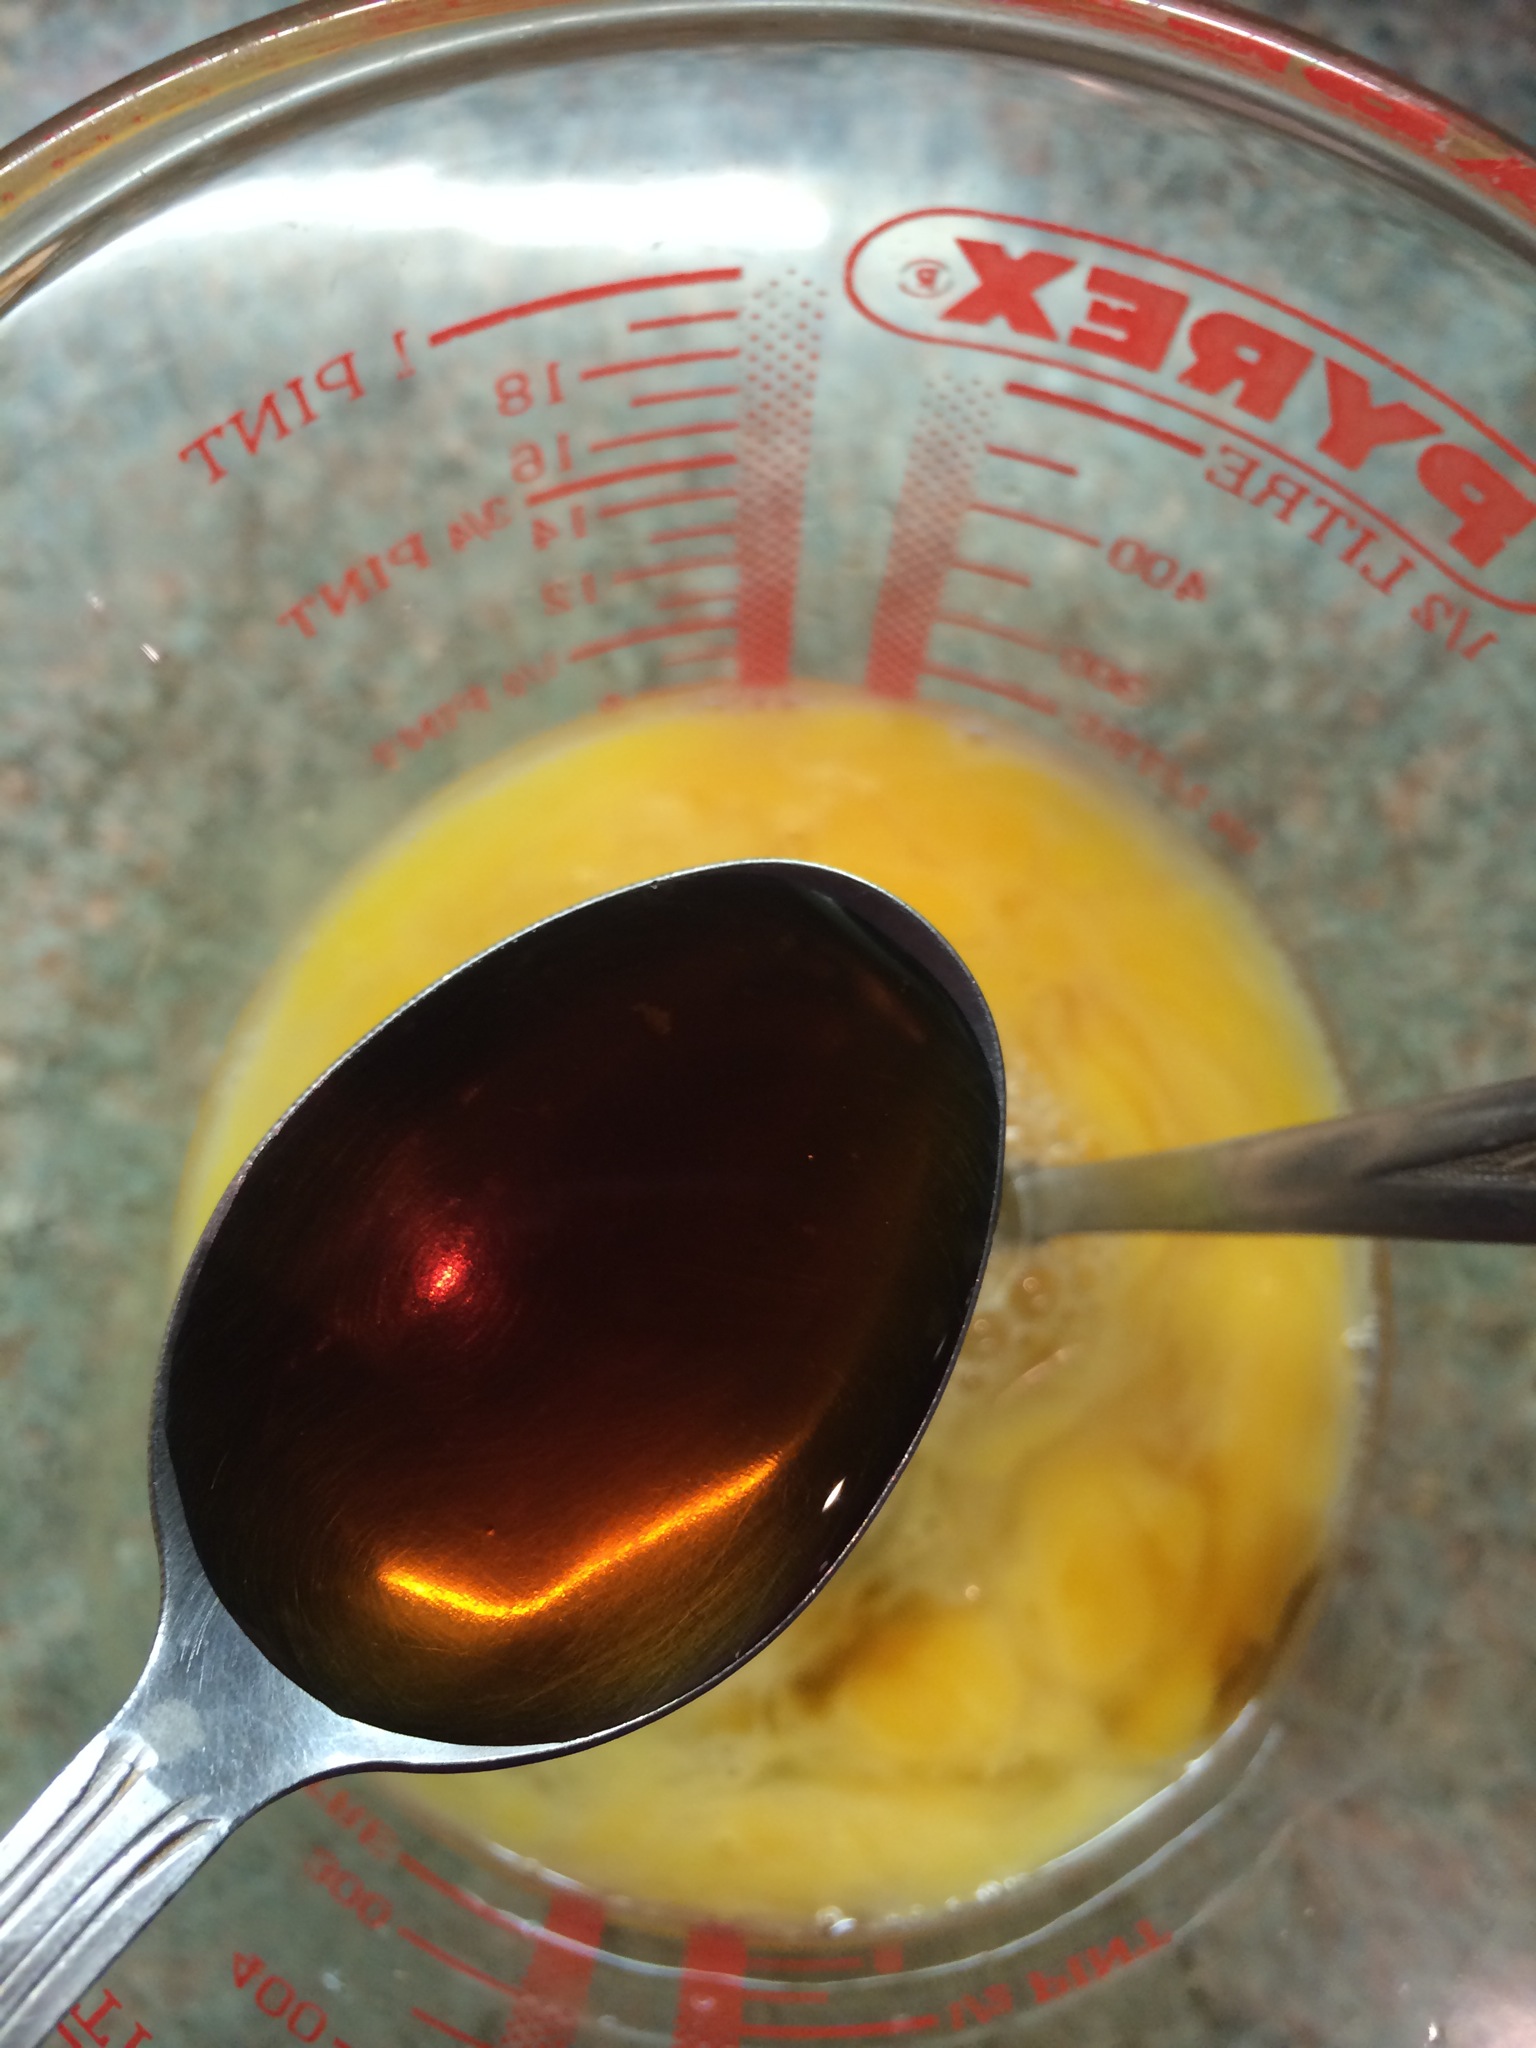
2 tbsp stem ginger syrup

1 tbsp full-fat or semi-skimmed milk

2 pieces of stem ginger (finely shredded)

*For this recipe make sure you have 2 loose-bottomed, round sandwich tins which are 20cm (8in) diameter and 4.5cm (1¾ in) deep*

IMG_5028

  • I started by lightly greasing the sandwich tins with a little butter and then lined the bottom of each with greaseproof paper.
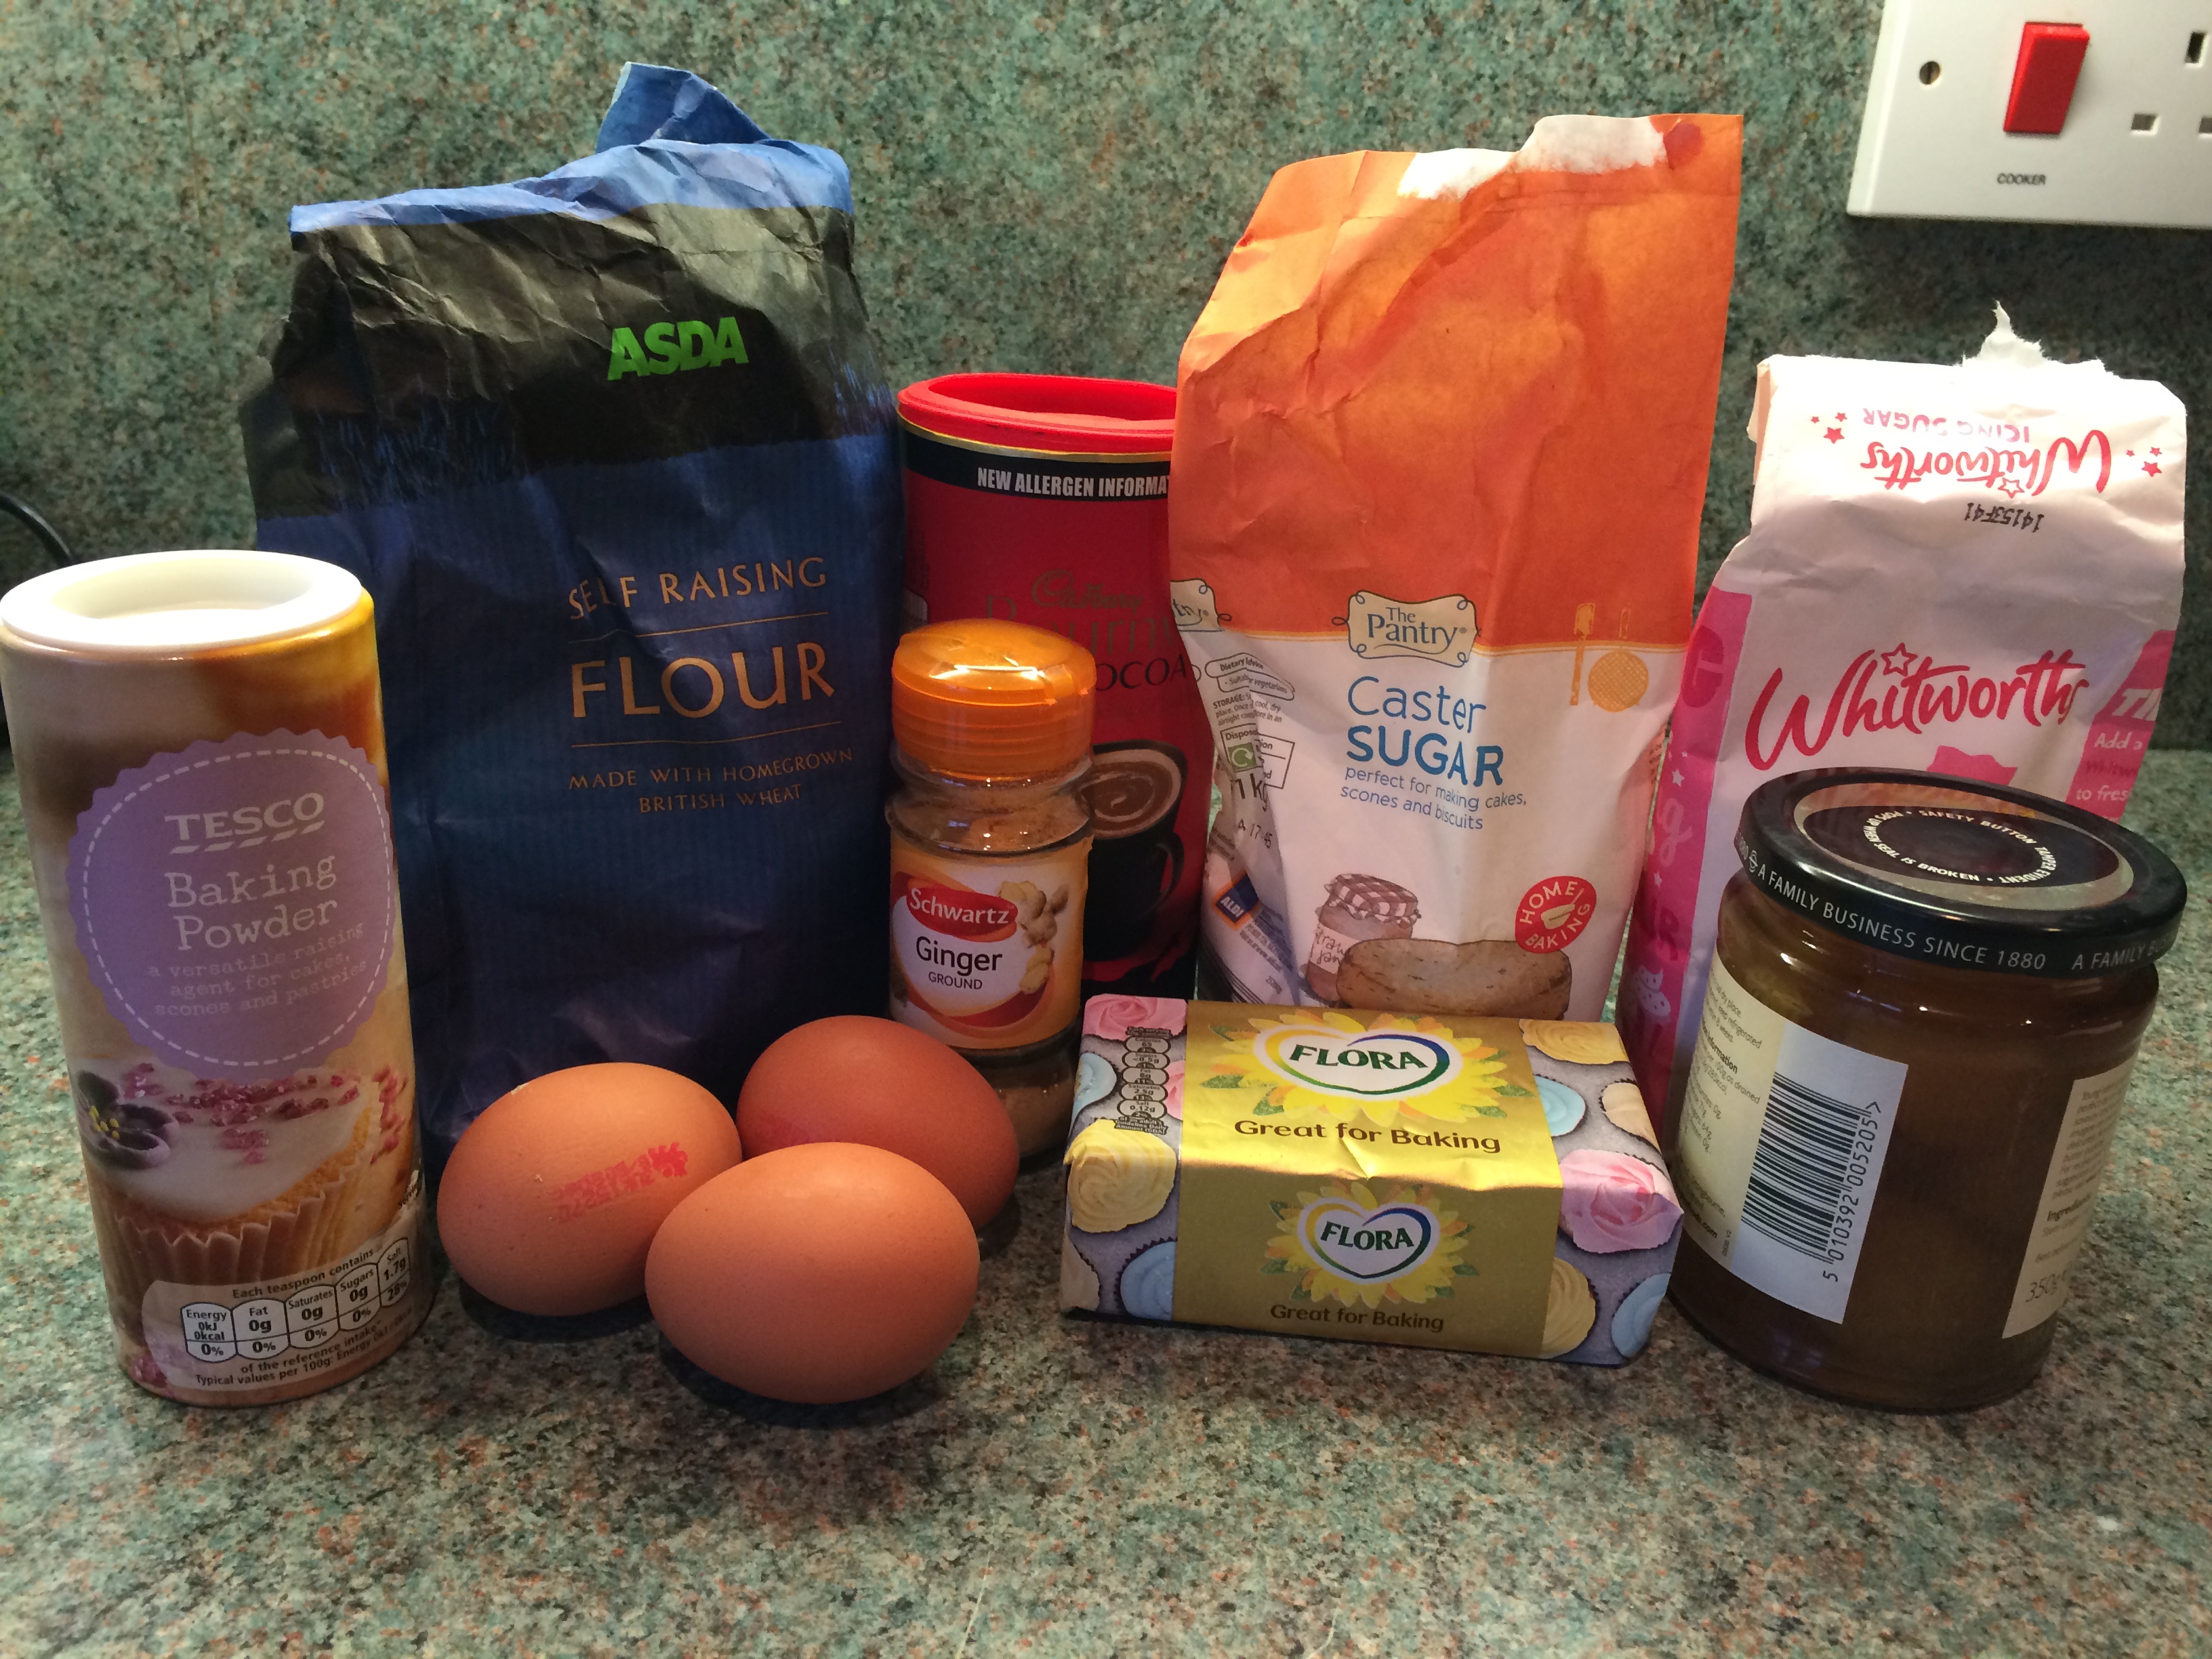
  • I prepared my ingredients by weighing them out and setting aside until I needed them.  I made sure to pre-sift the flour and baking powder together.  I also made sure to chop the ginger as finely as I possibly could, but you could also use a small food processor to do it quickly.

IMG_5030IMG_5032

  • I preheated the oven to 160°C for my fan oven (180°C/Gas4 for other ovens).
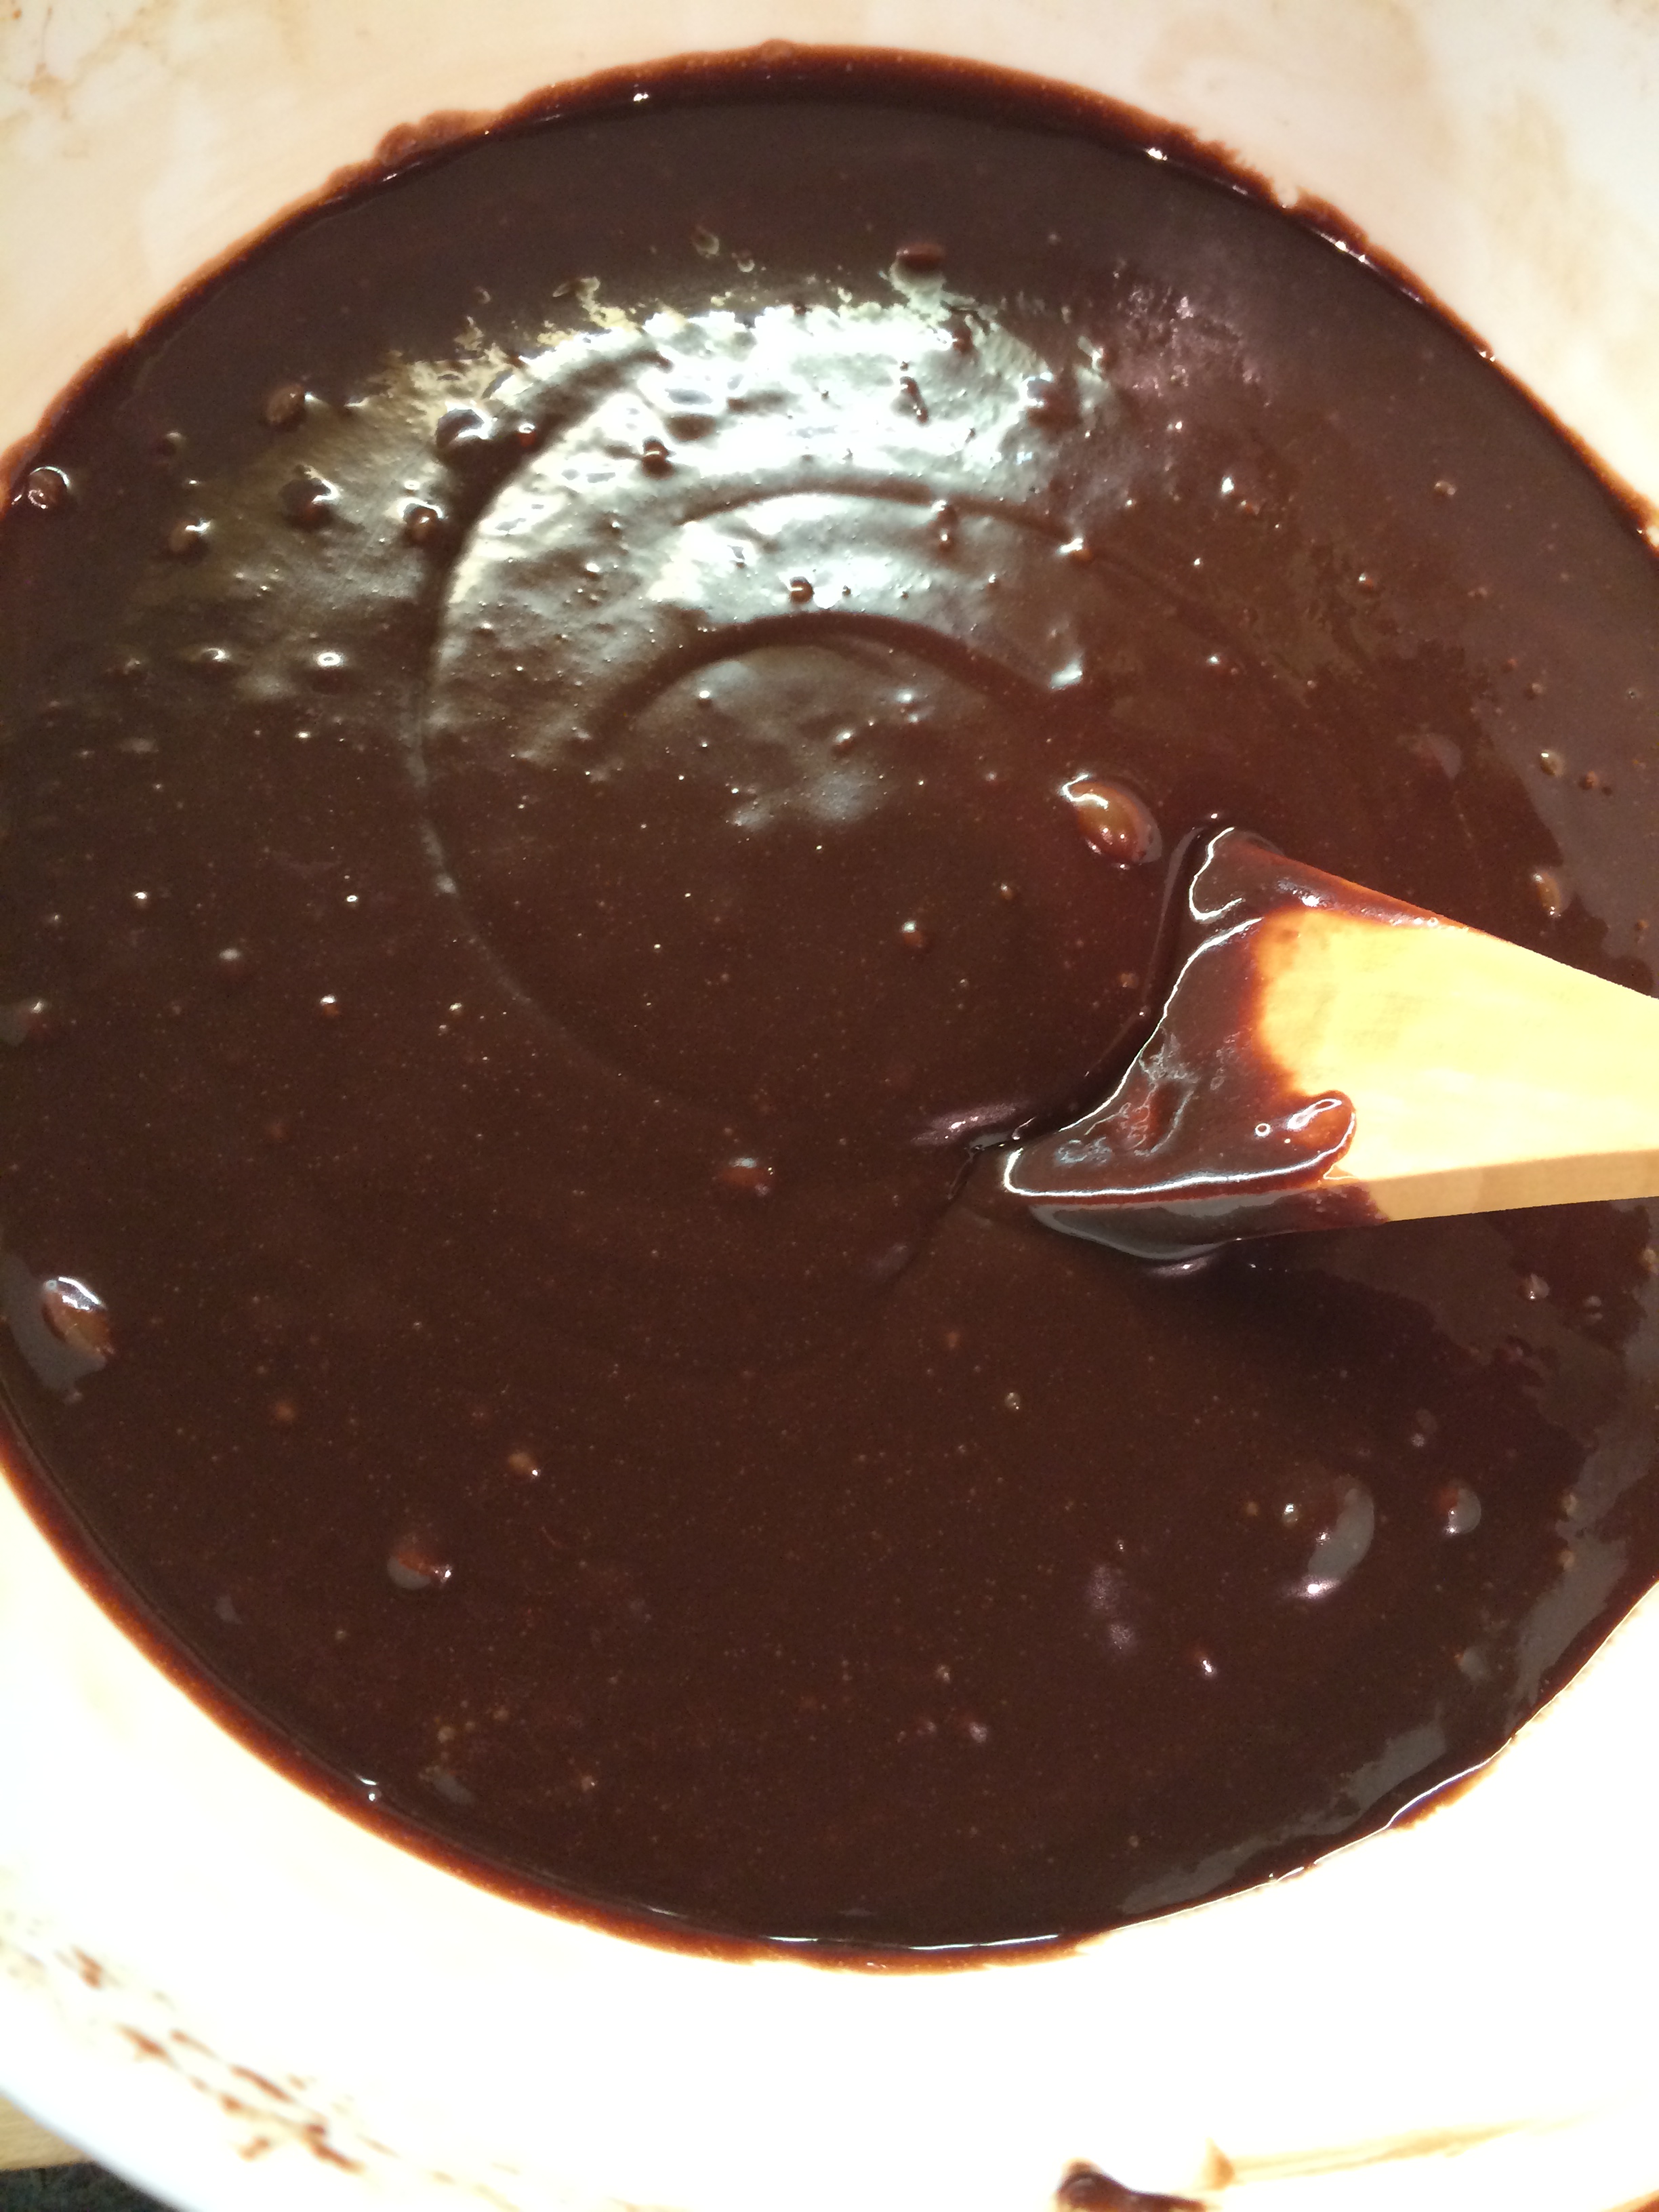
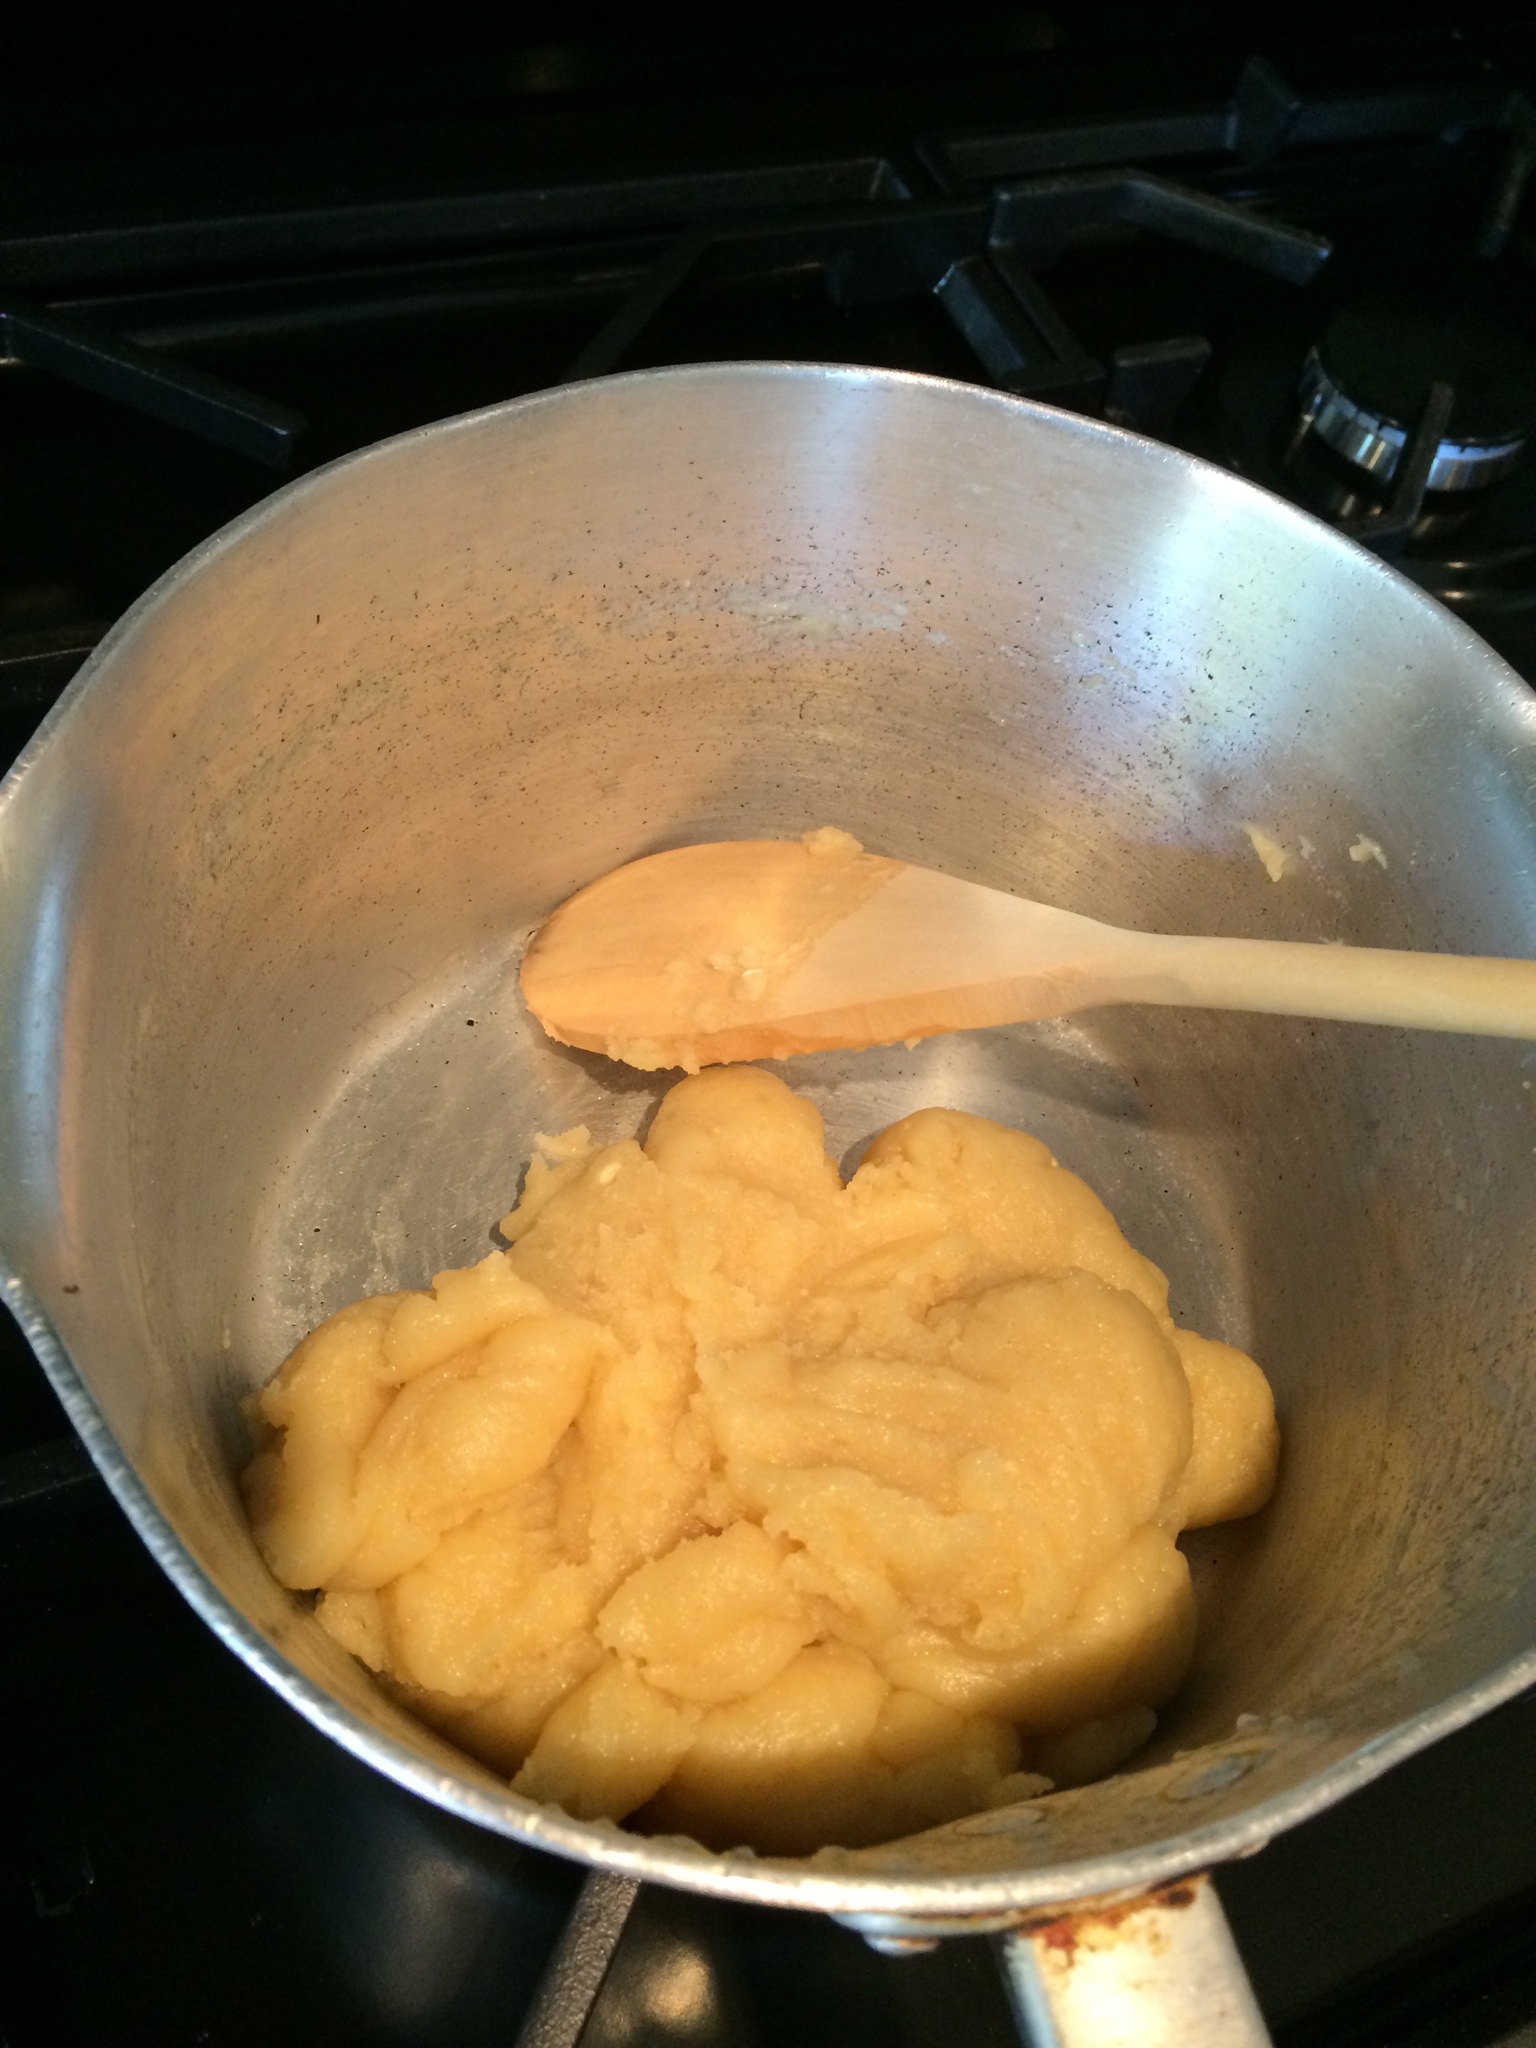
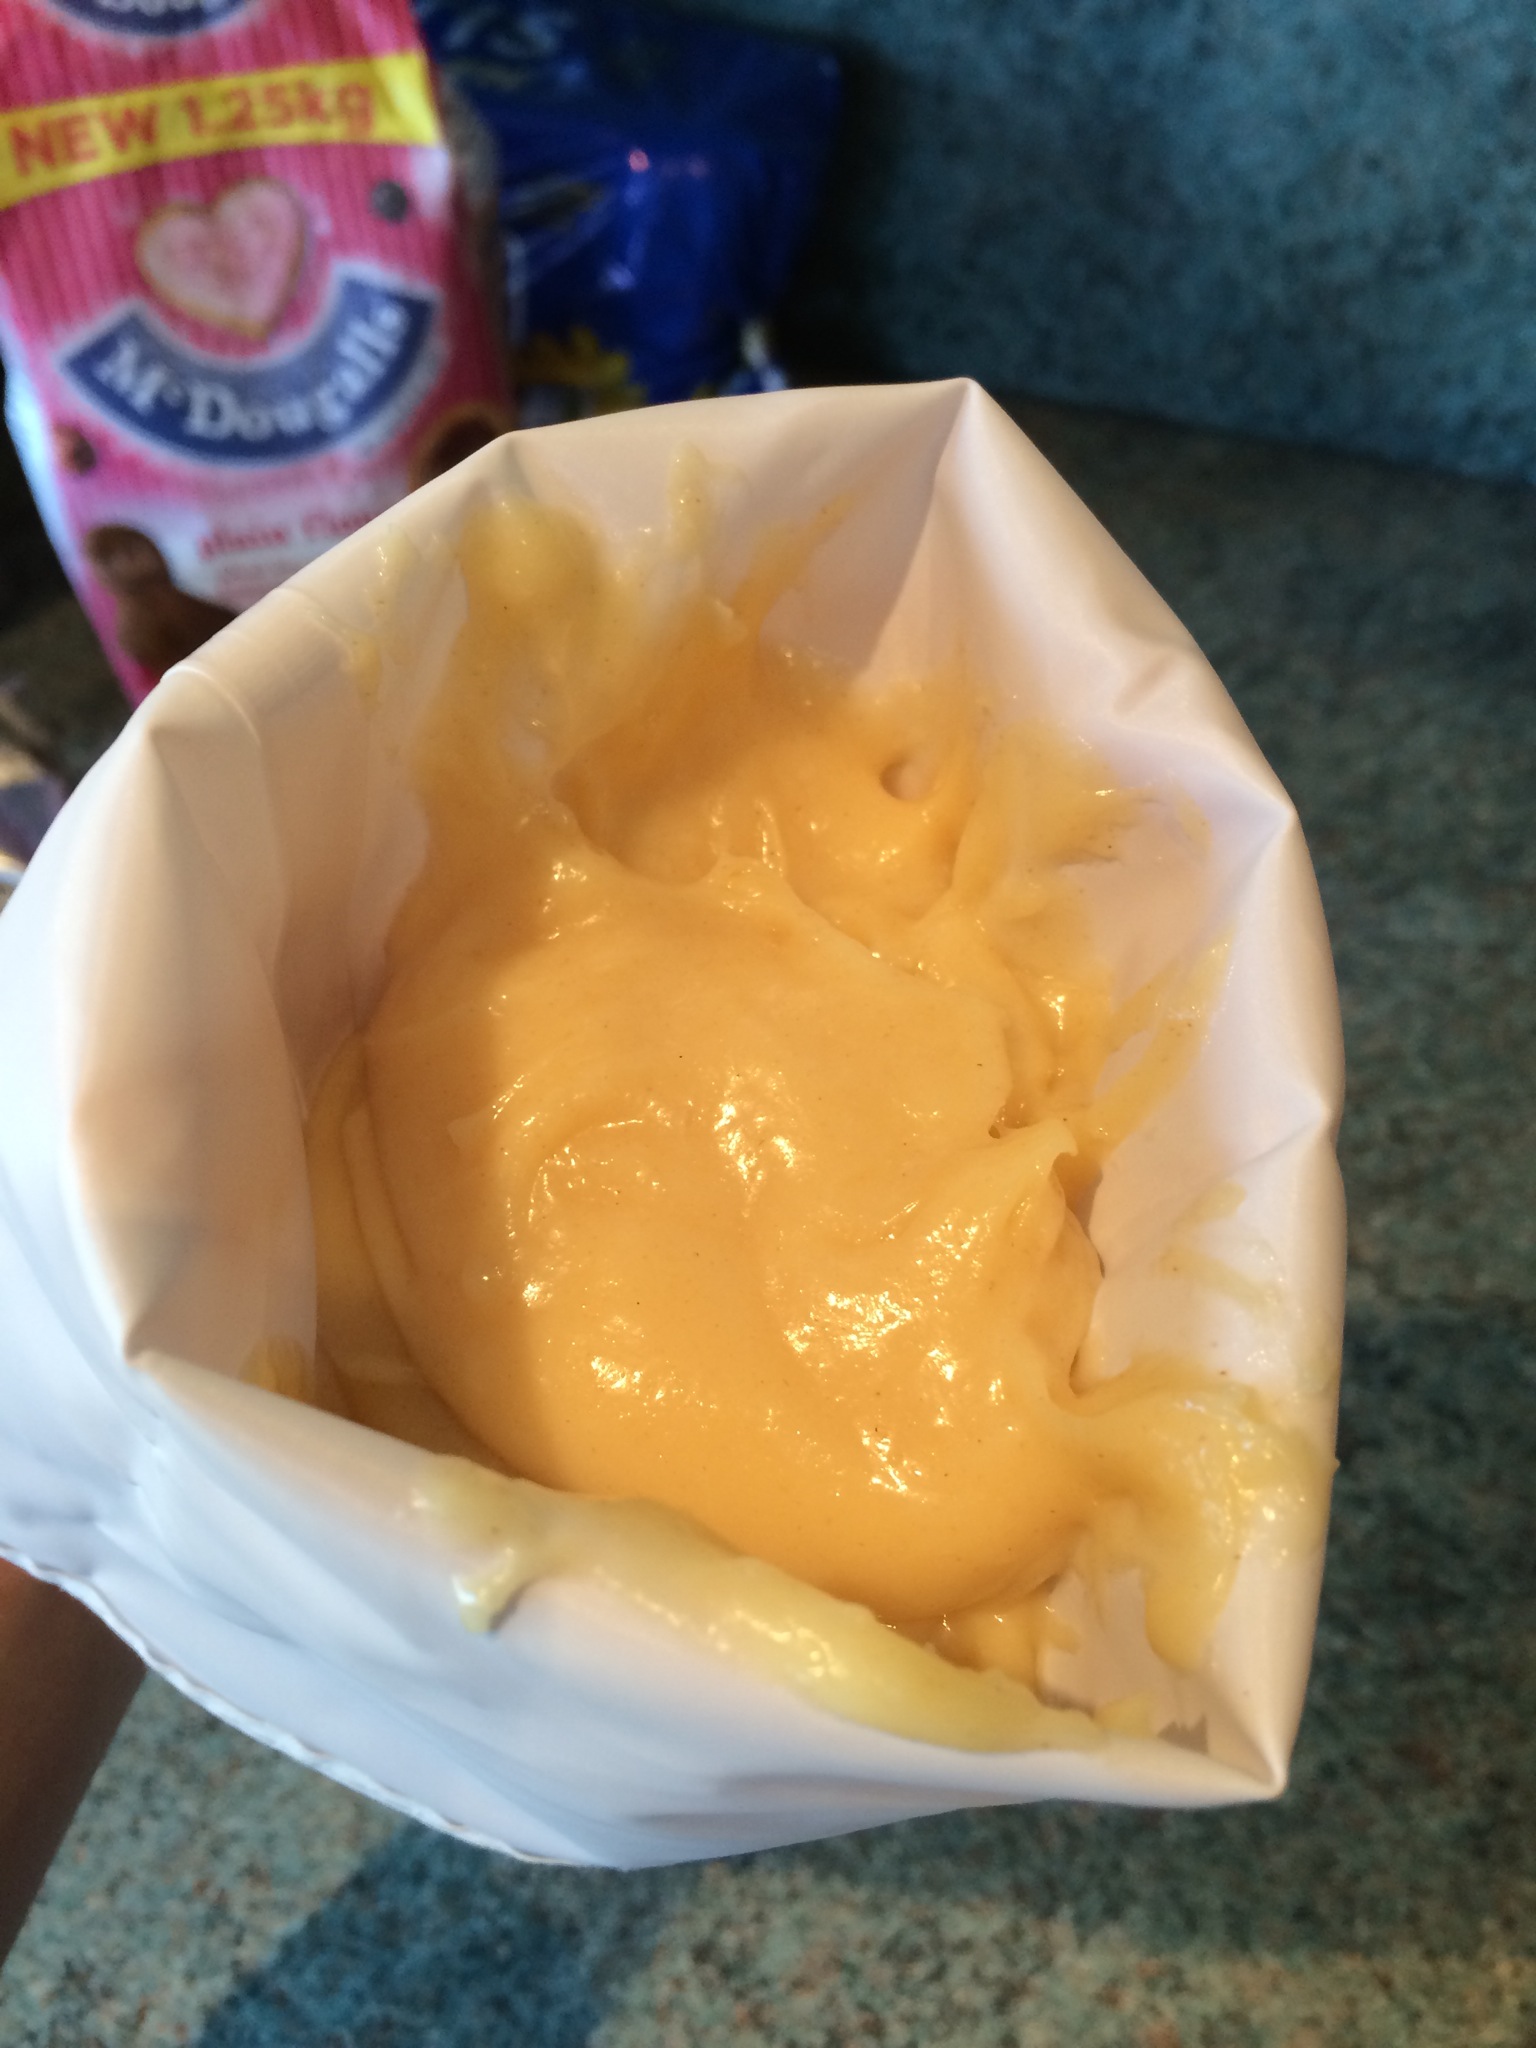
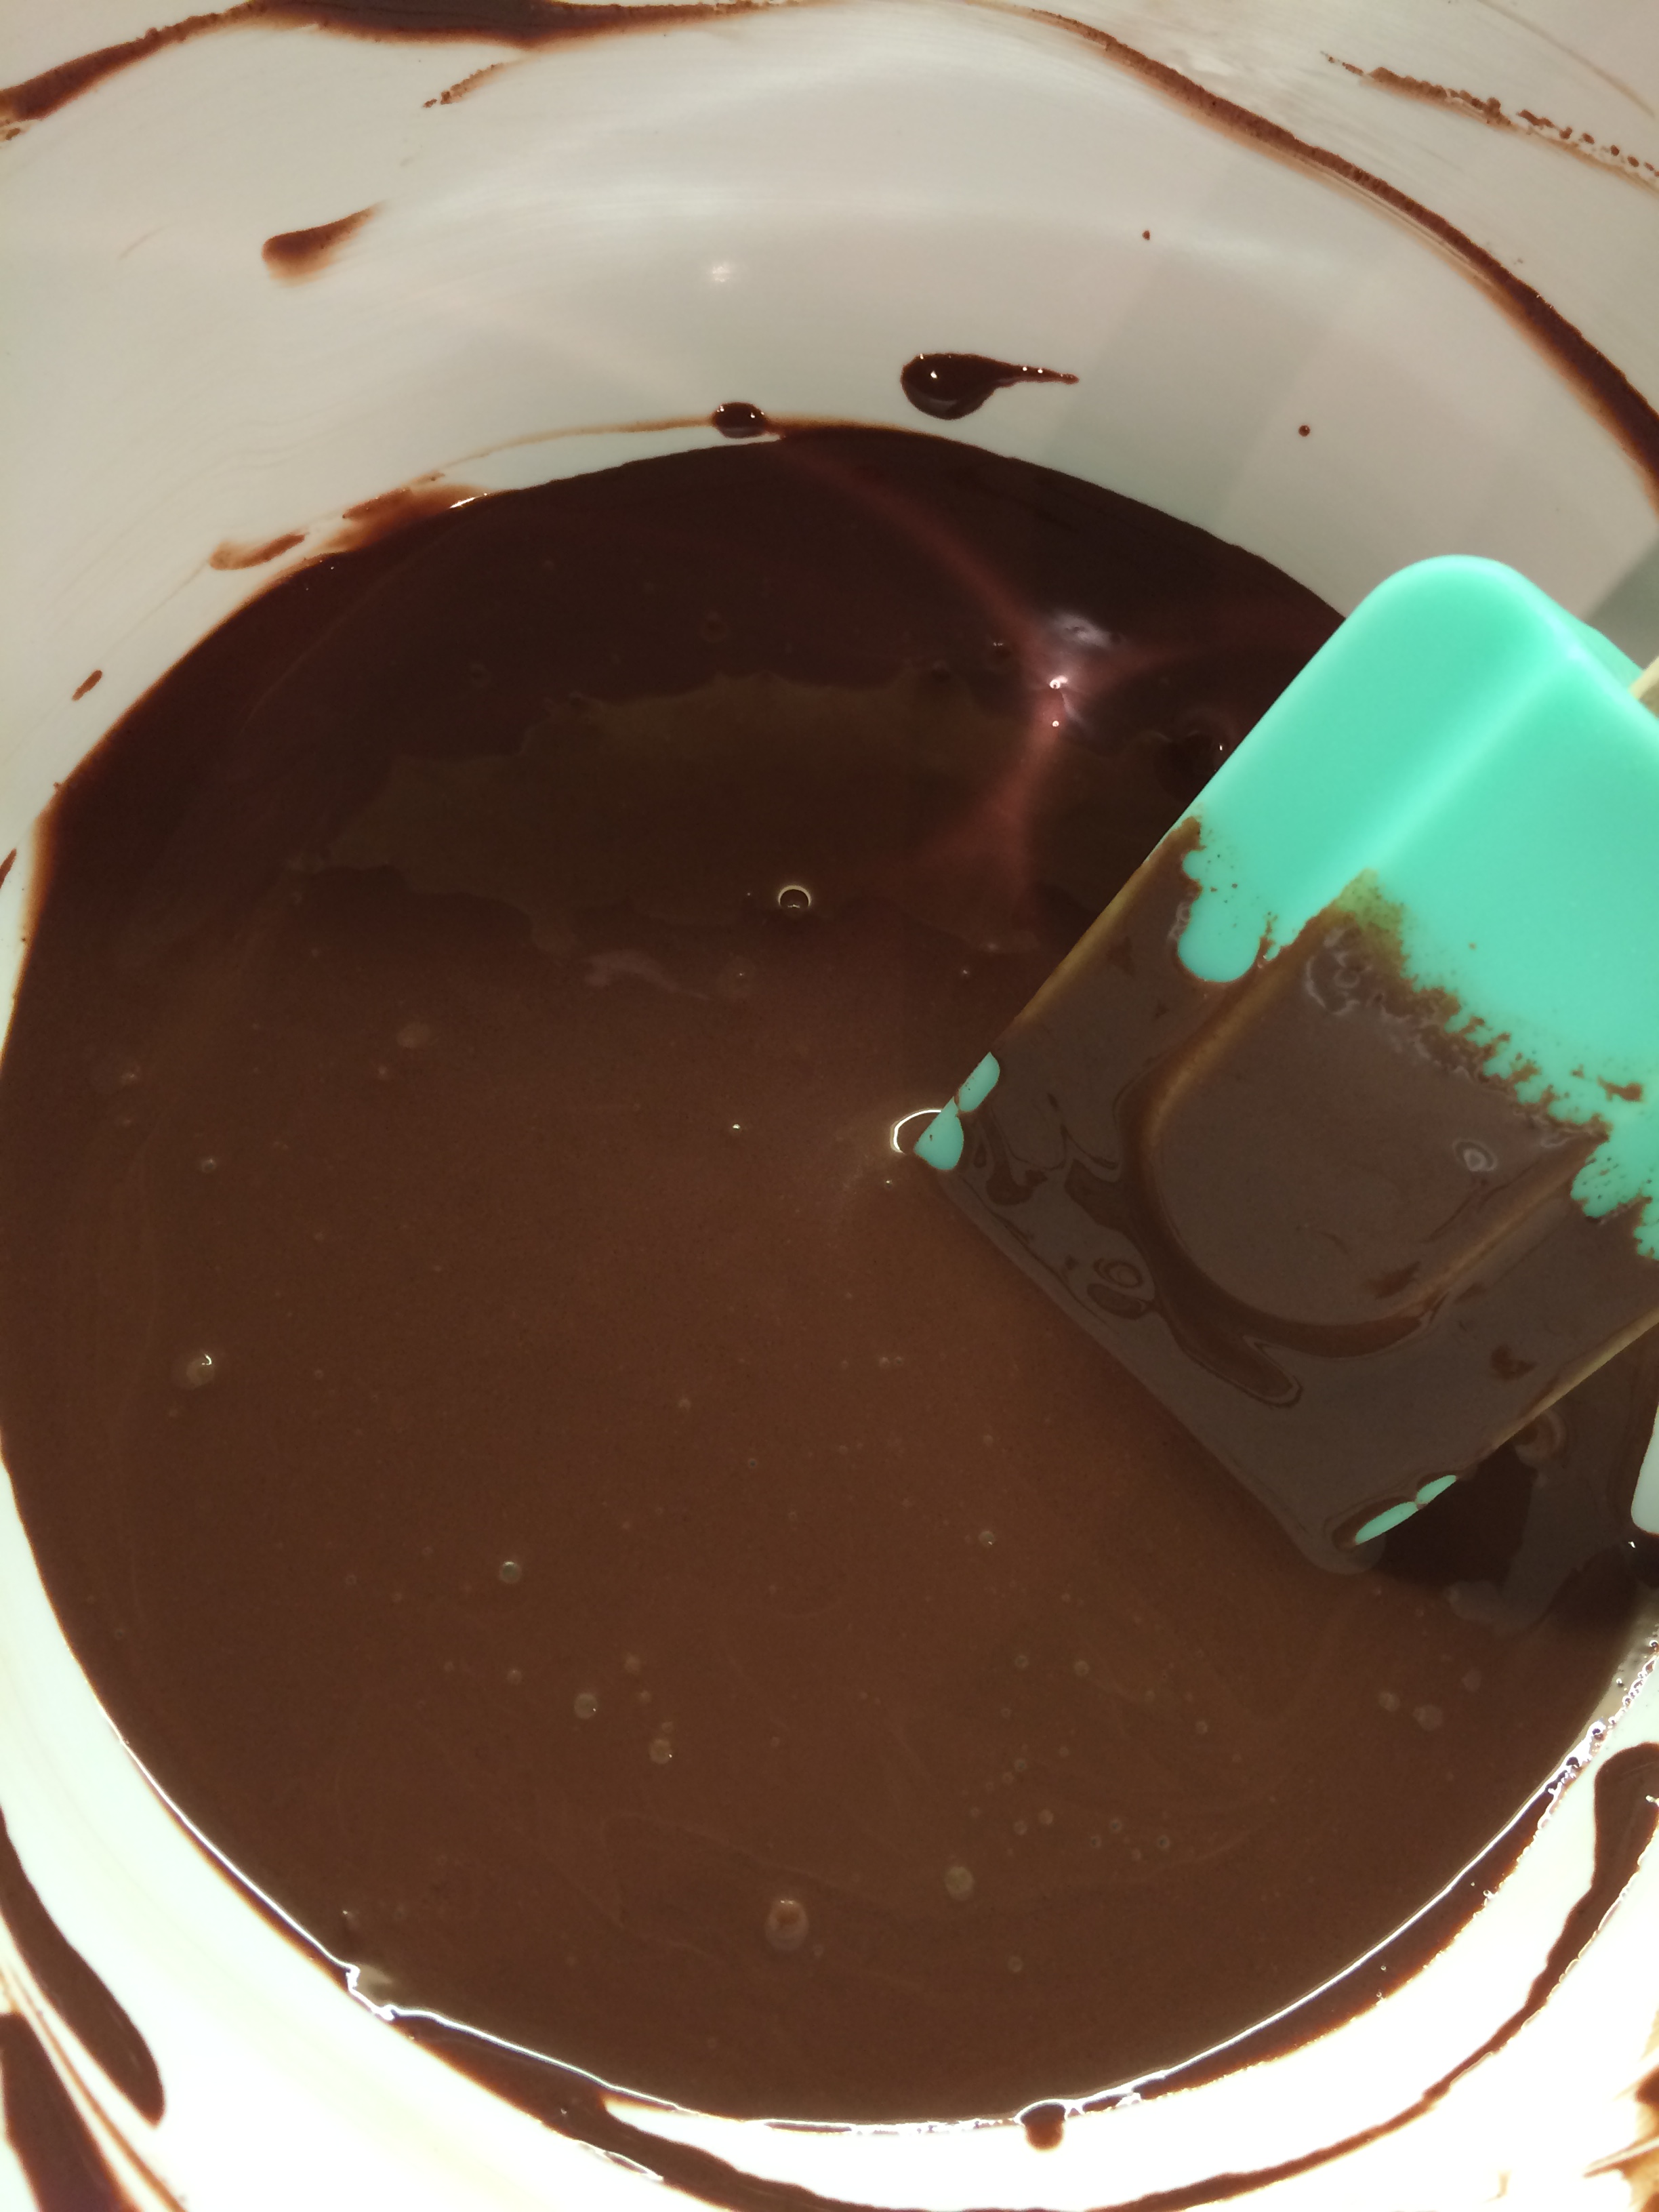
  • In a large heatproof bowl, I sifted in the cocoa powder and then added 6 tbsp of boiling water and stirred until there were no lumps.  I then added the milk and stirred until it became a smooth paste.

 IMG_5033IMG_5034IMG_5035

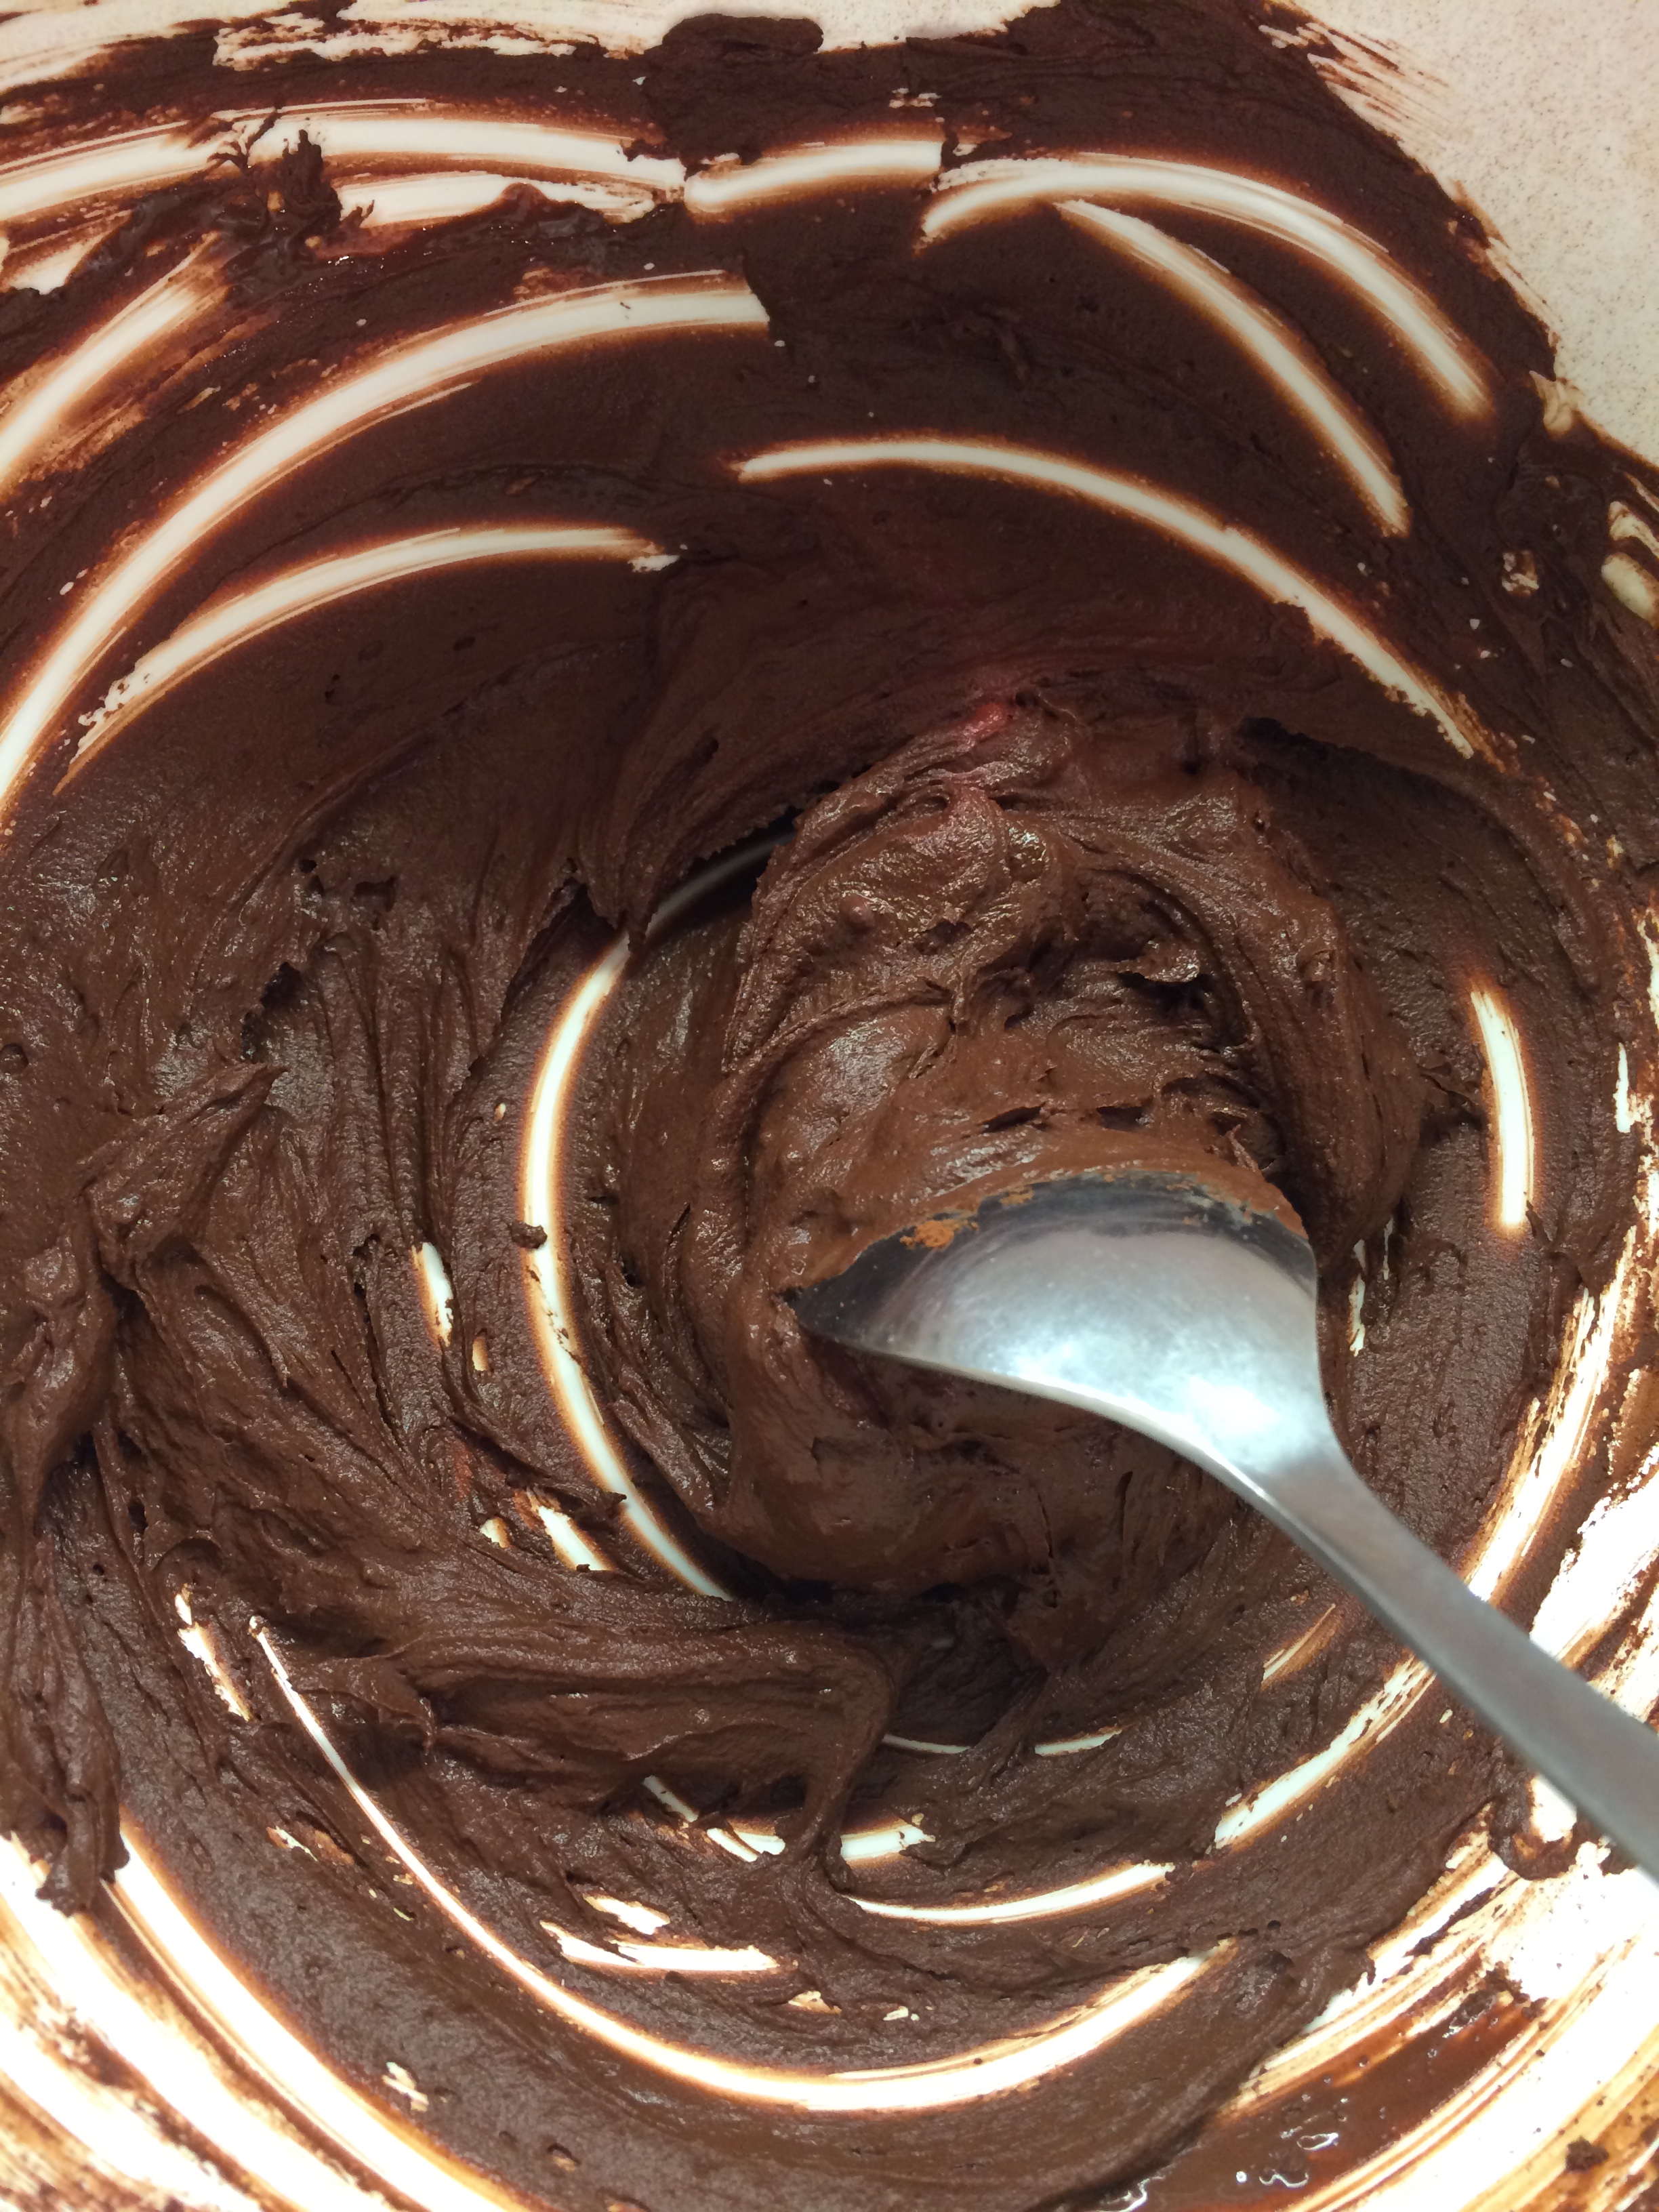
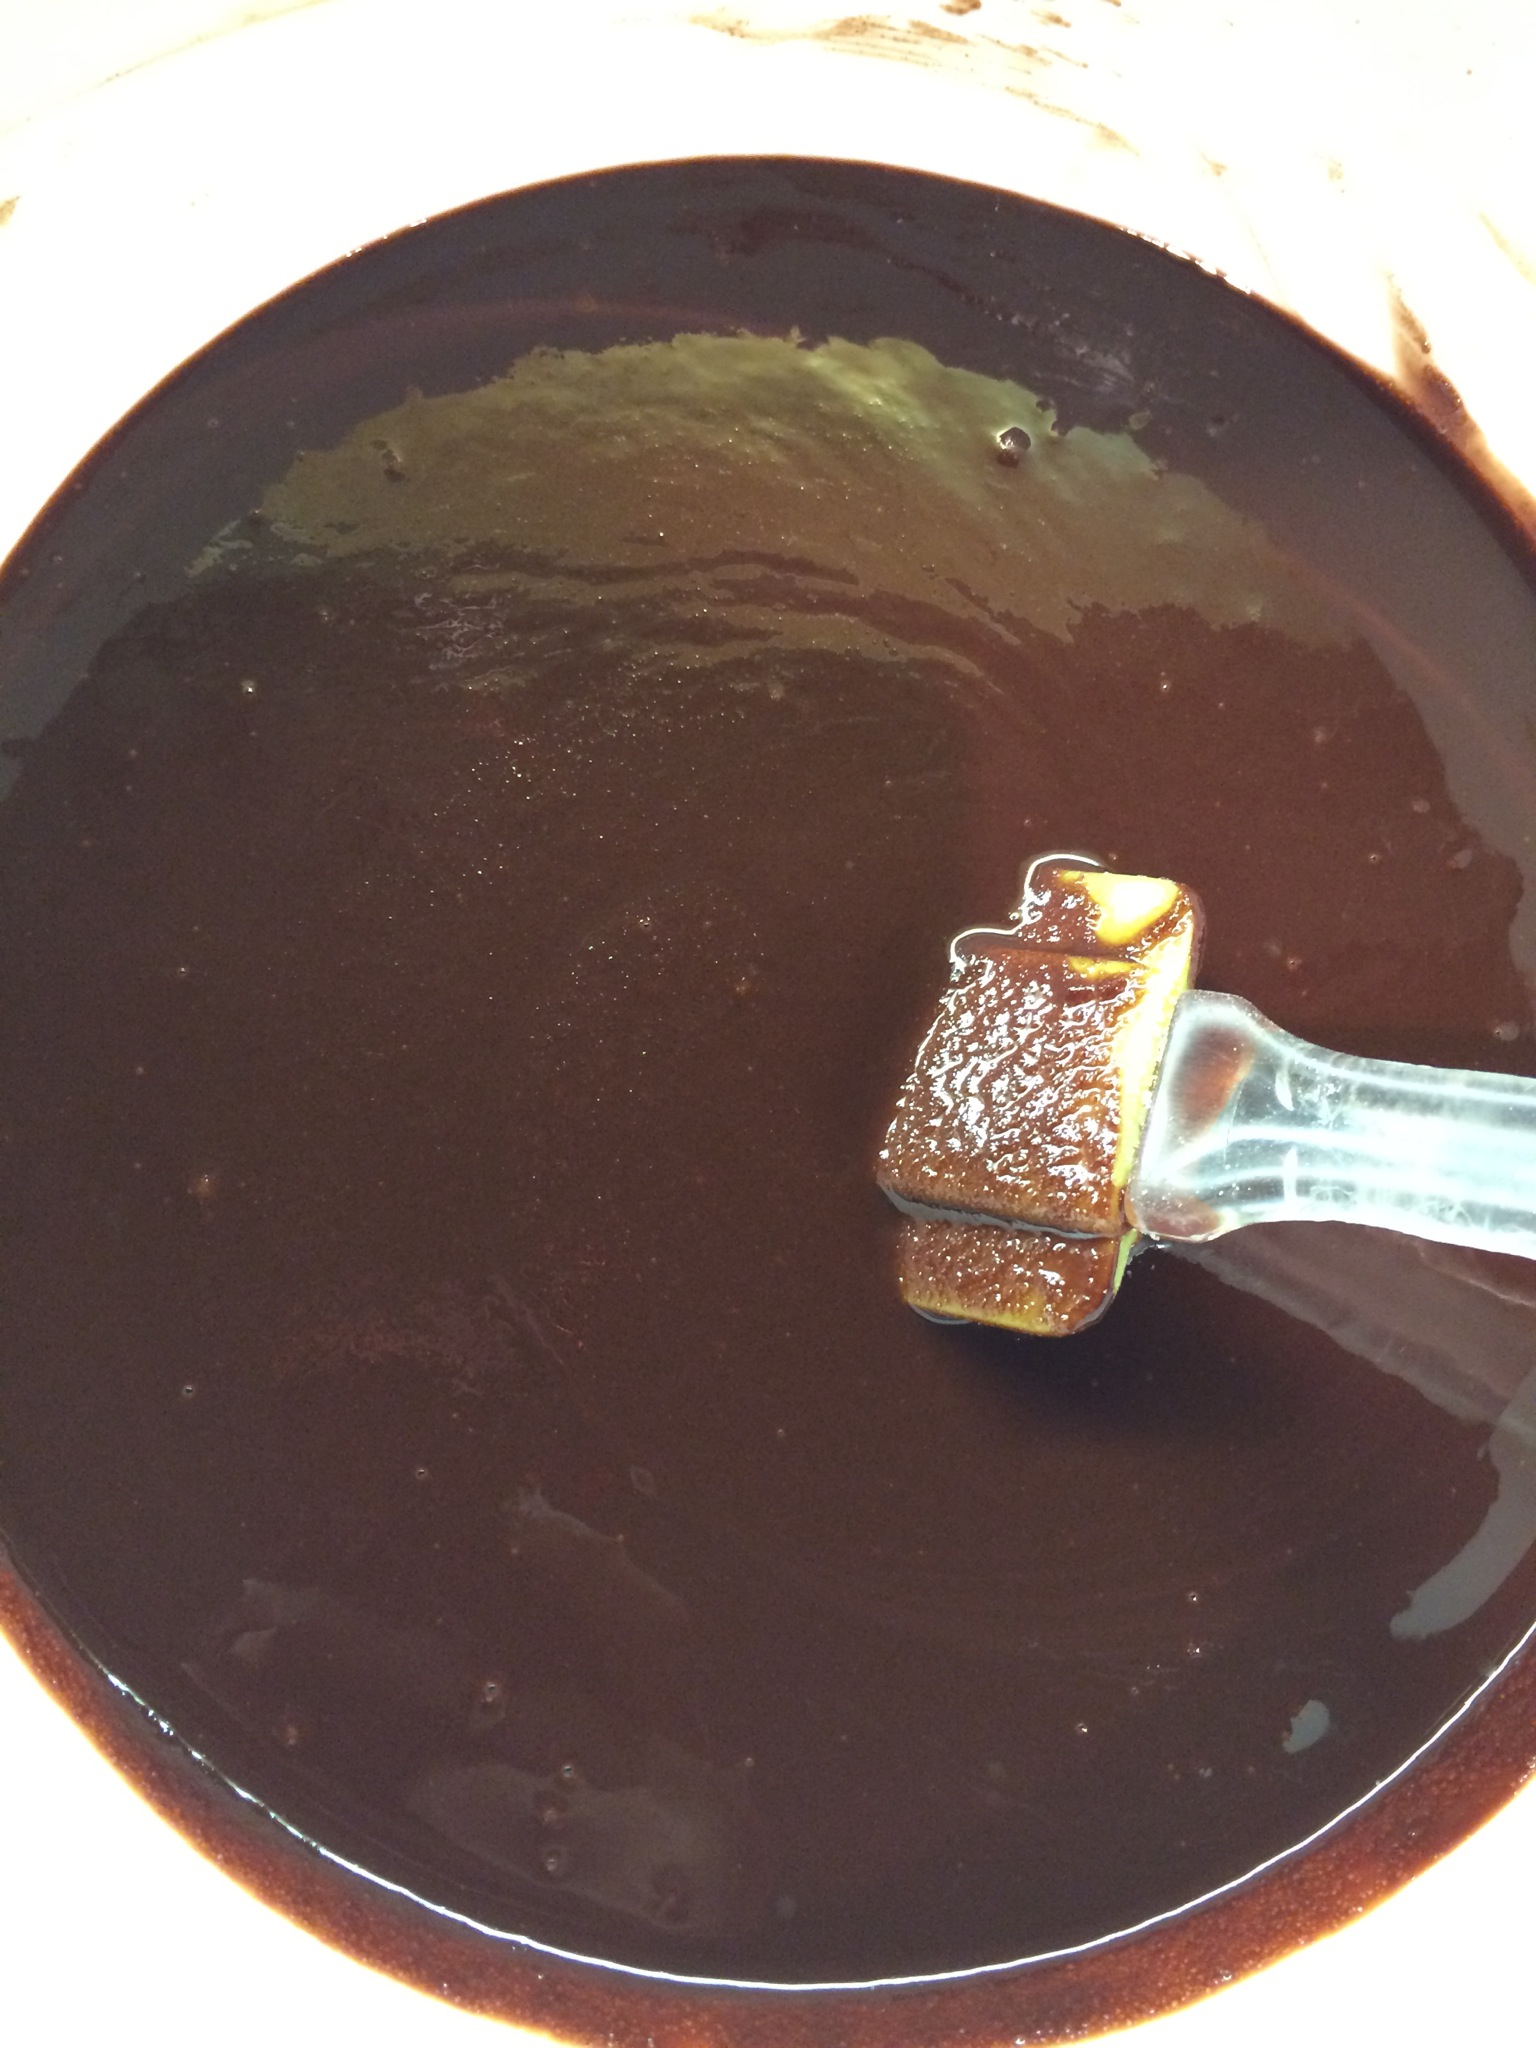
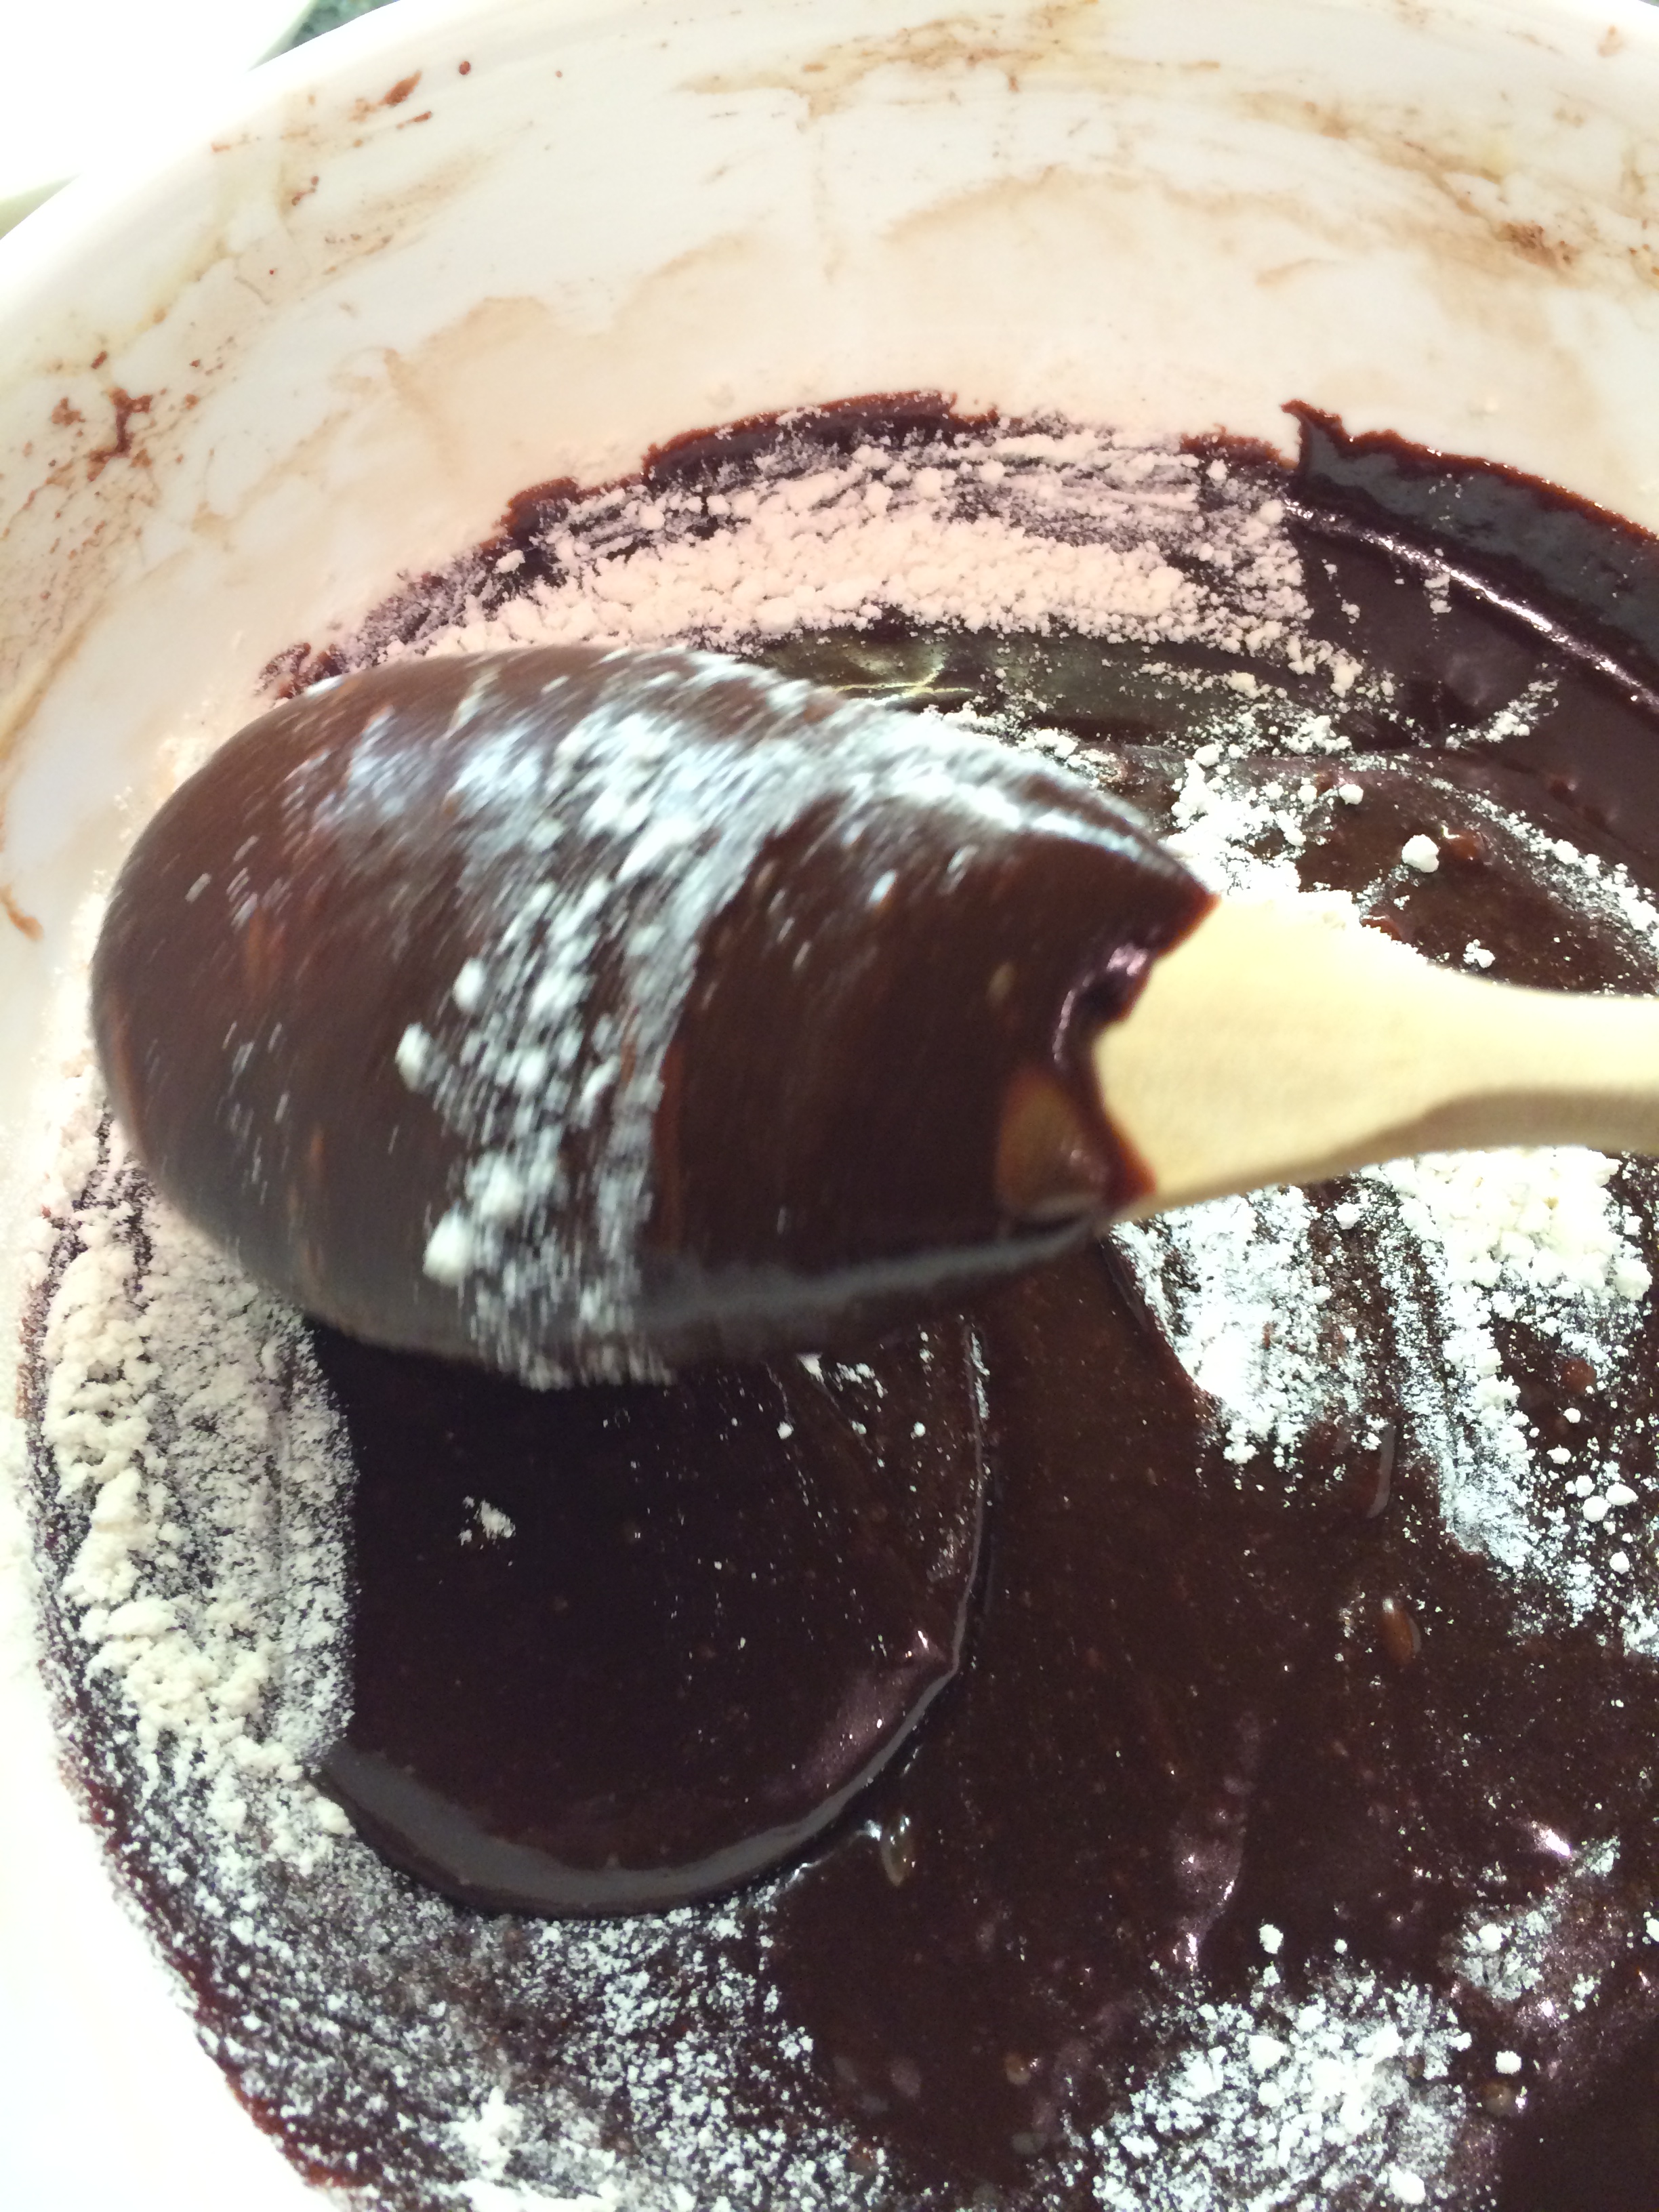
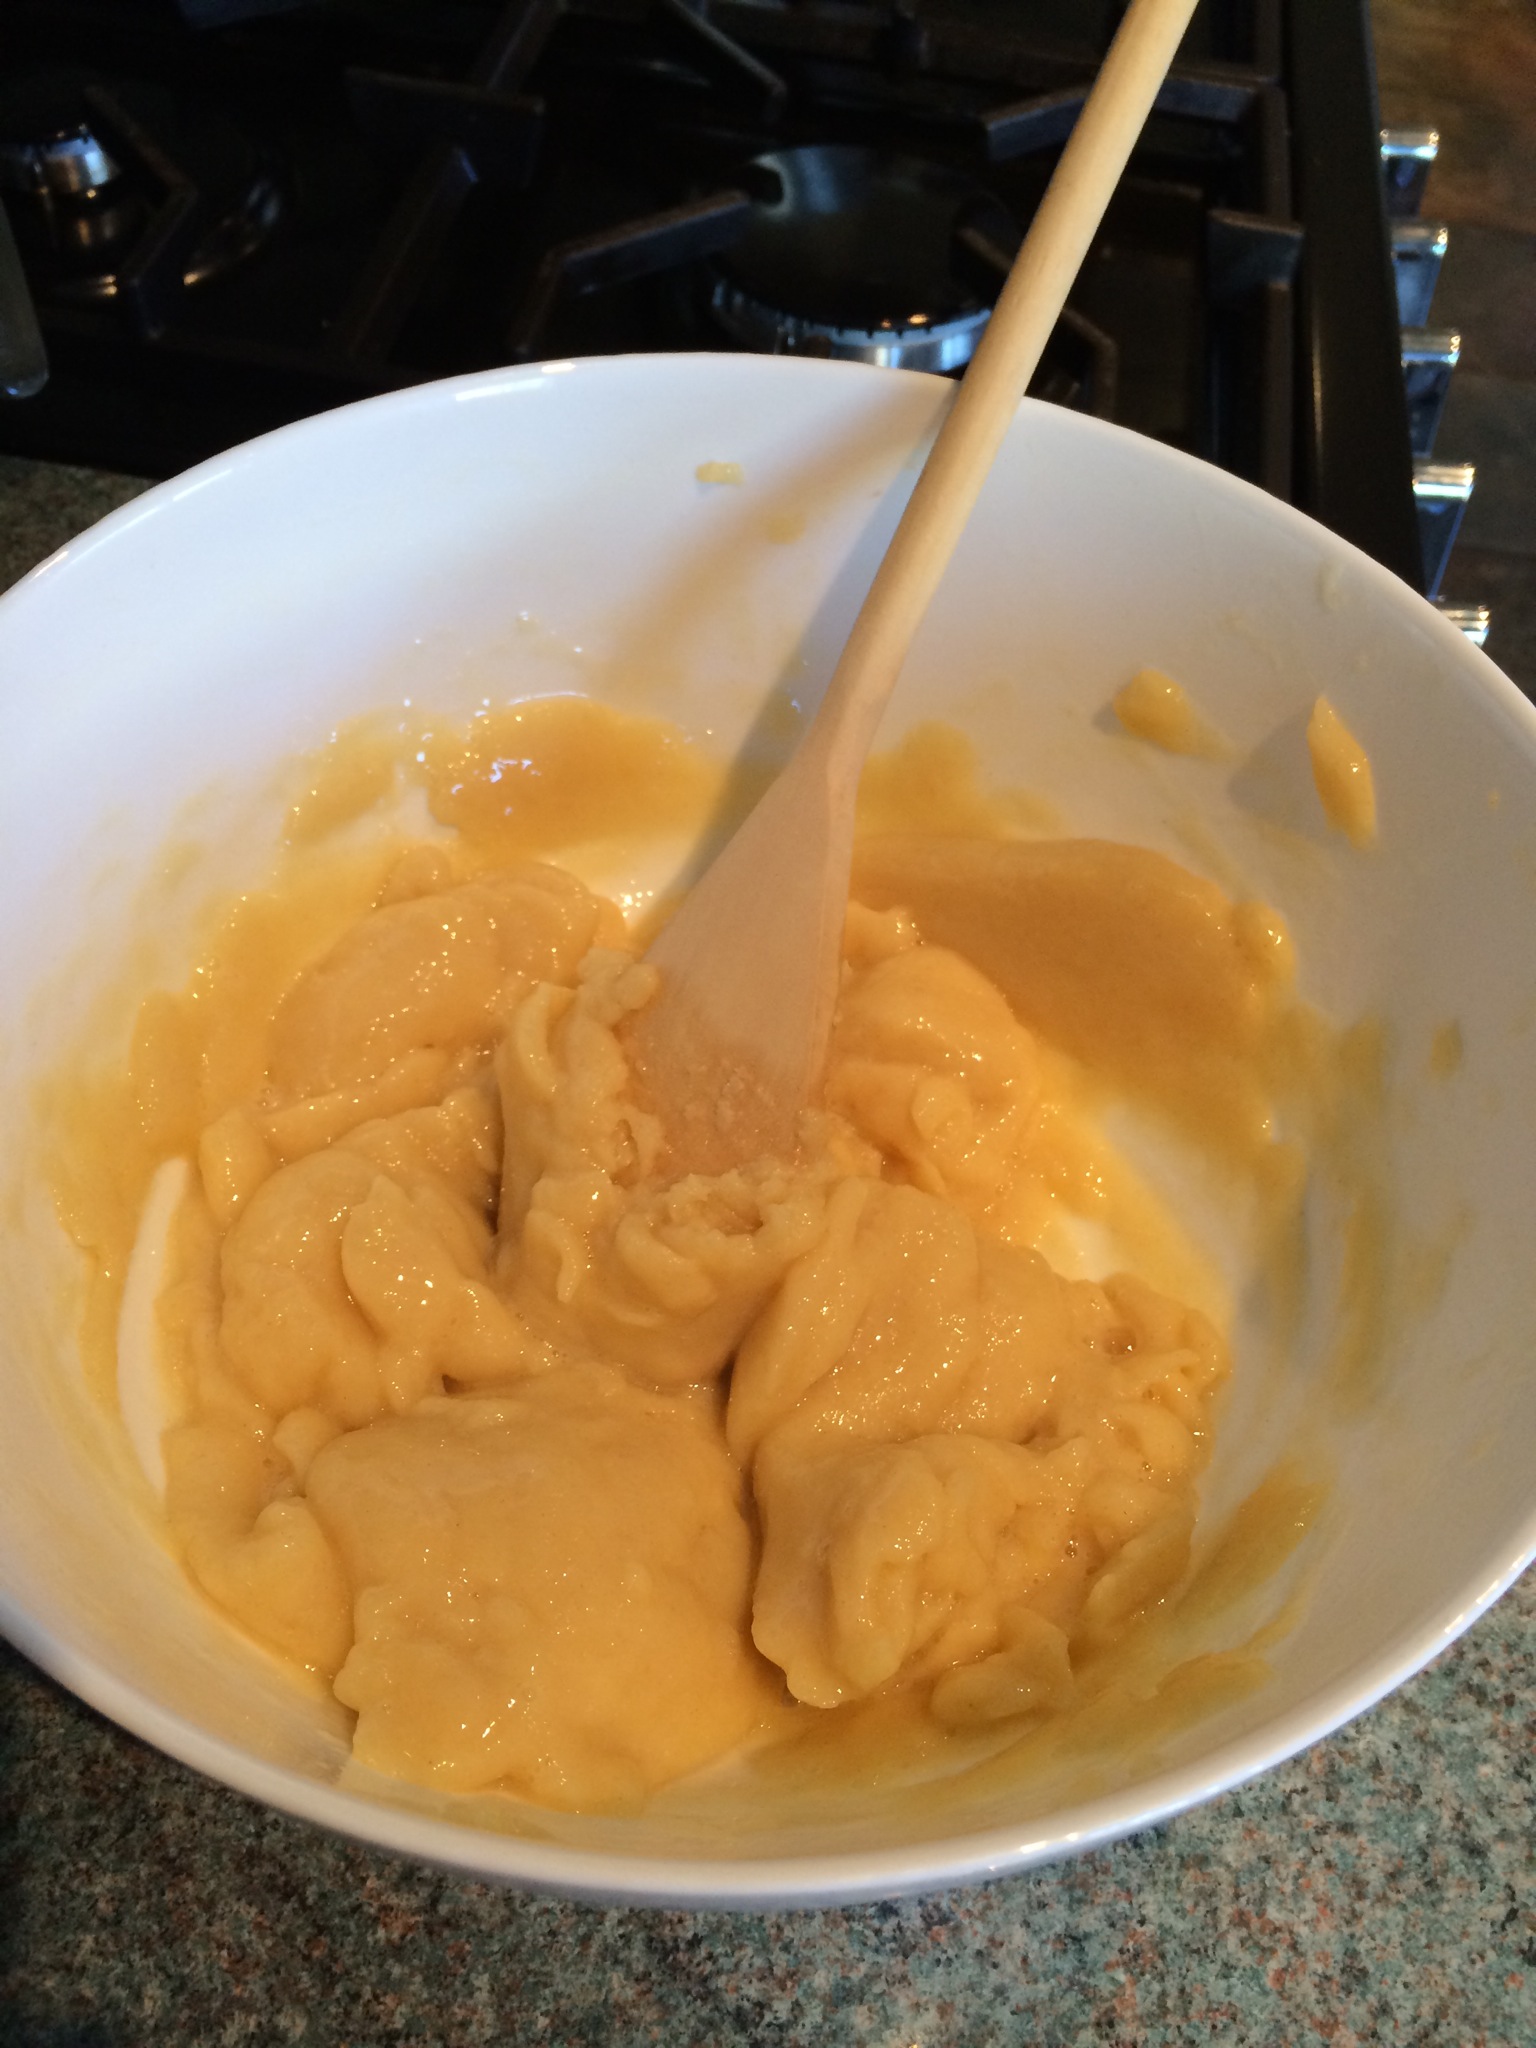
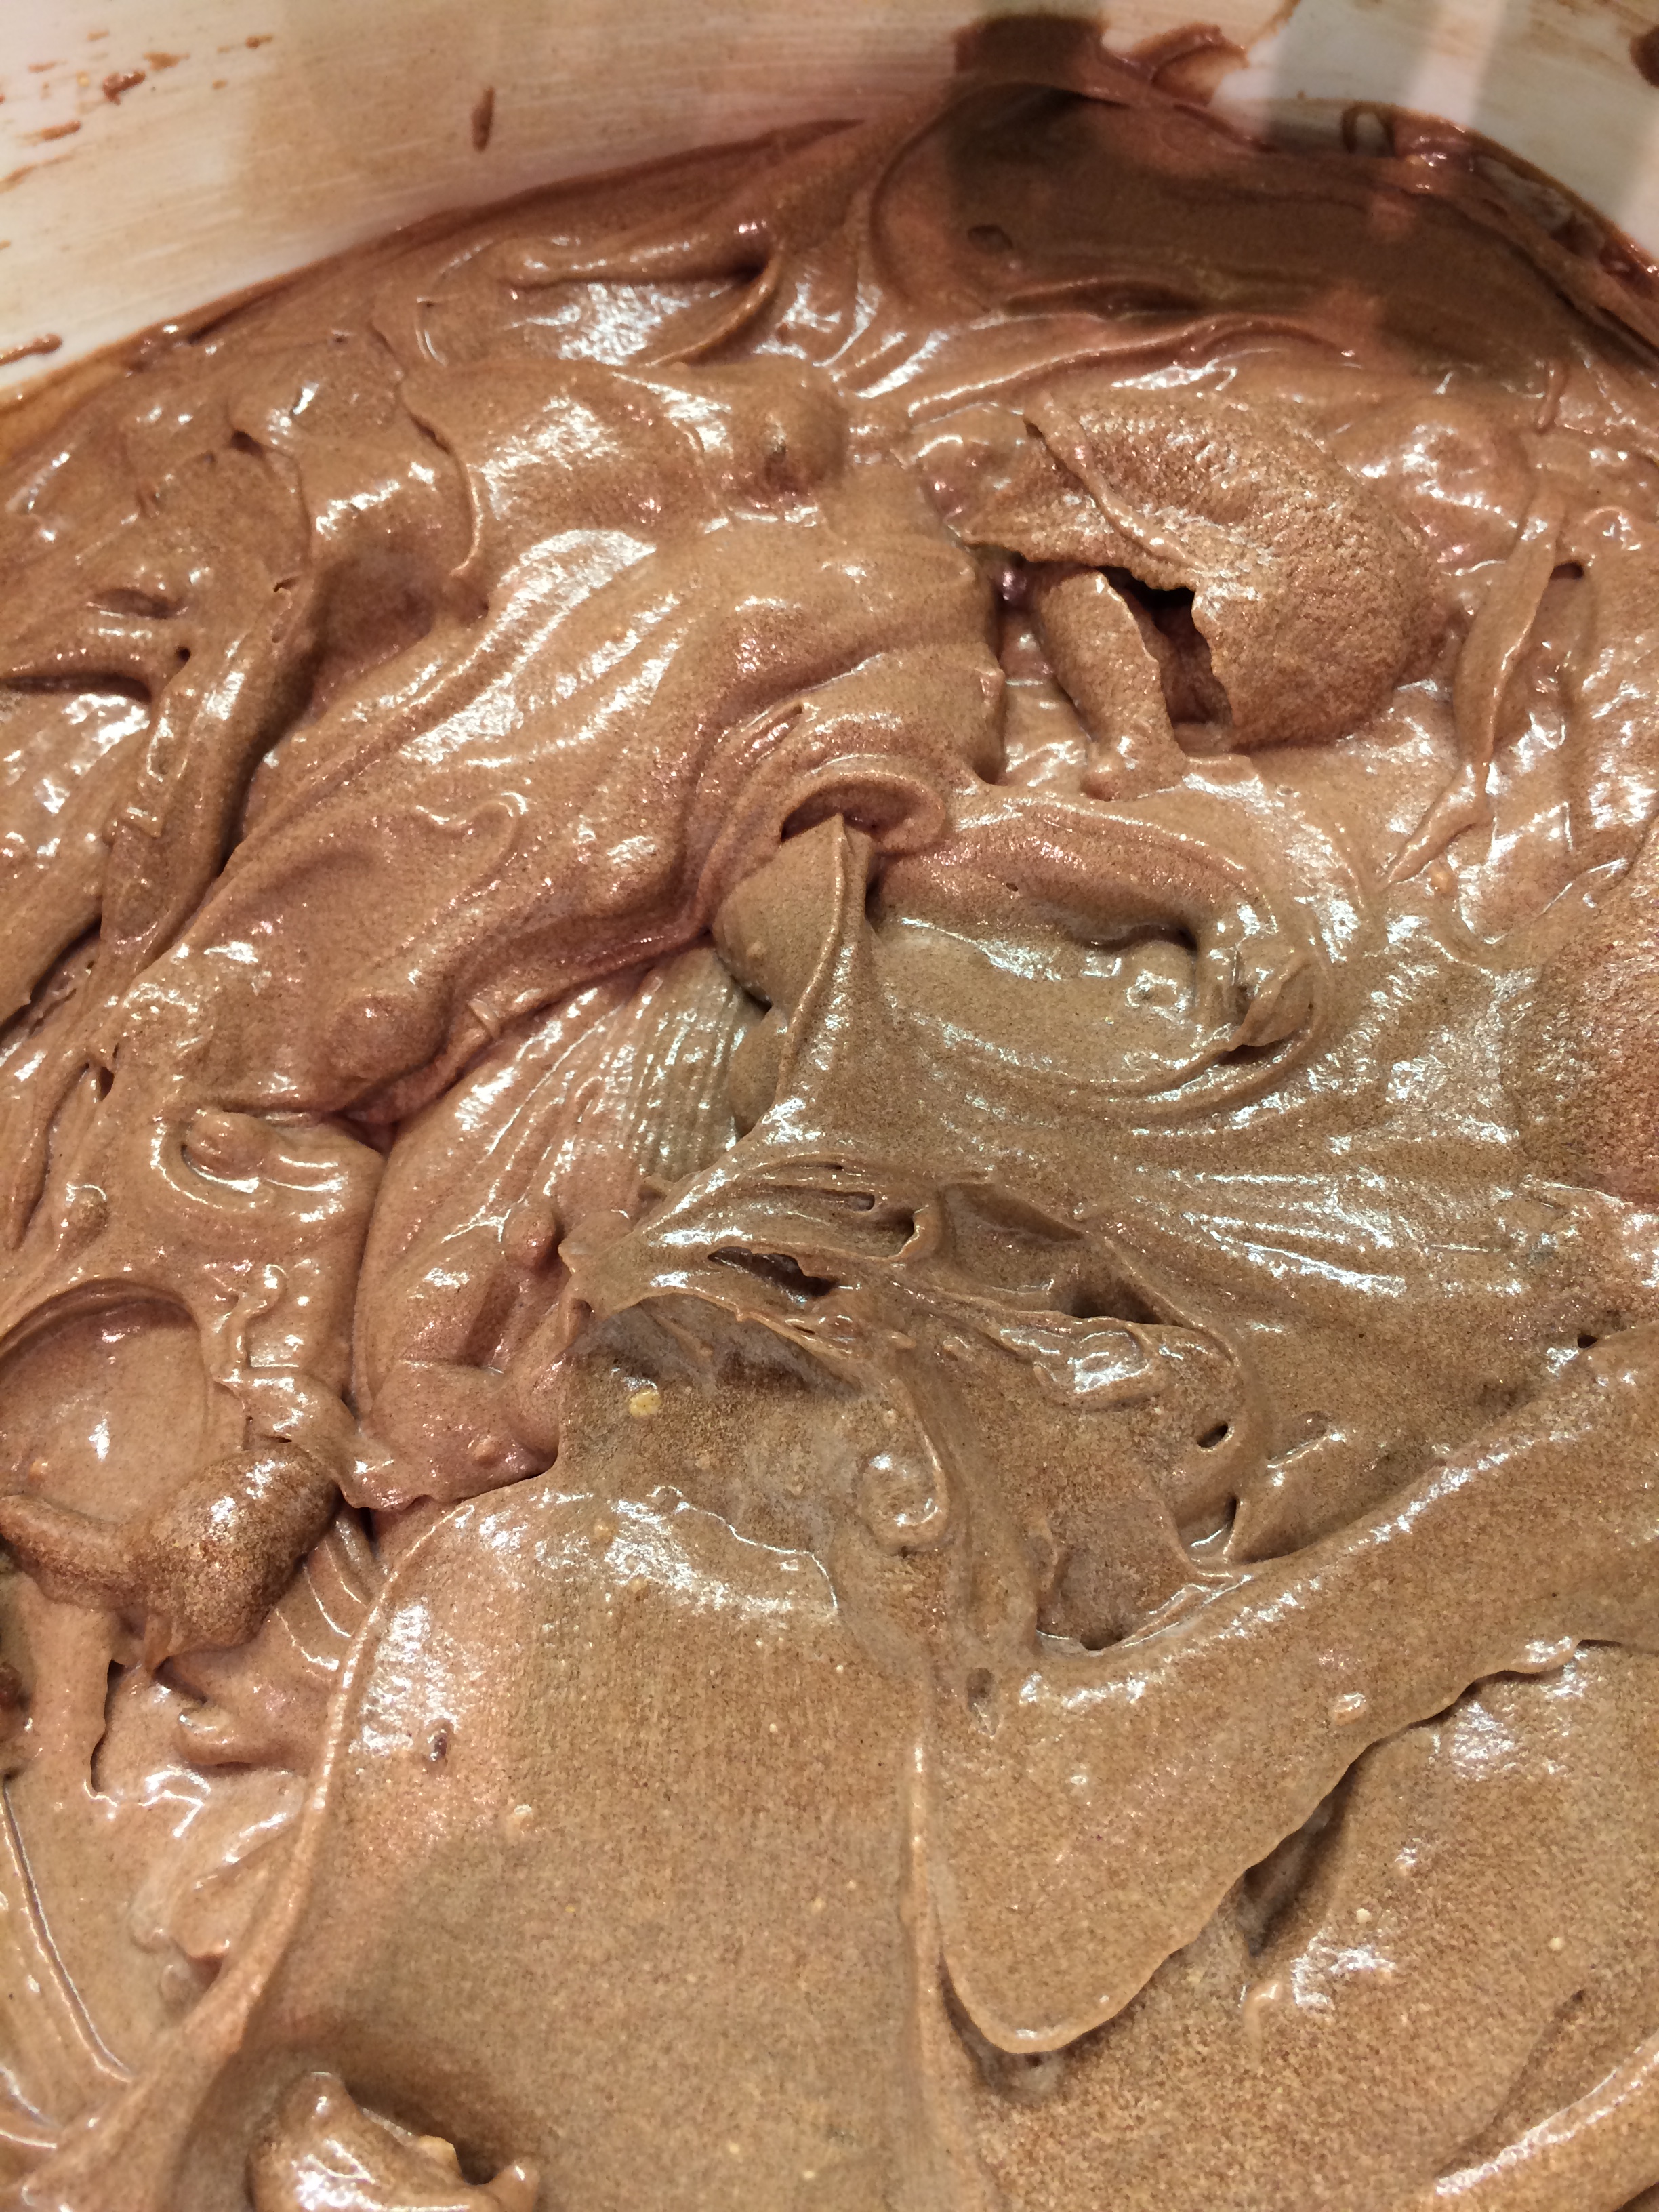
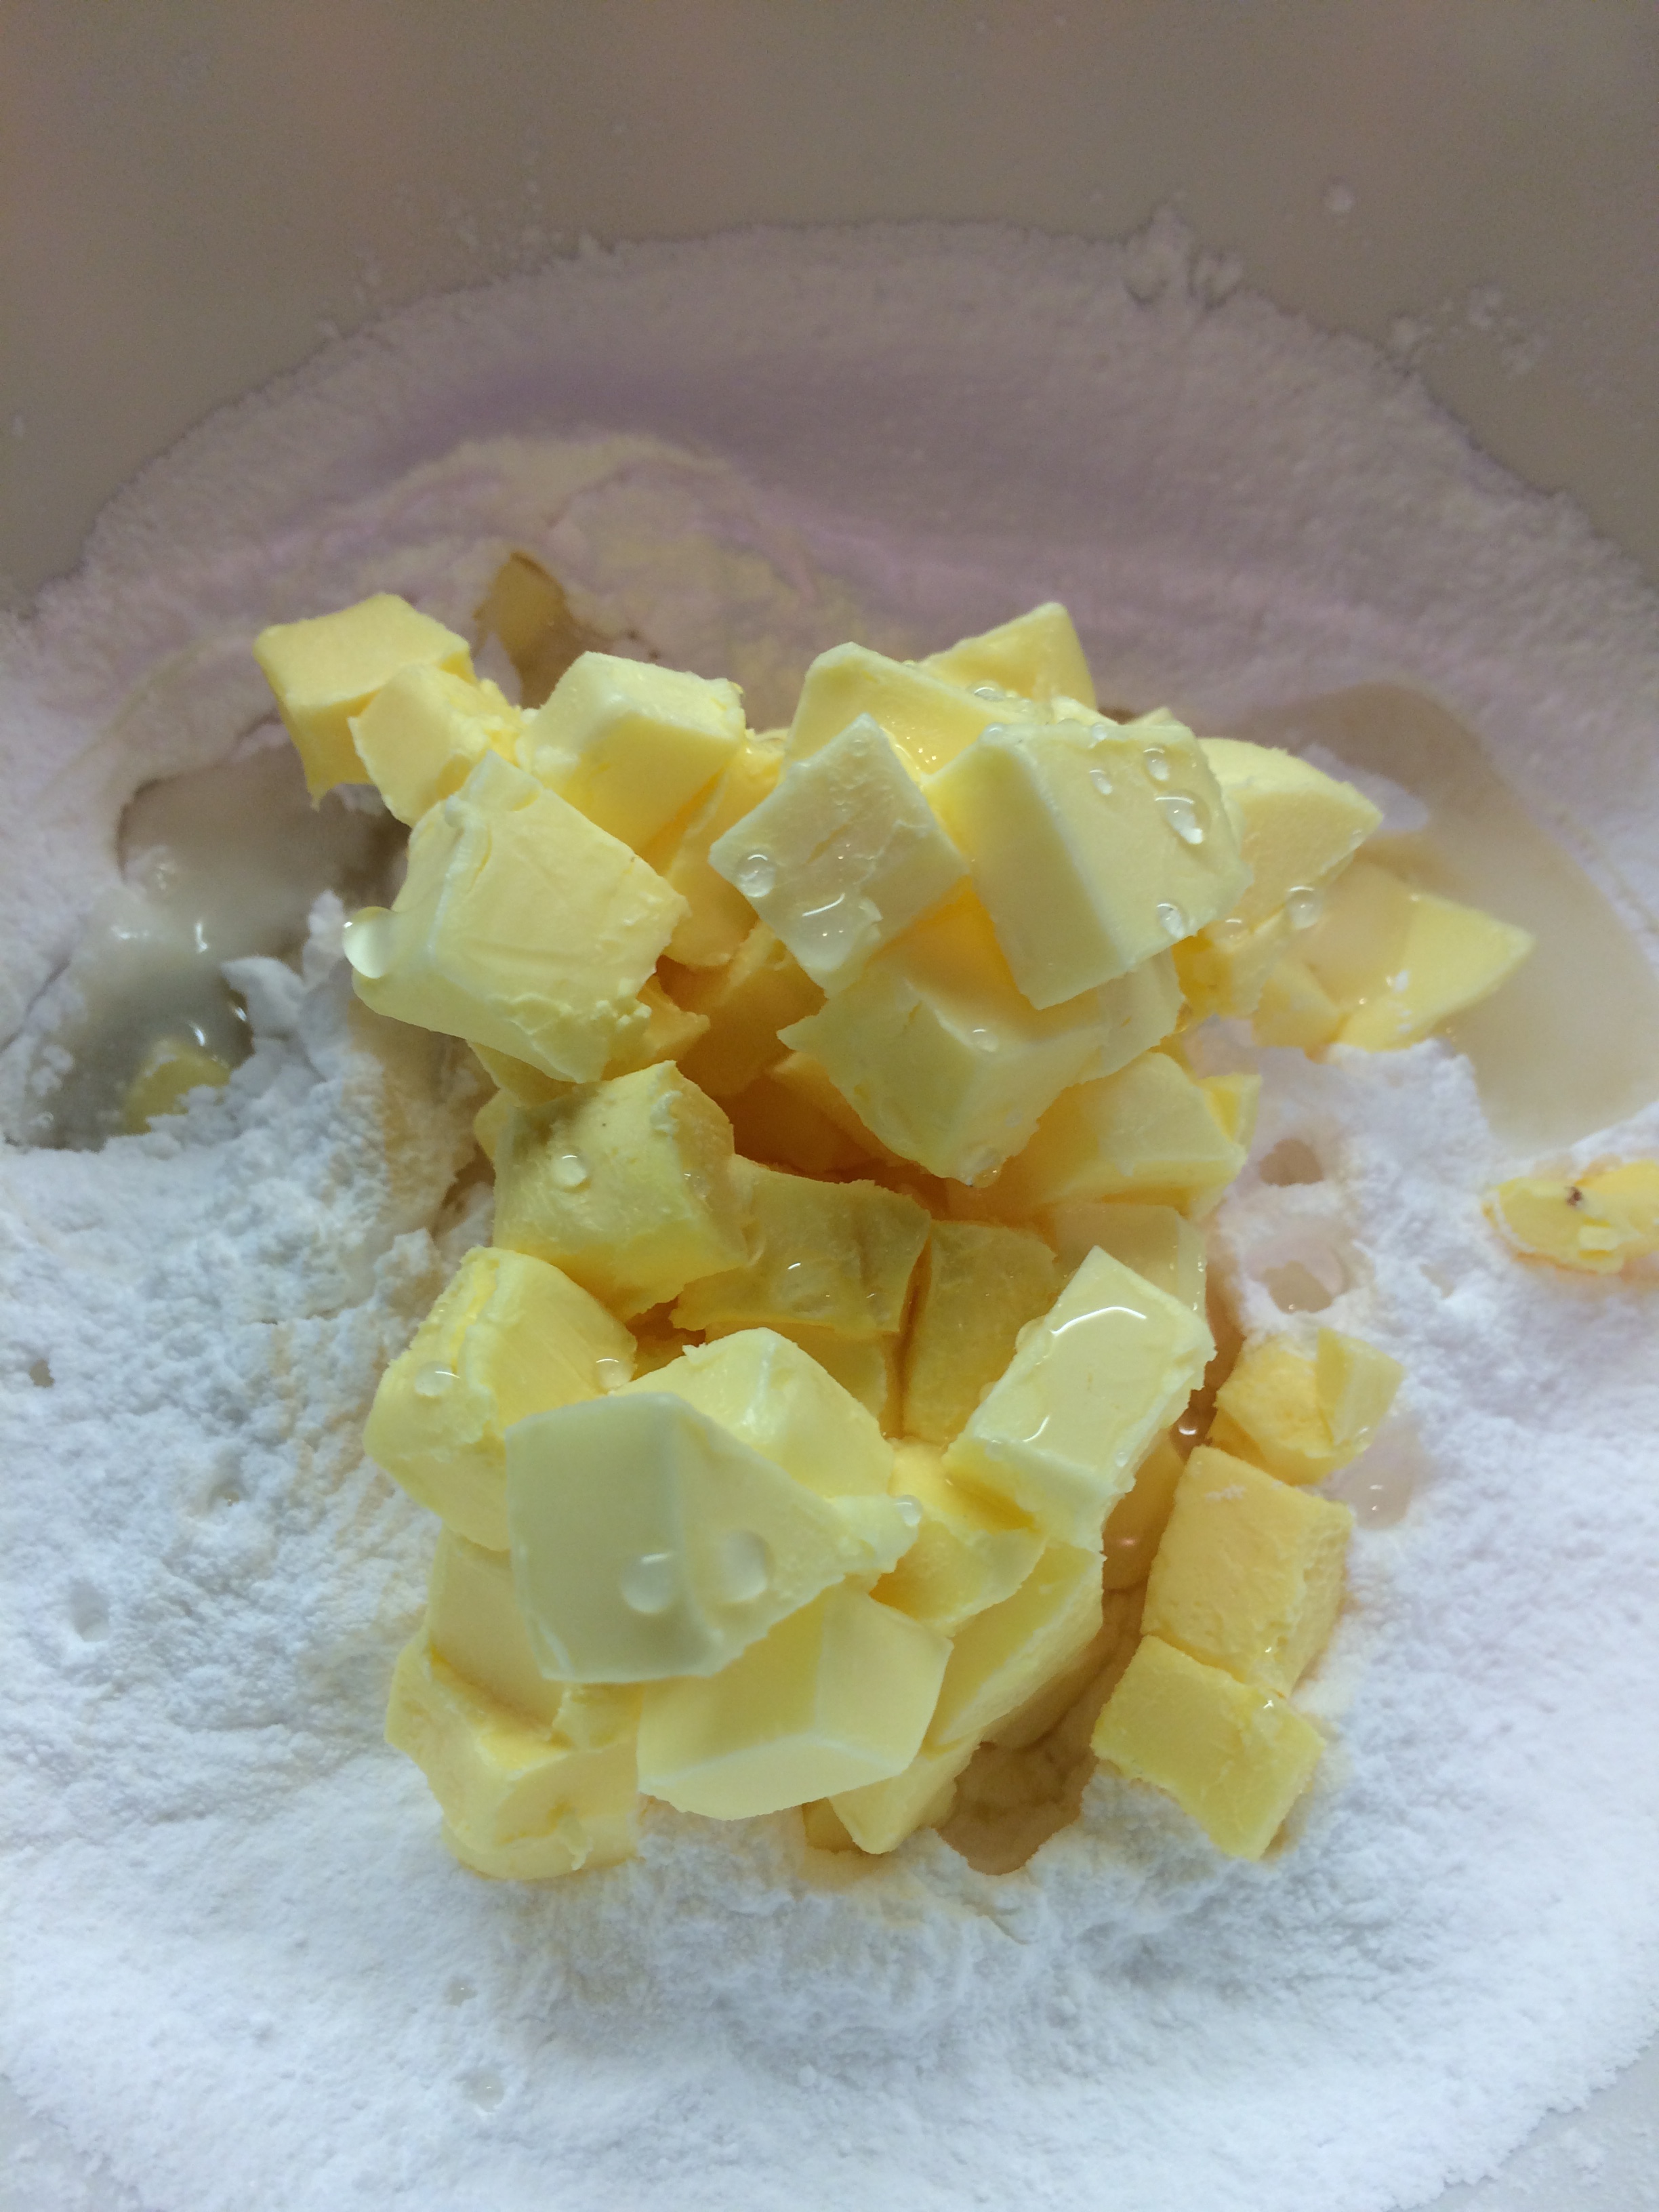
  • I added the remaining cake ingredients and with my electric hand whisk, I mixed the ingredients for 1 -2 minutes (be careful not to over-mix the ingredients as the cake might not rise properly).

IMG_5036IMG_5037

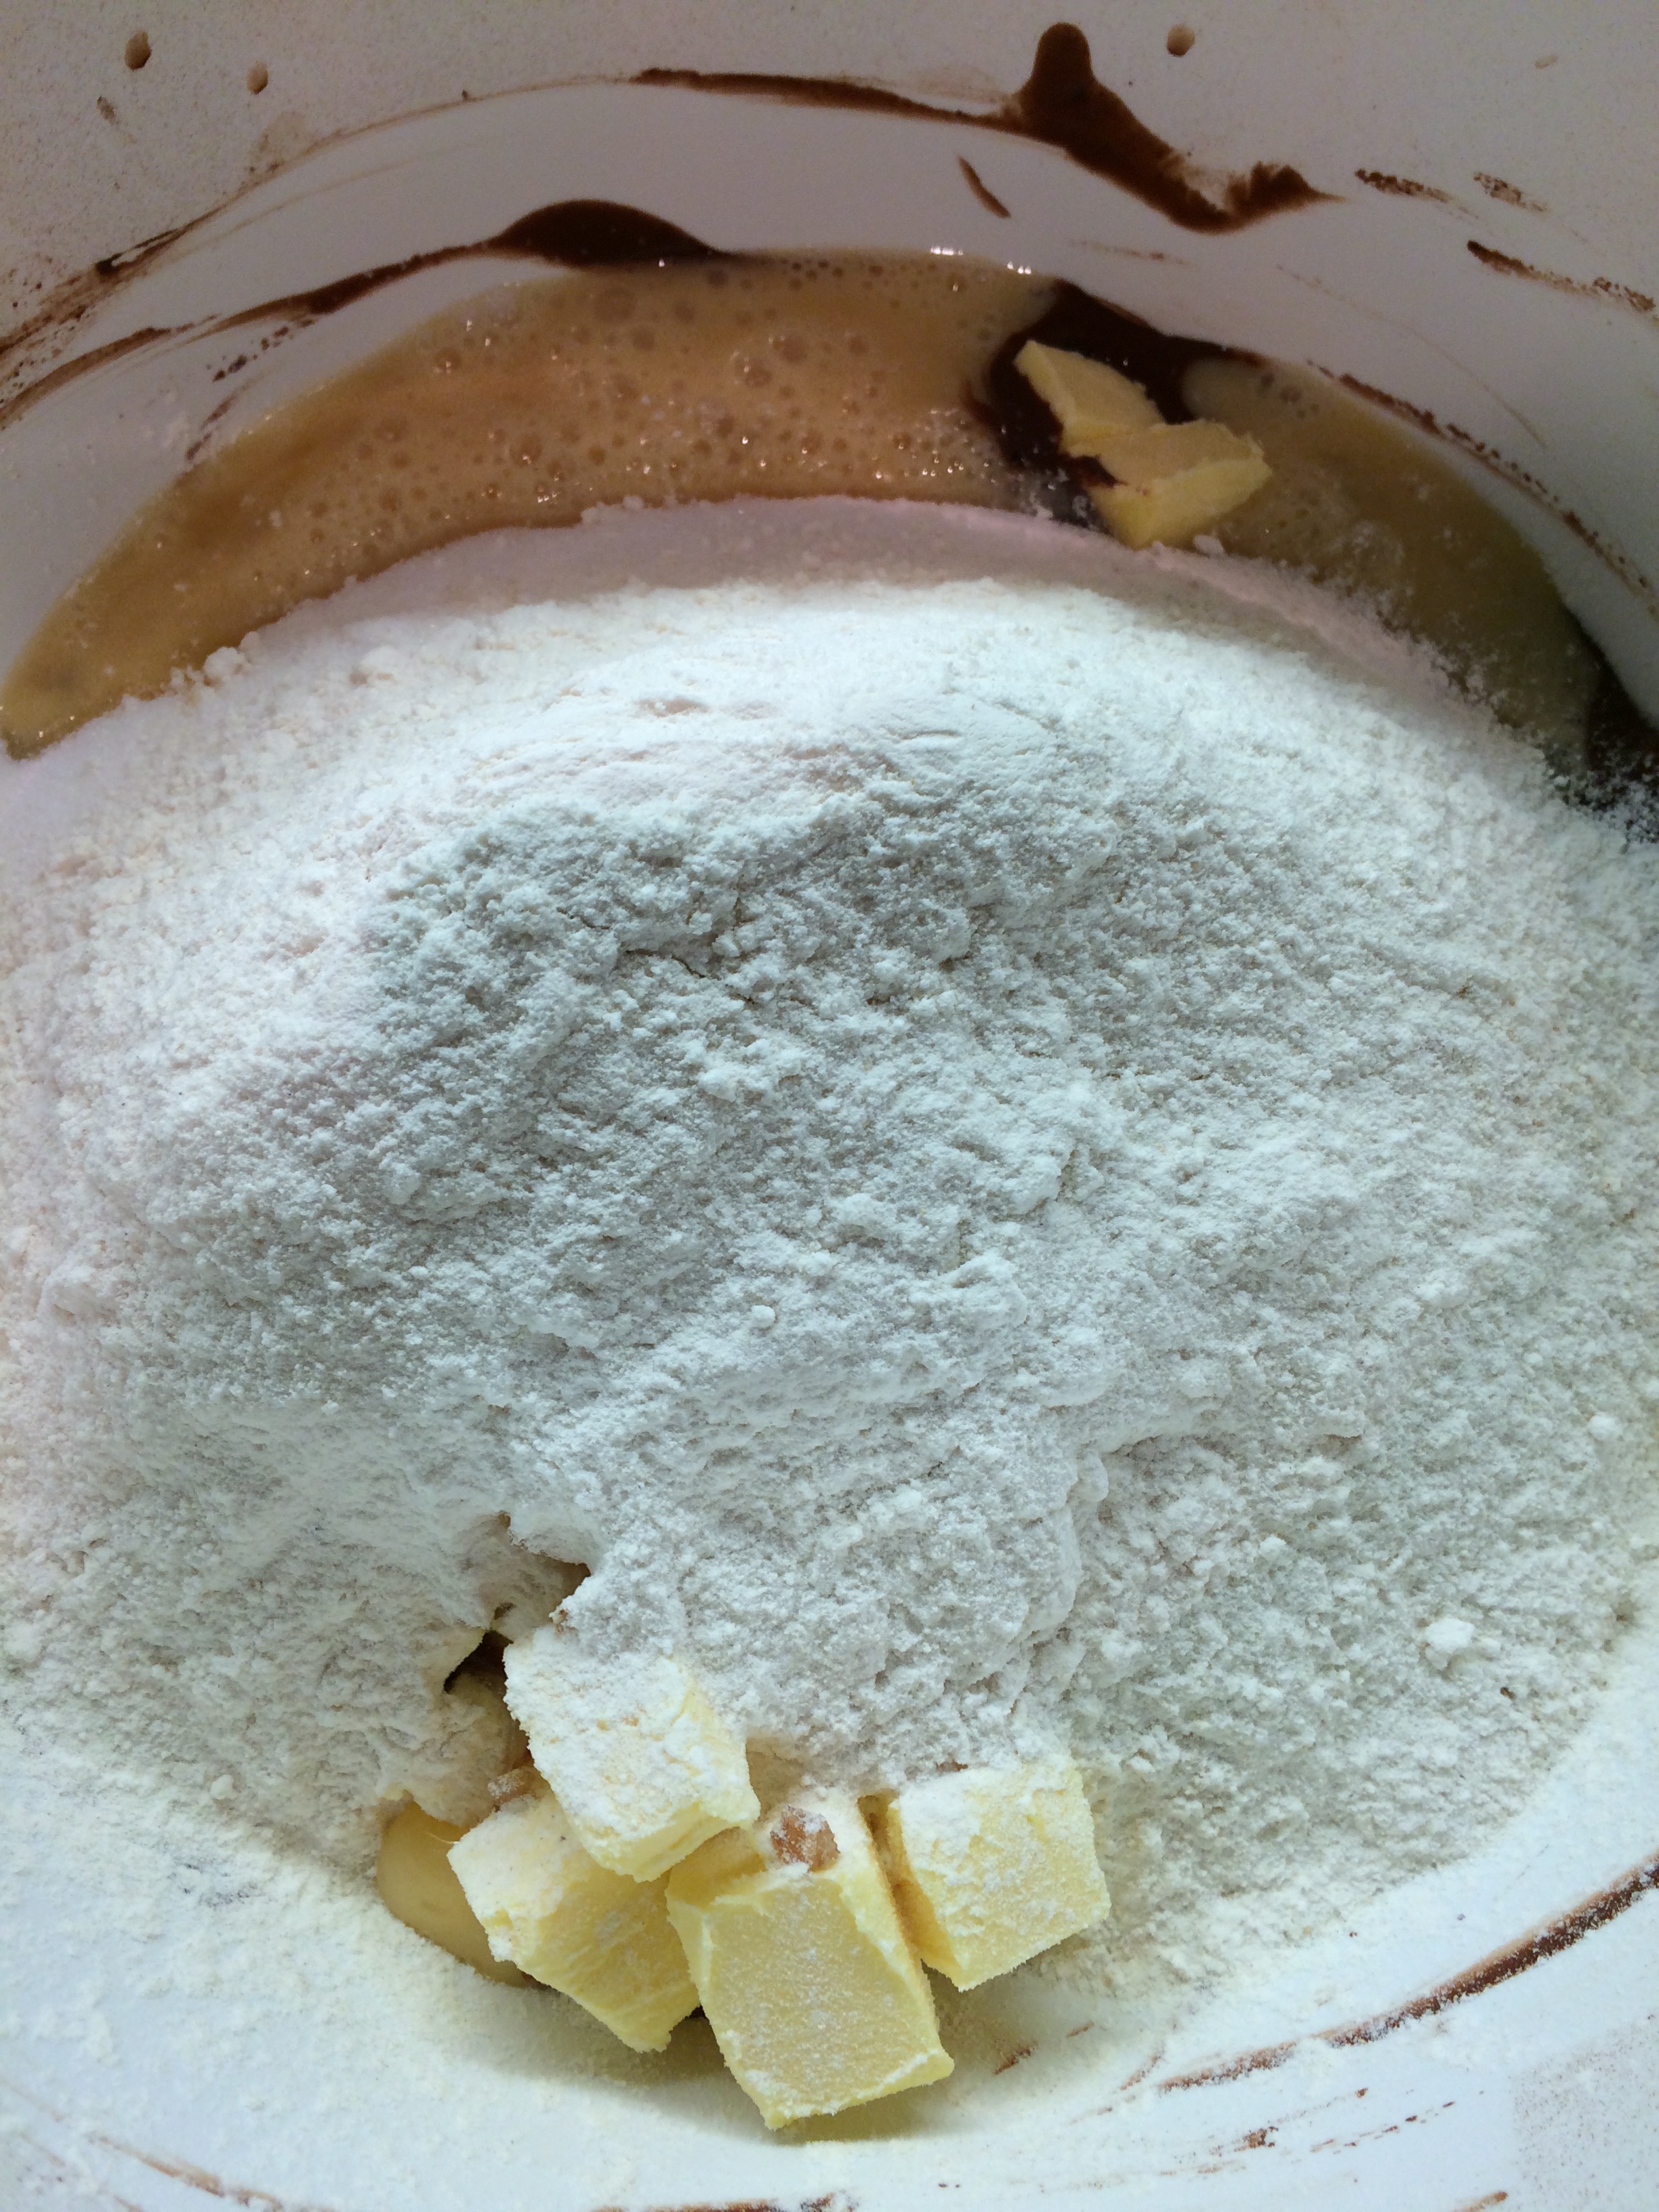
(You can see that I chopped the butter into small cubes – just to make life easier!)

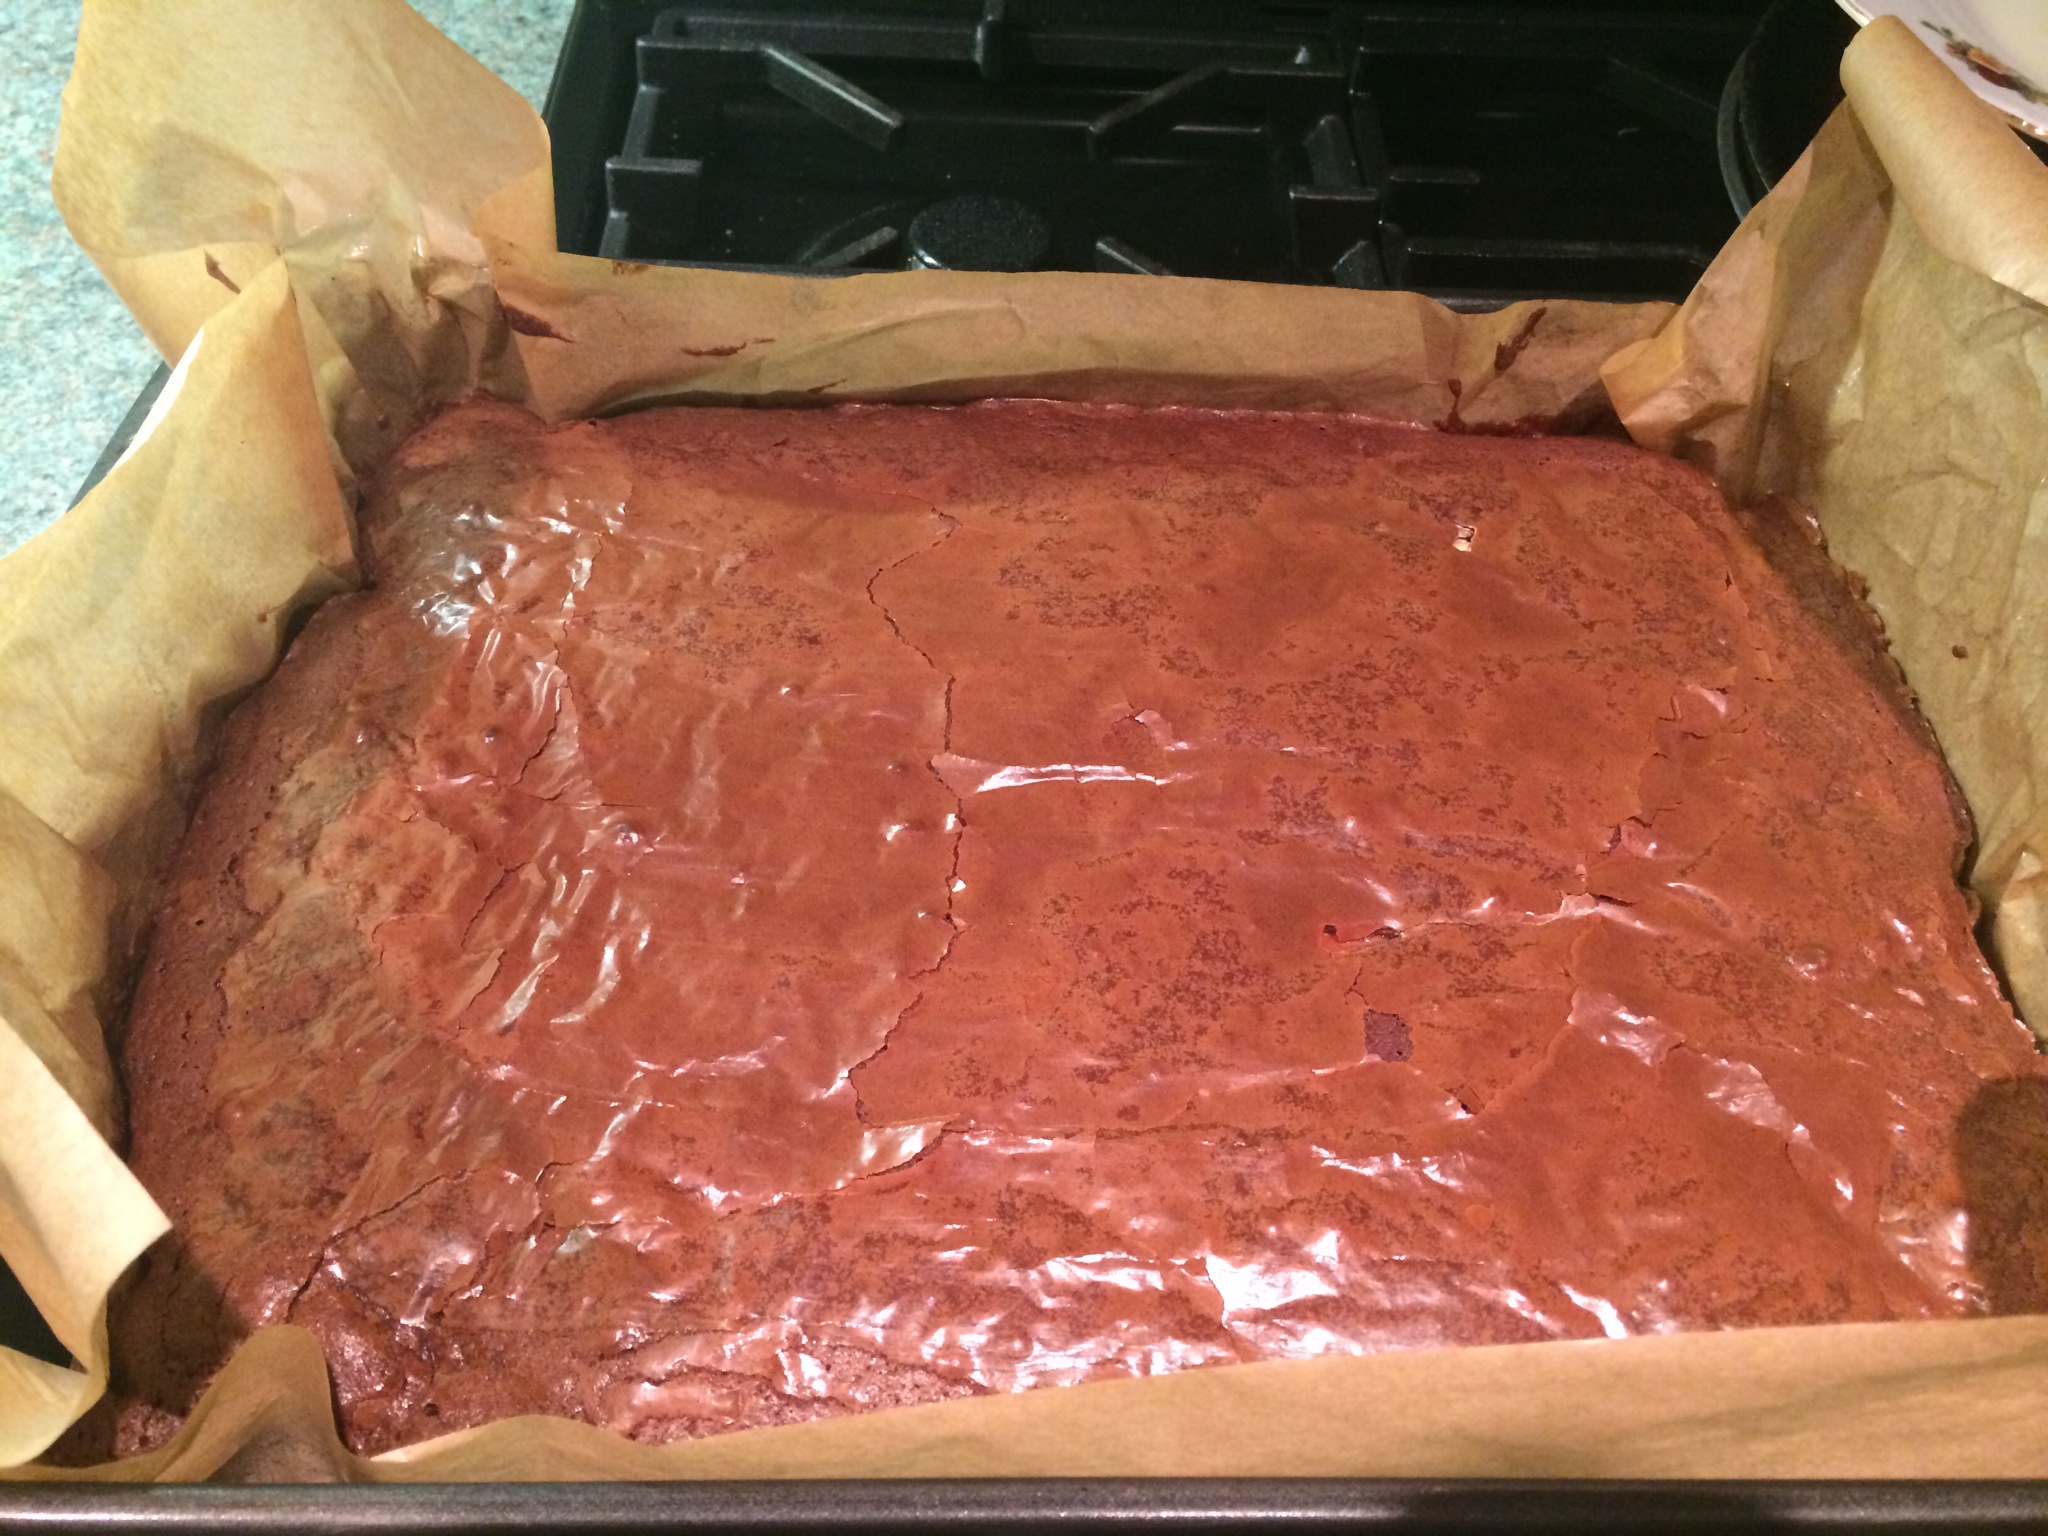
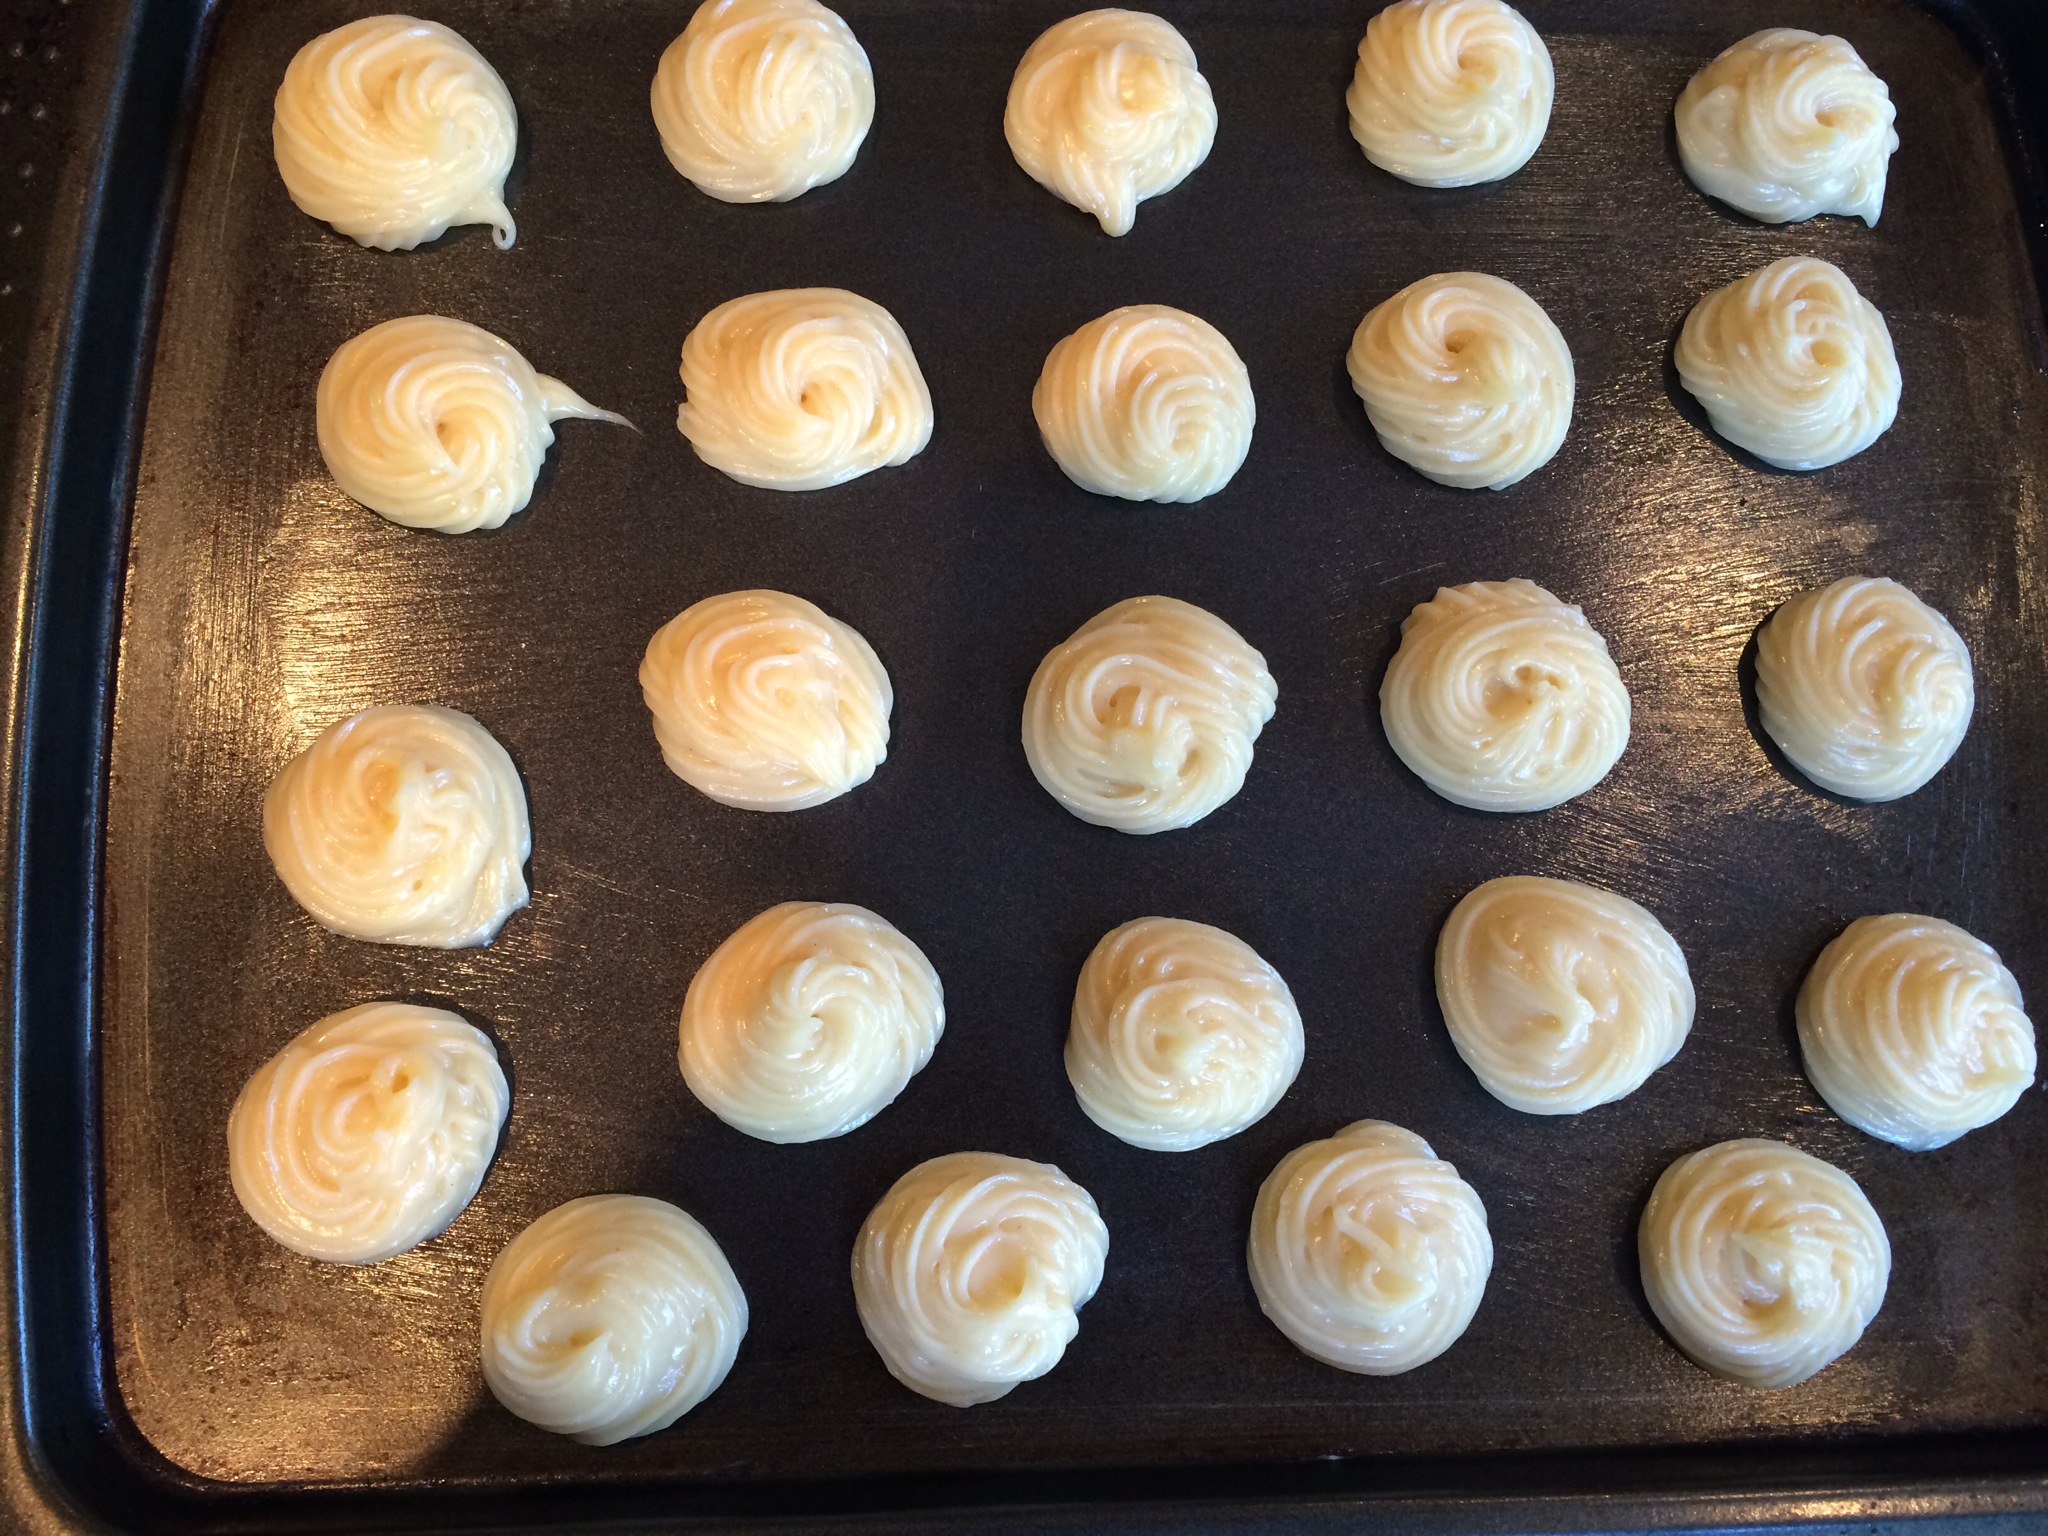
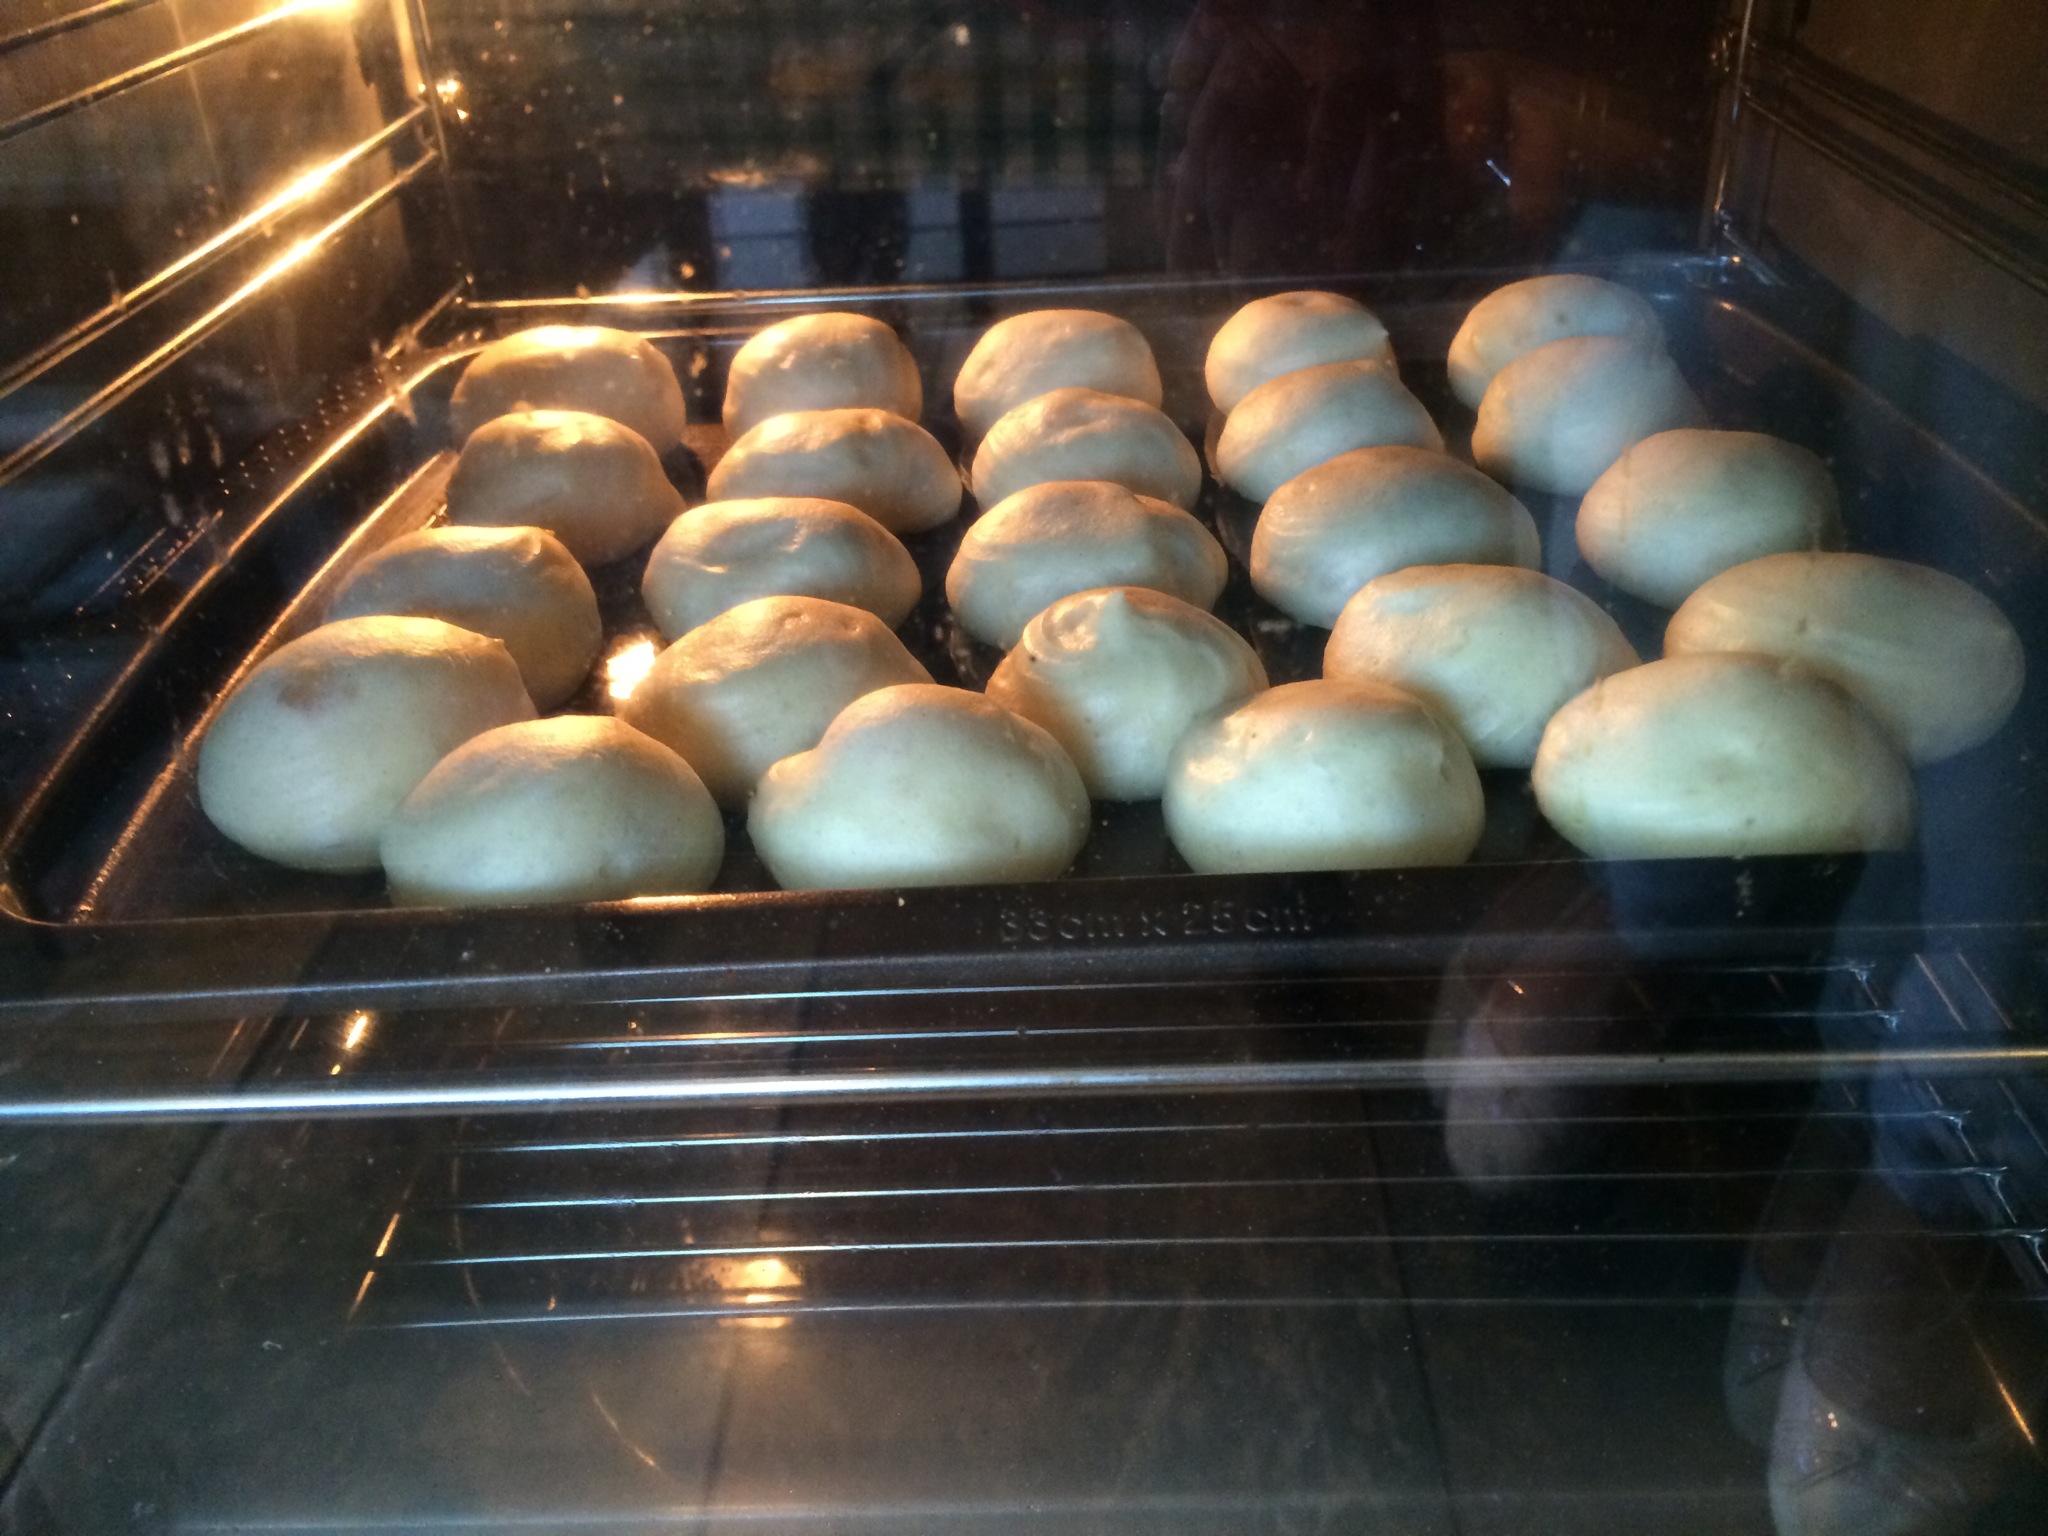
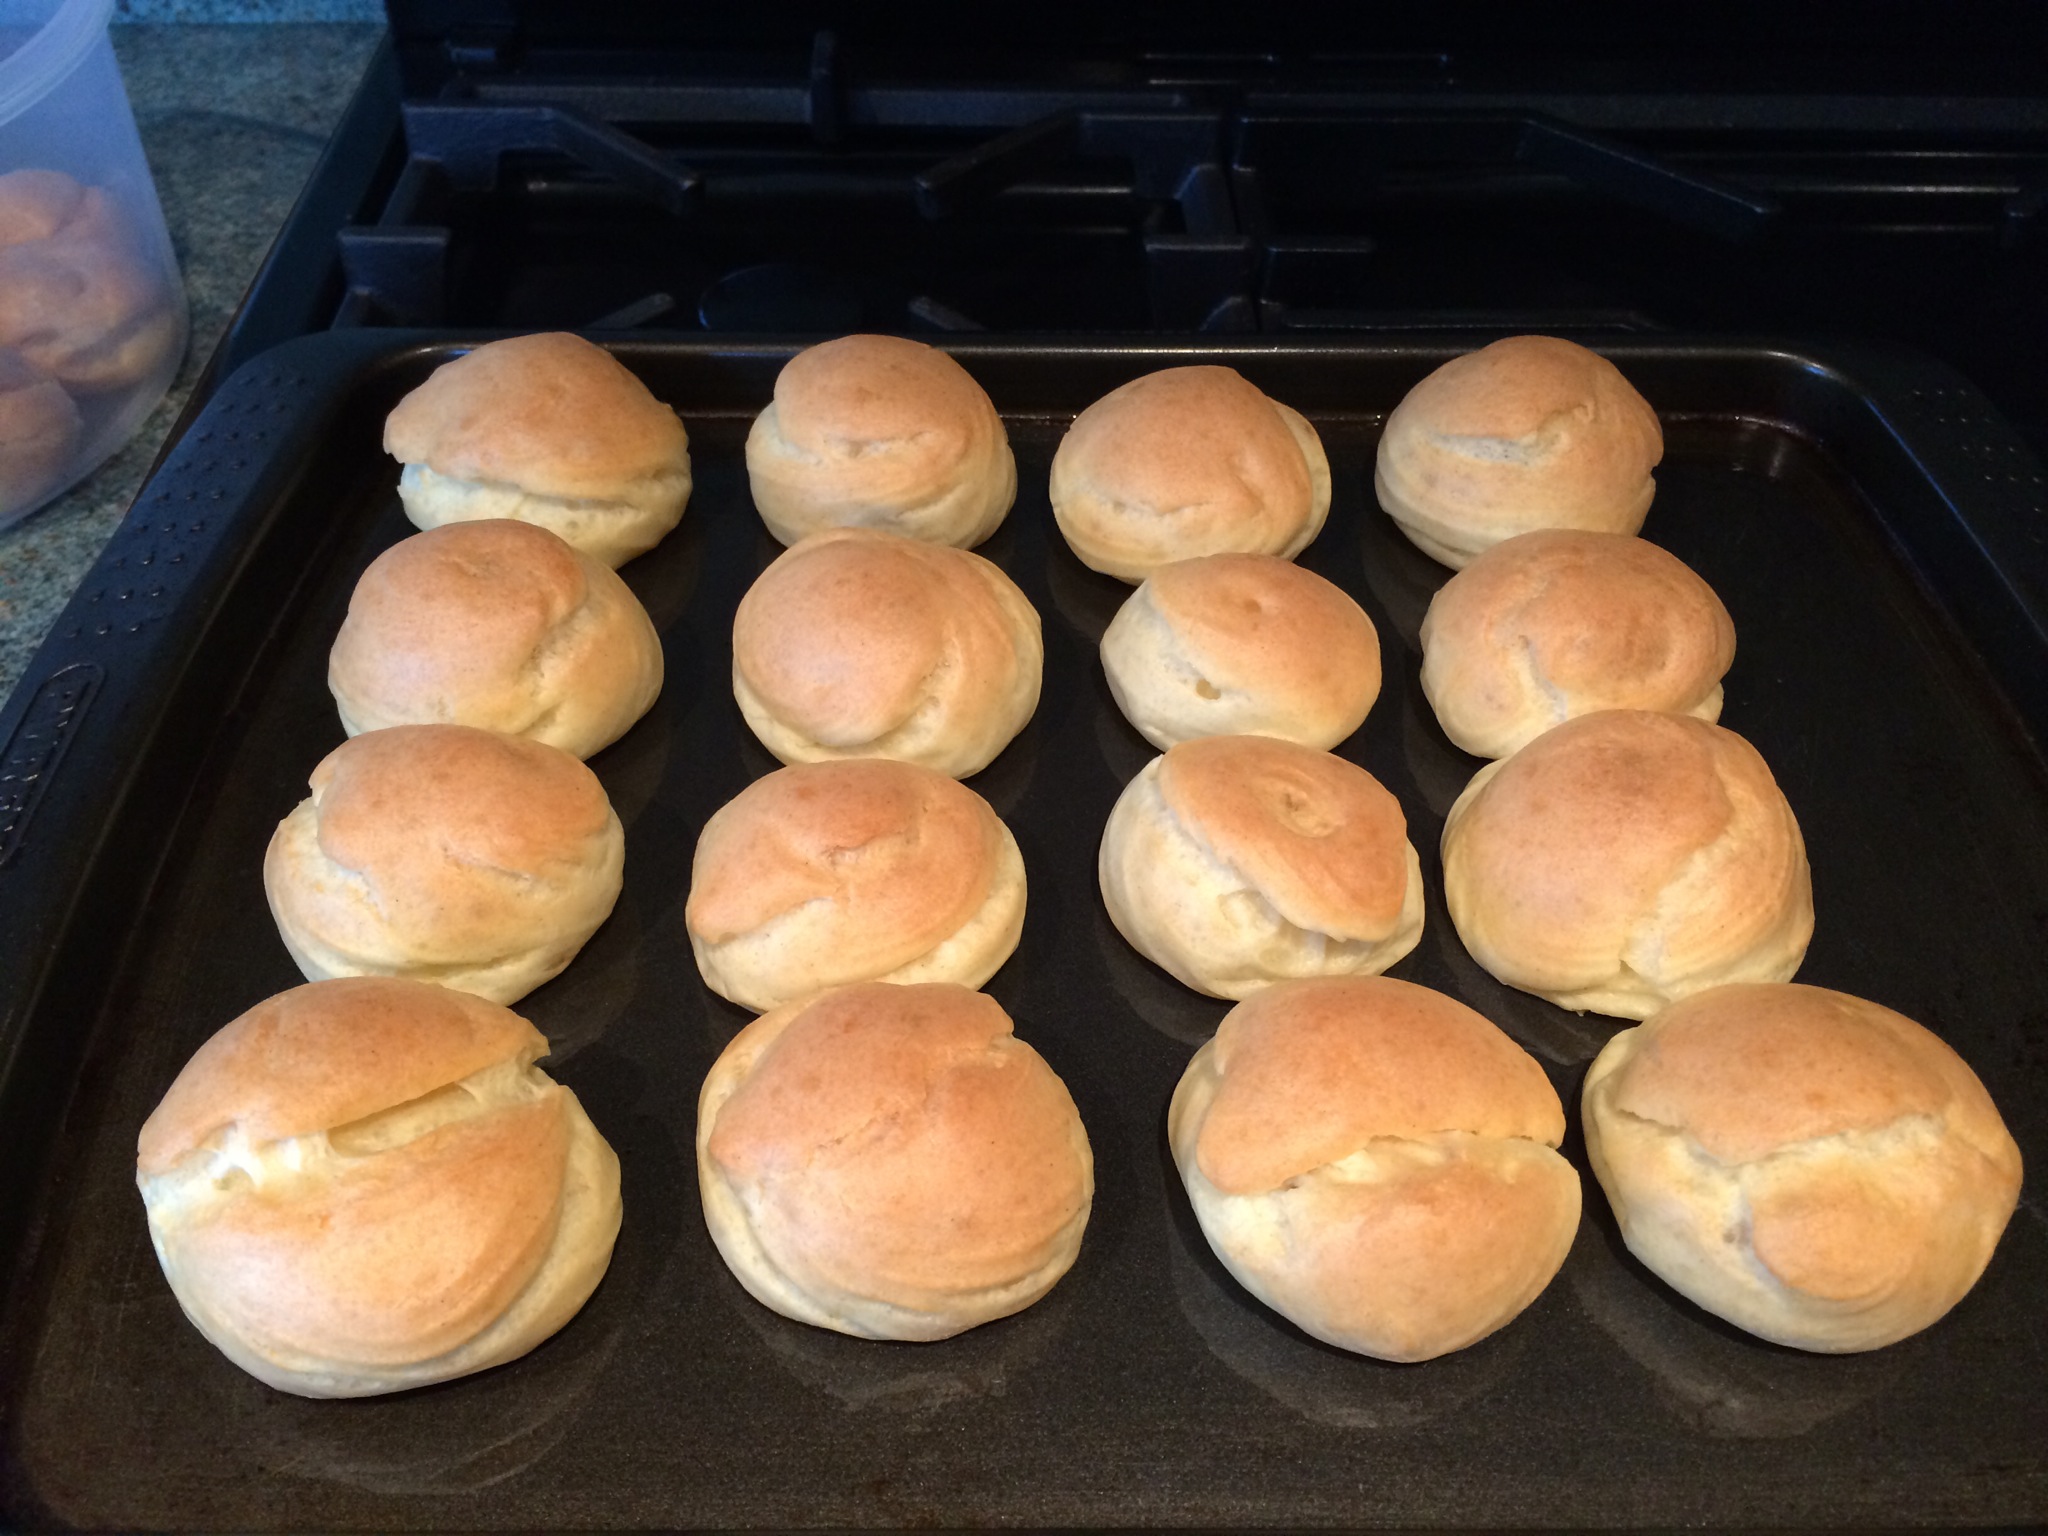
  • I divided the cake mixture between the cake tins and made sure to even out the tops before placing them in the oven and baked them for about 25 – 30 minutes.

IMG_5038

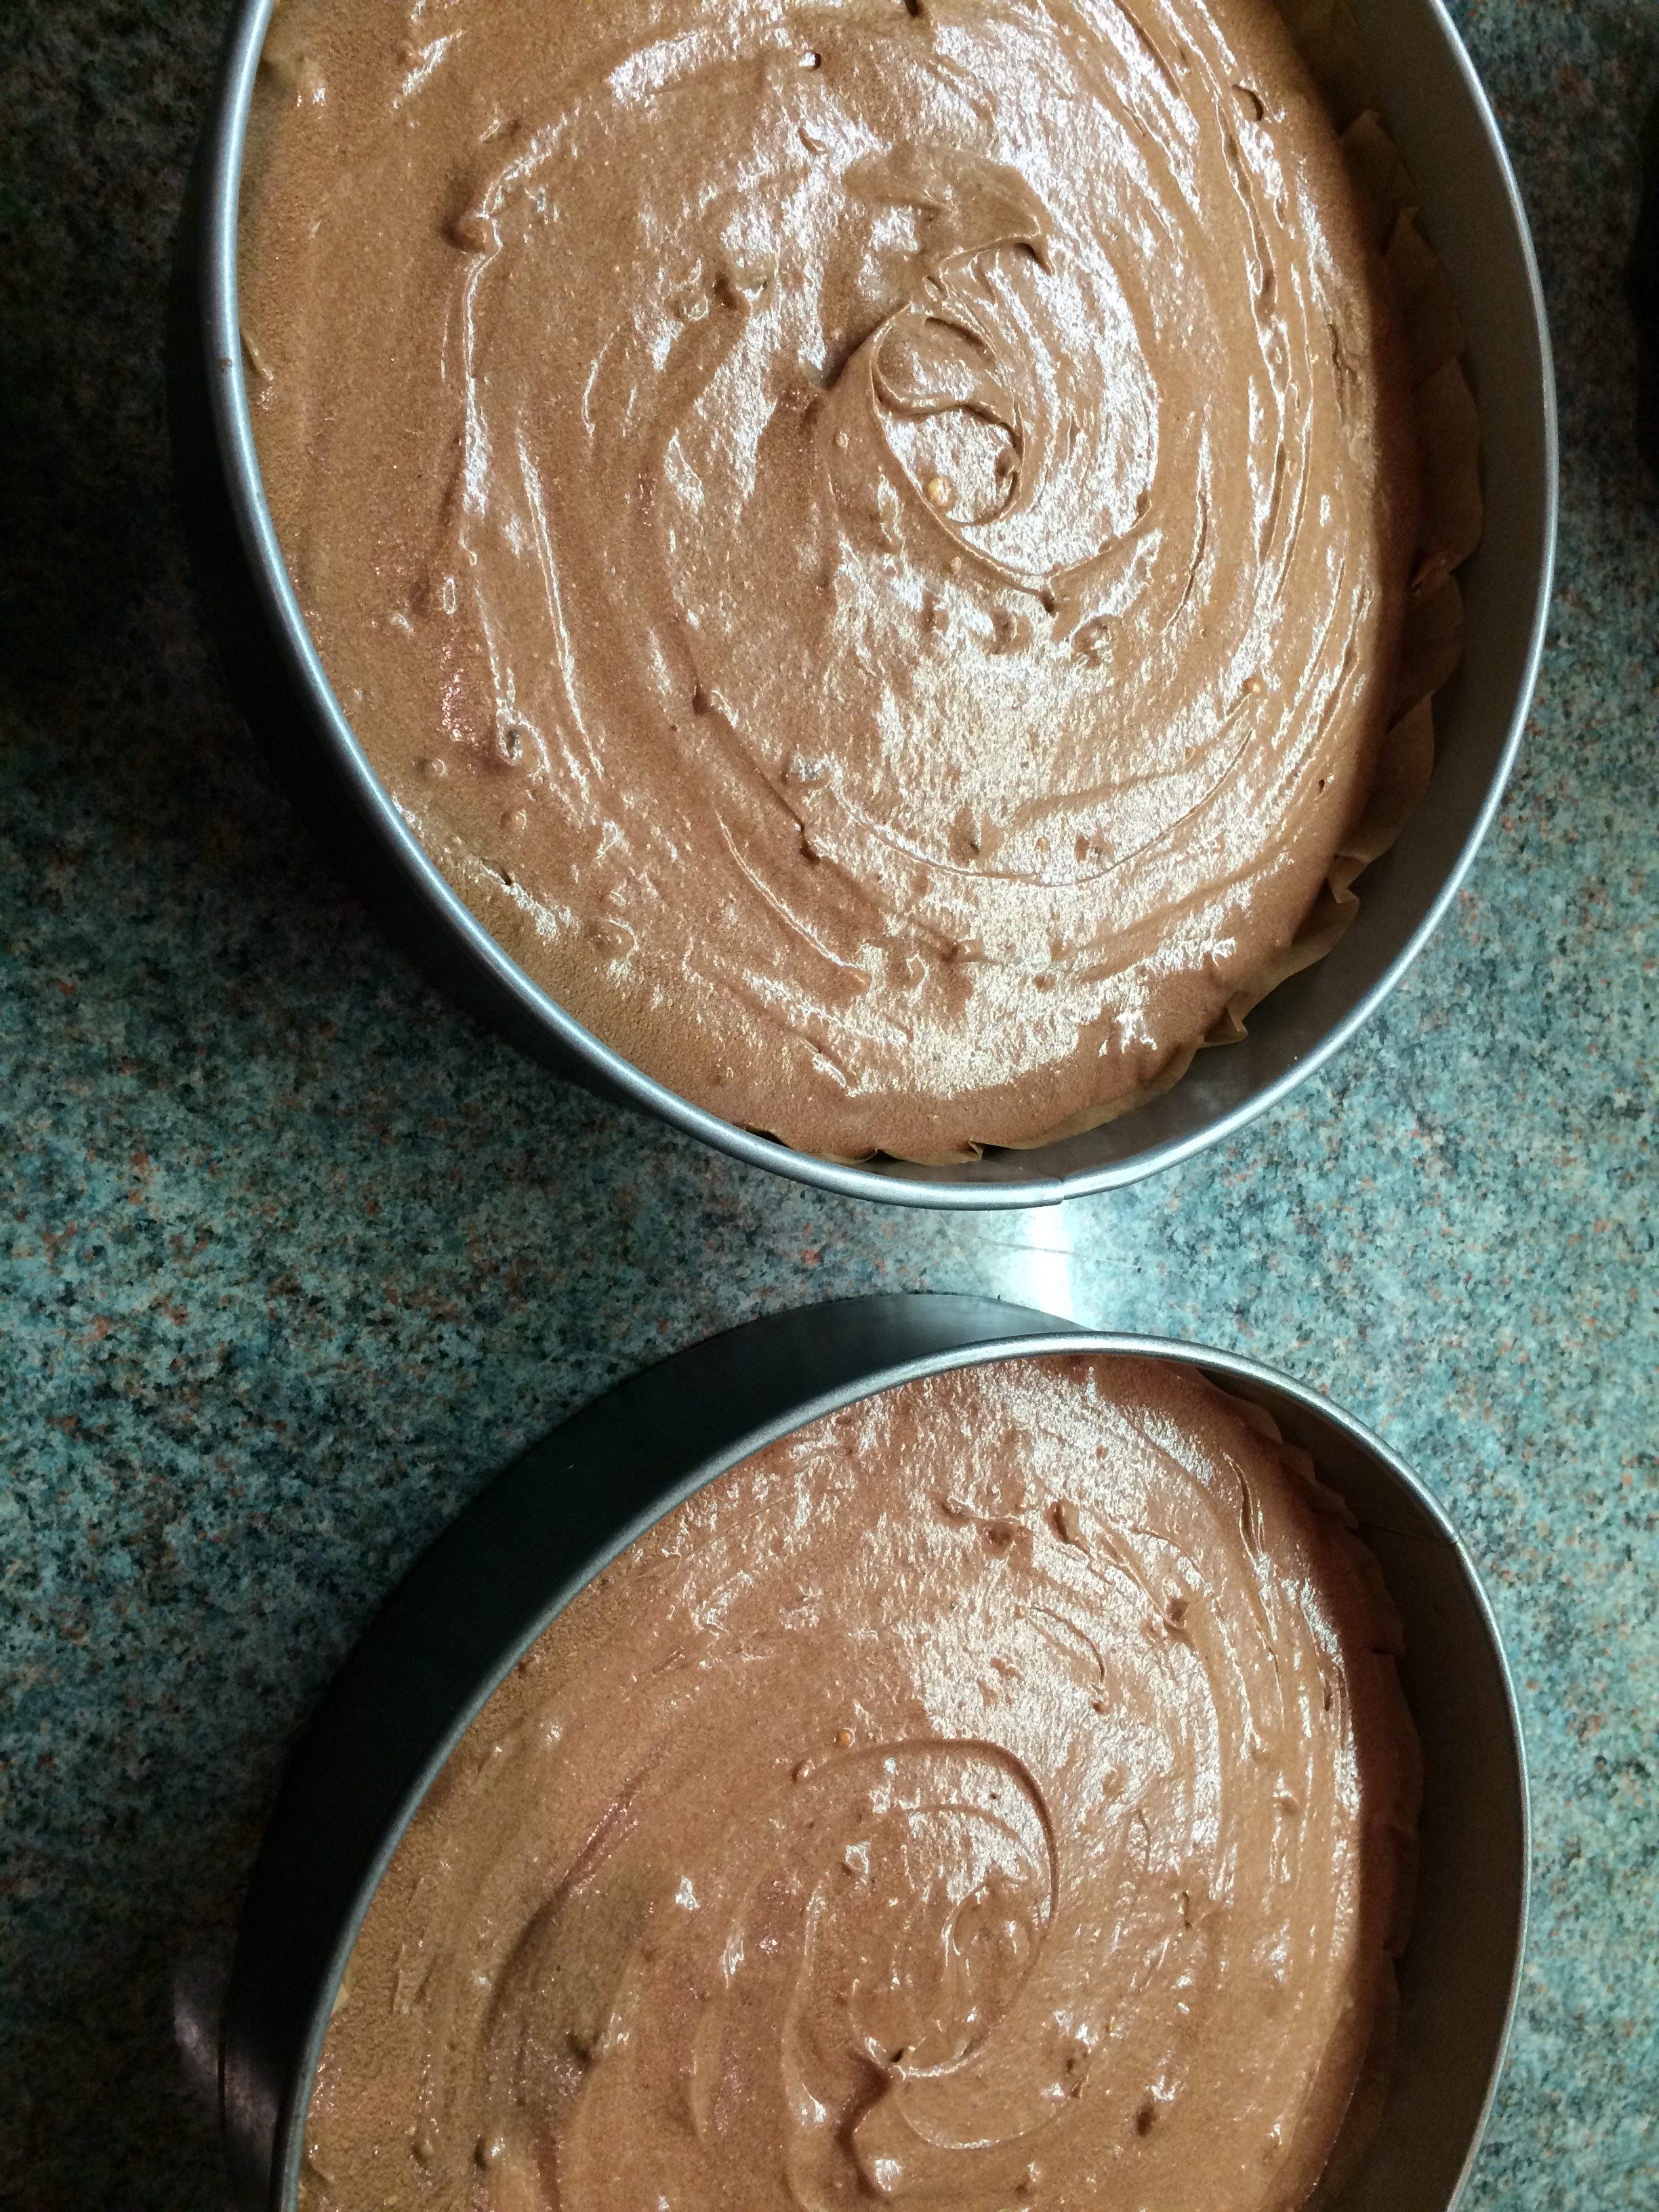
(As you’re making a chocolate cake it can be a little harder to tell if the cake is cooked by just looking at it, so you can always check pressing your finger on the sponge gently to see if it feels firm and springs back or by inserting a skewer and see if it comes out clean.)

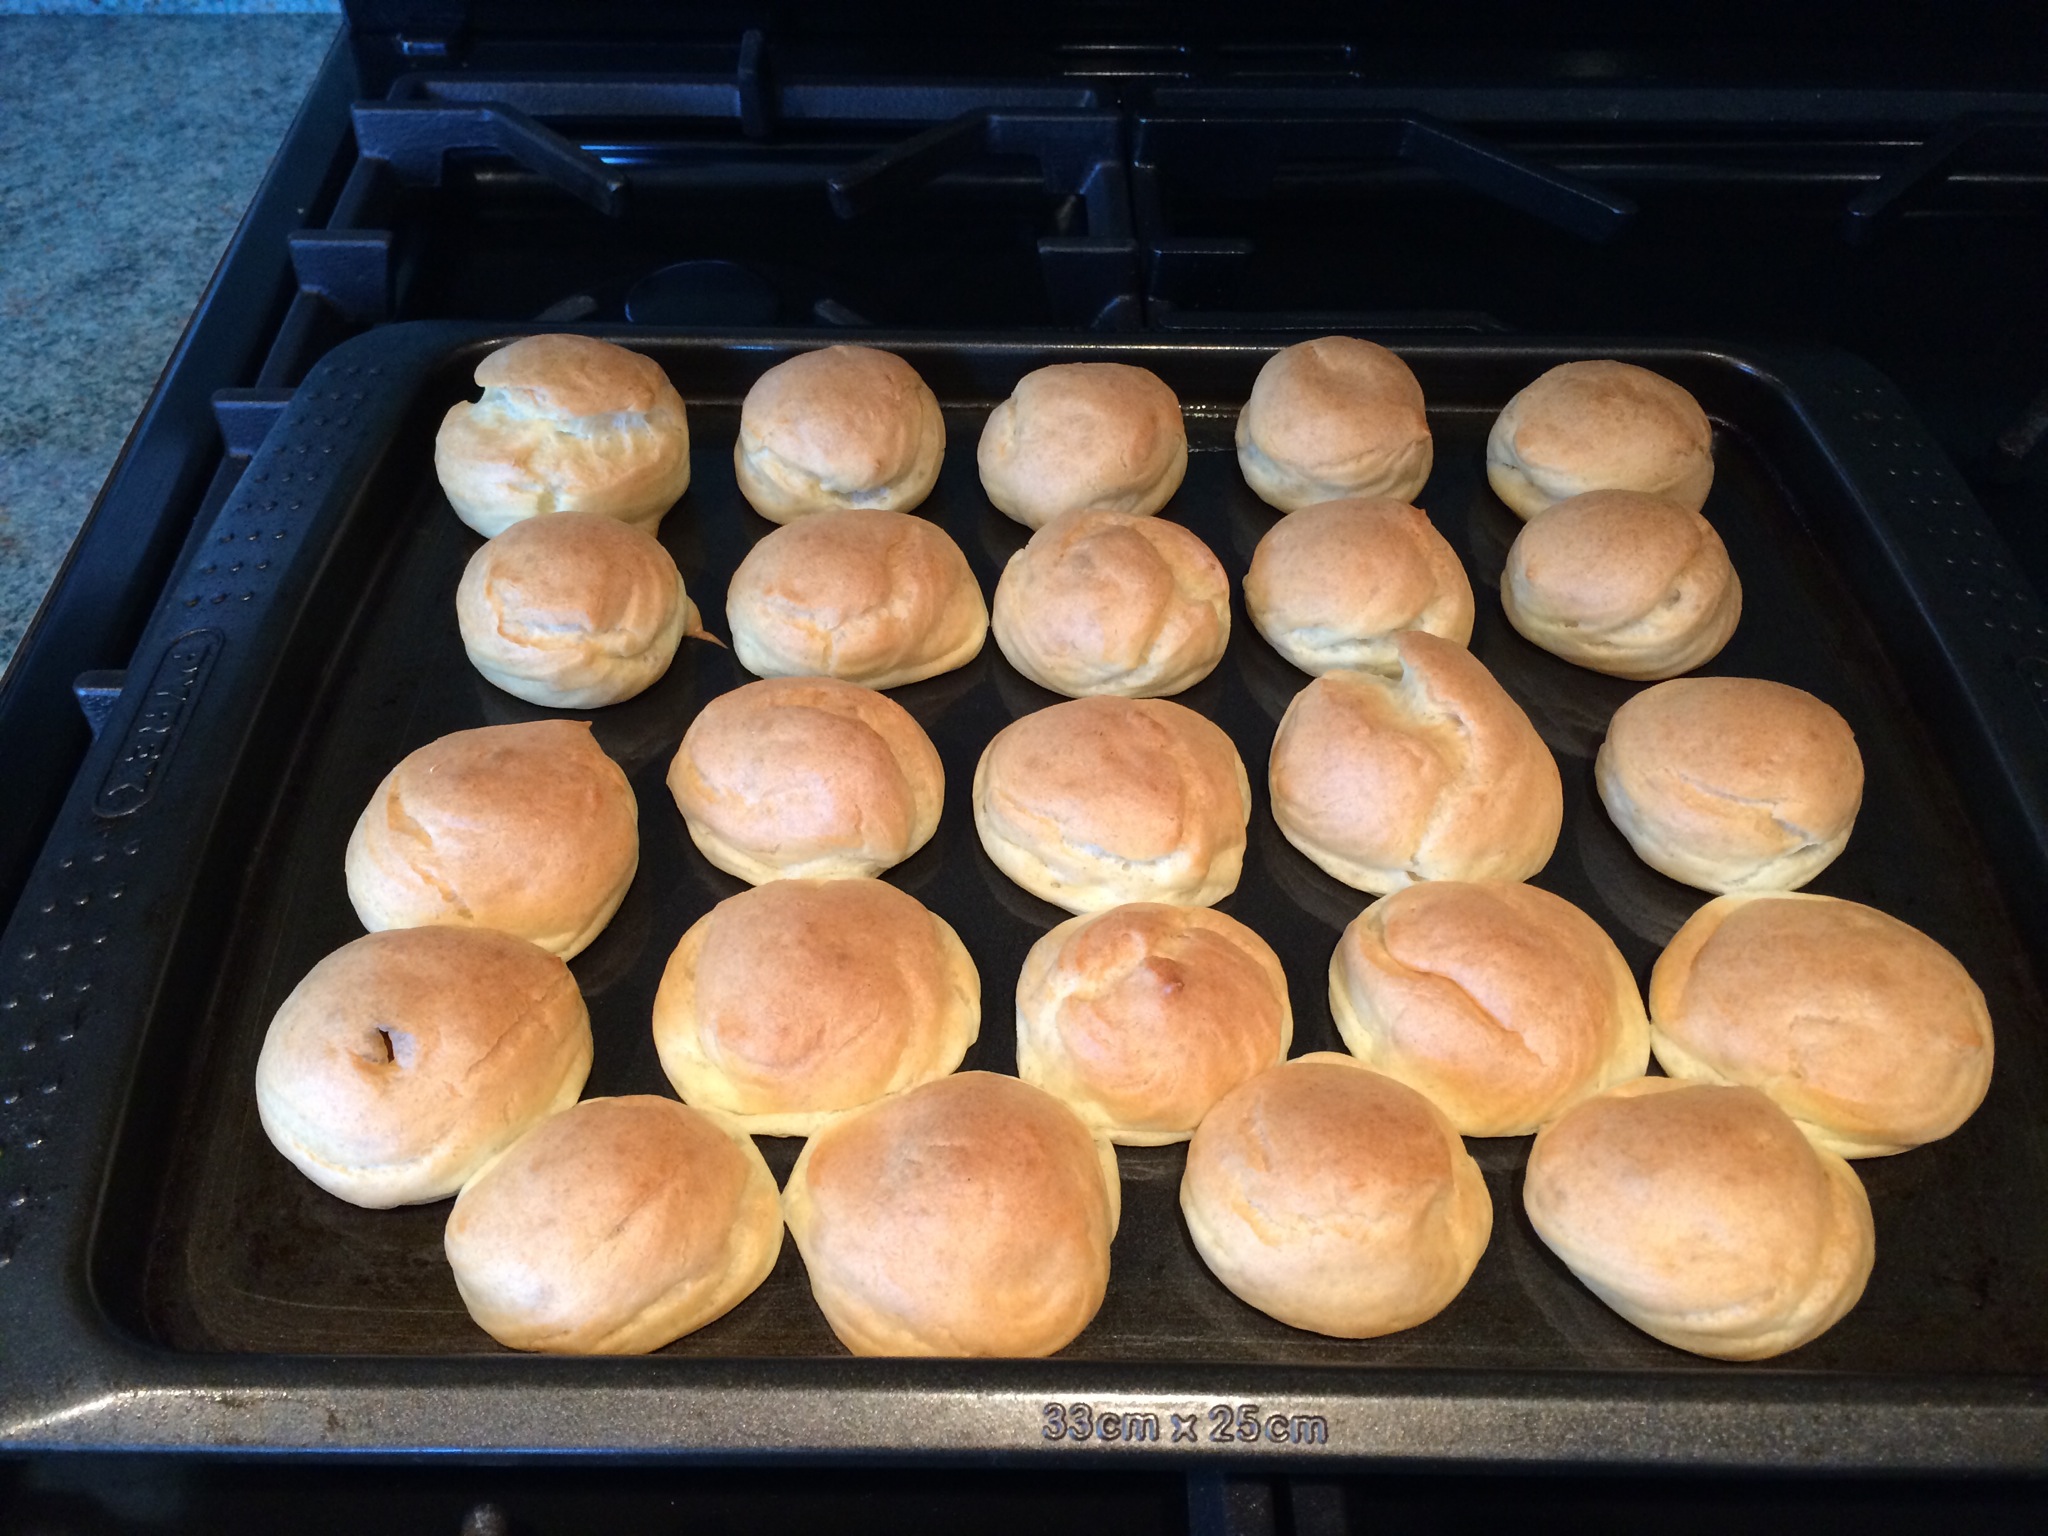
  • I took the cakes out when they were done and left them to cool a little in their tins before turning them out gently and peeling off the paper and then turning them the right way round on a cooling rack.

IMG_5049

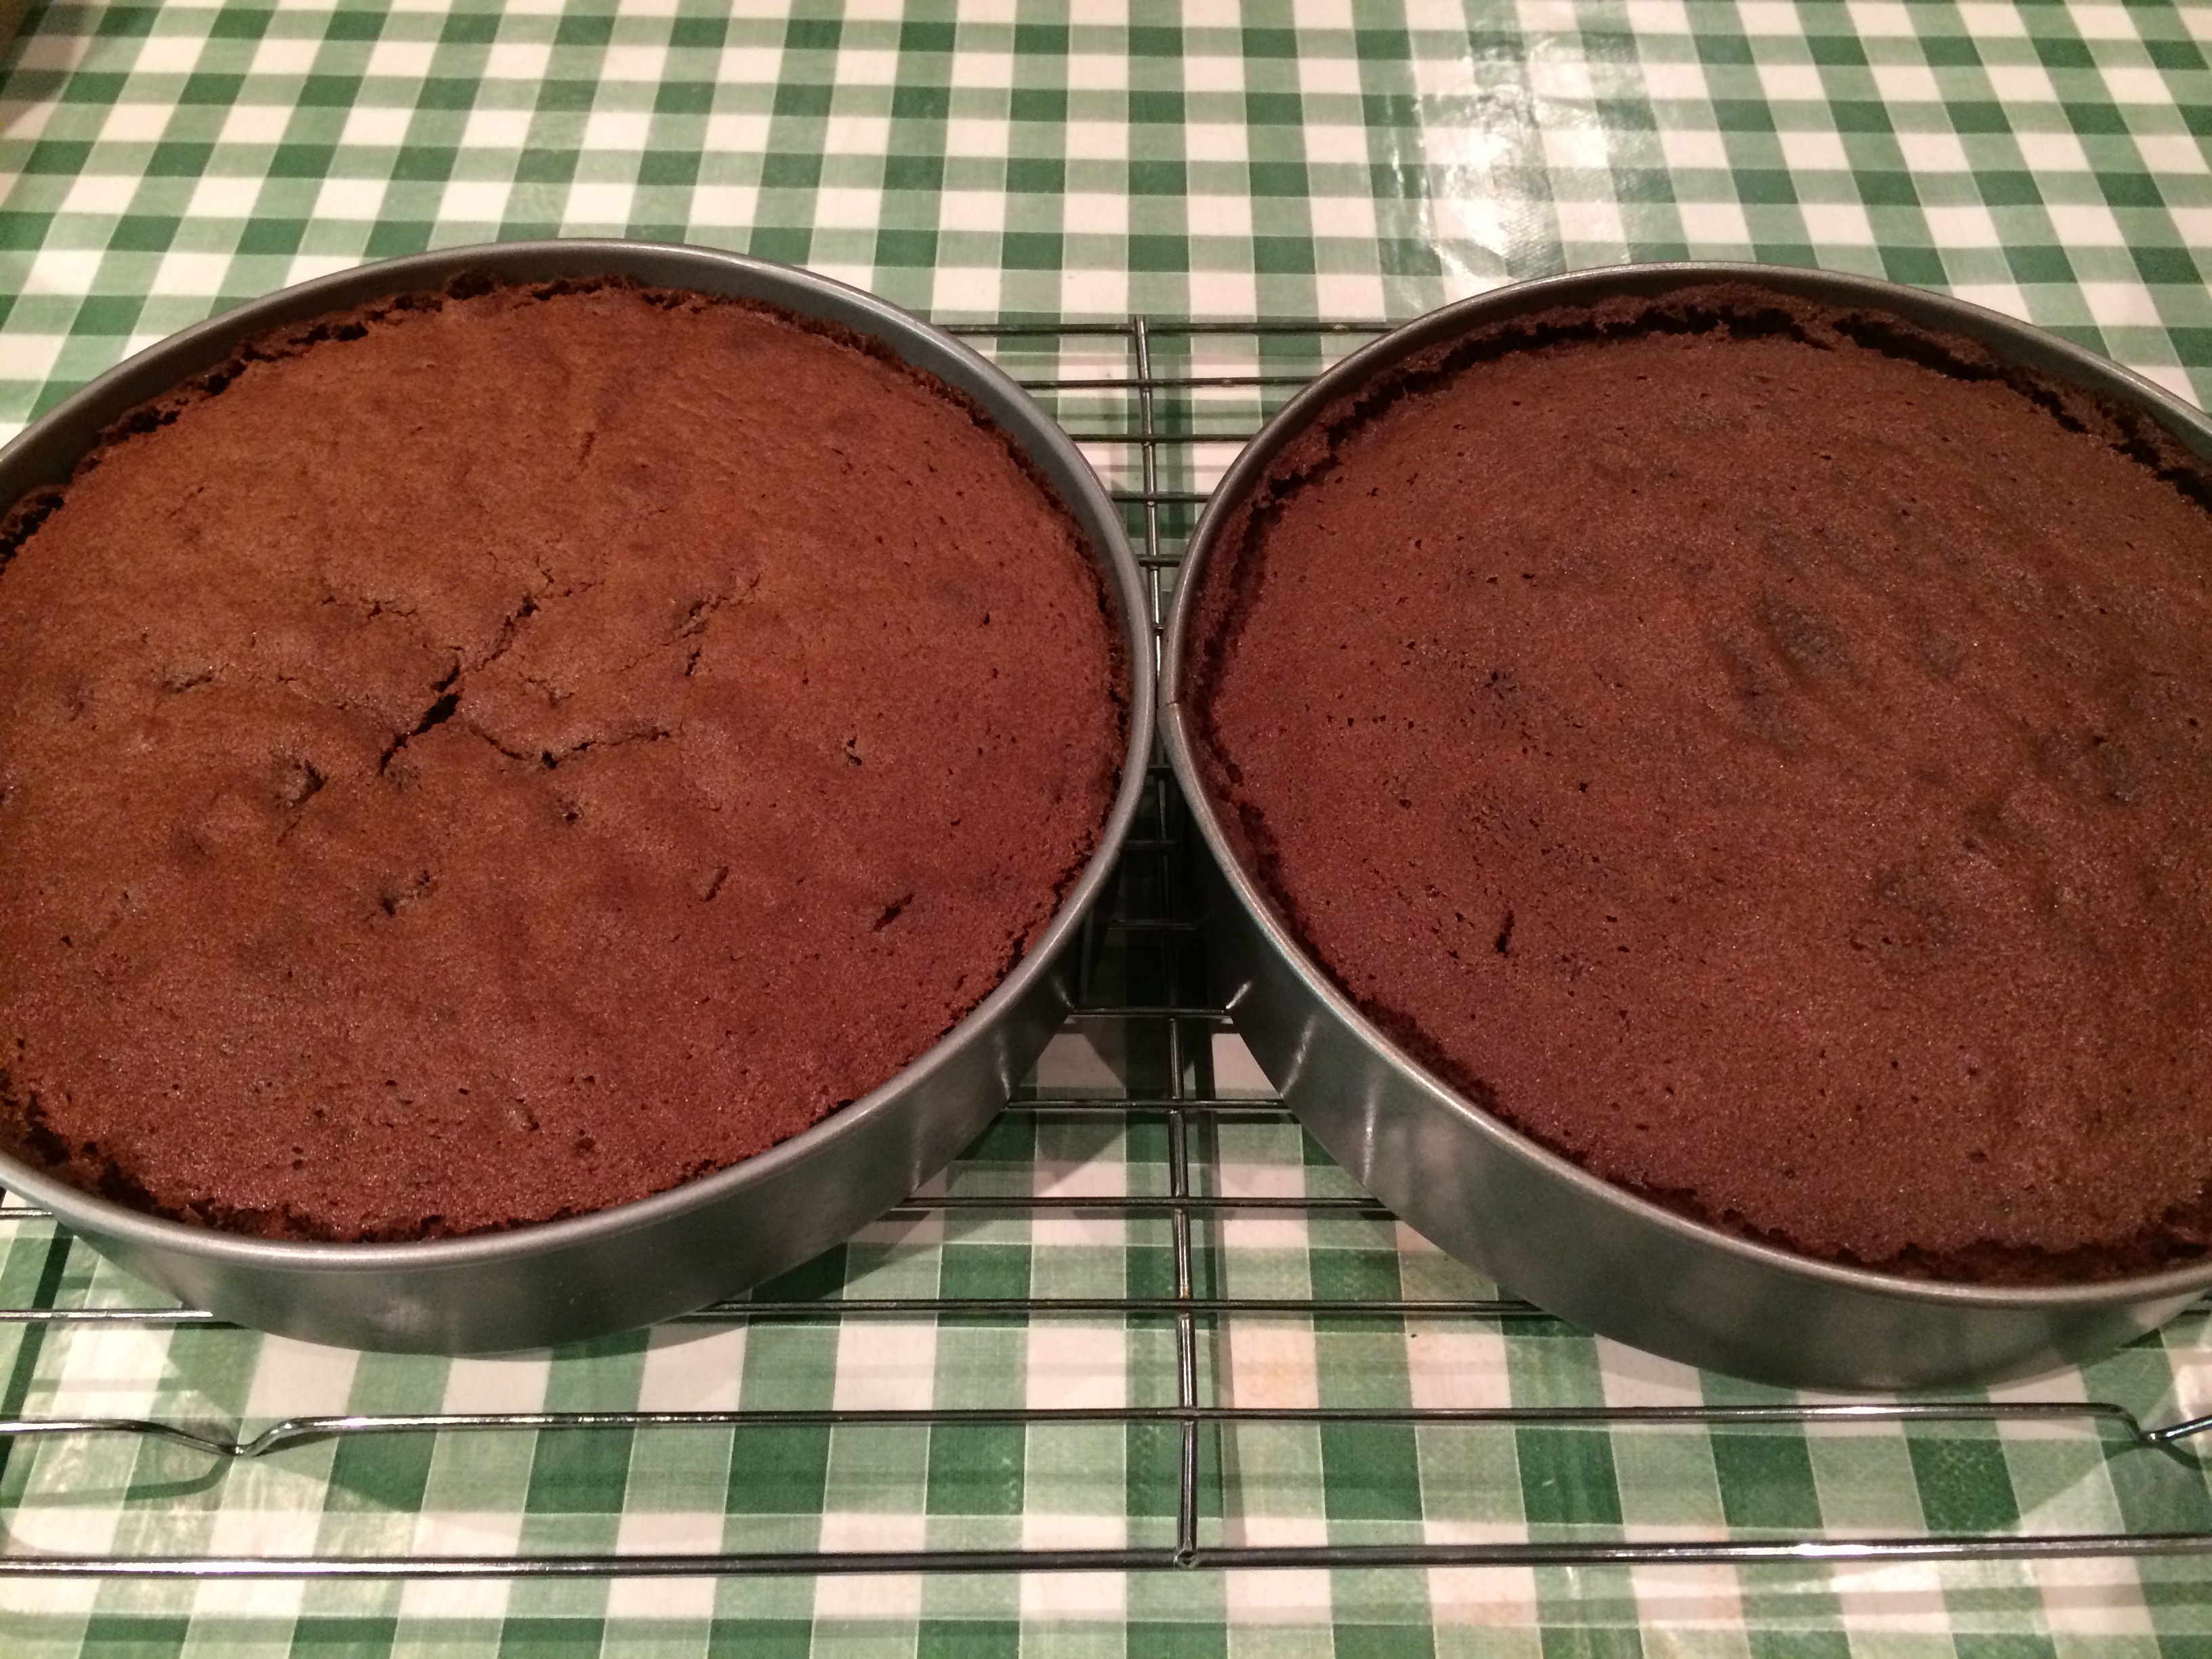
(I actually should have left them in the tins a little longer as some of cake came off because it was still so warm and moist – but I picked up the runaway cake bits and set them aside.)

  • I then started to make the filling and topping by sifting the icing sugar into a bowl and adding the butter, syrup and milk.

IMG_5051IMG_5053

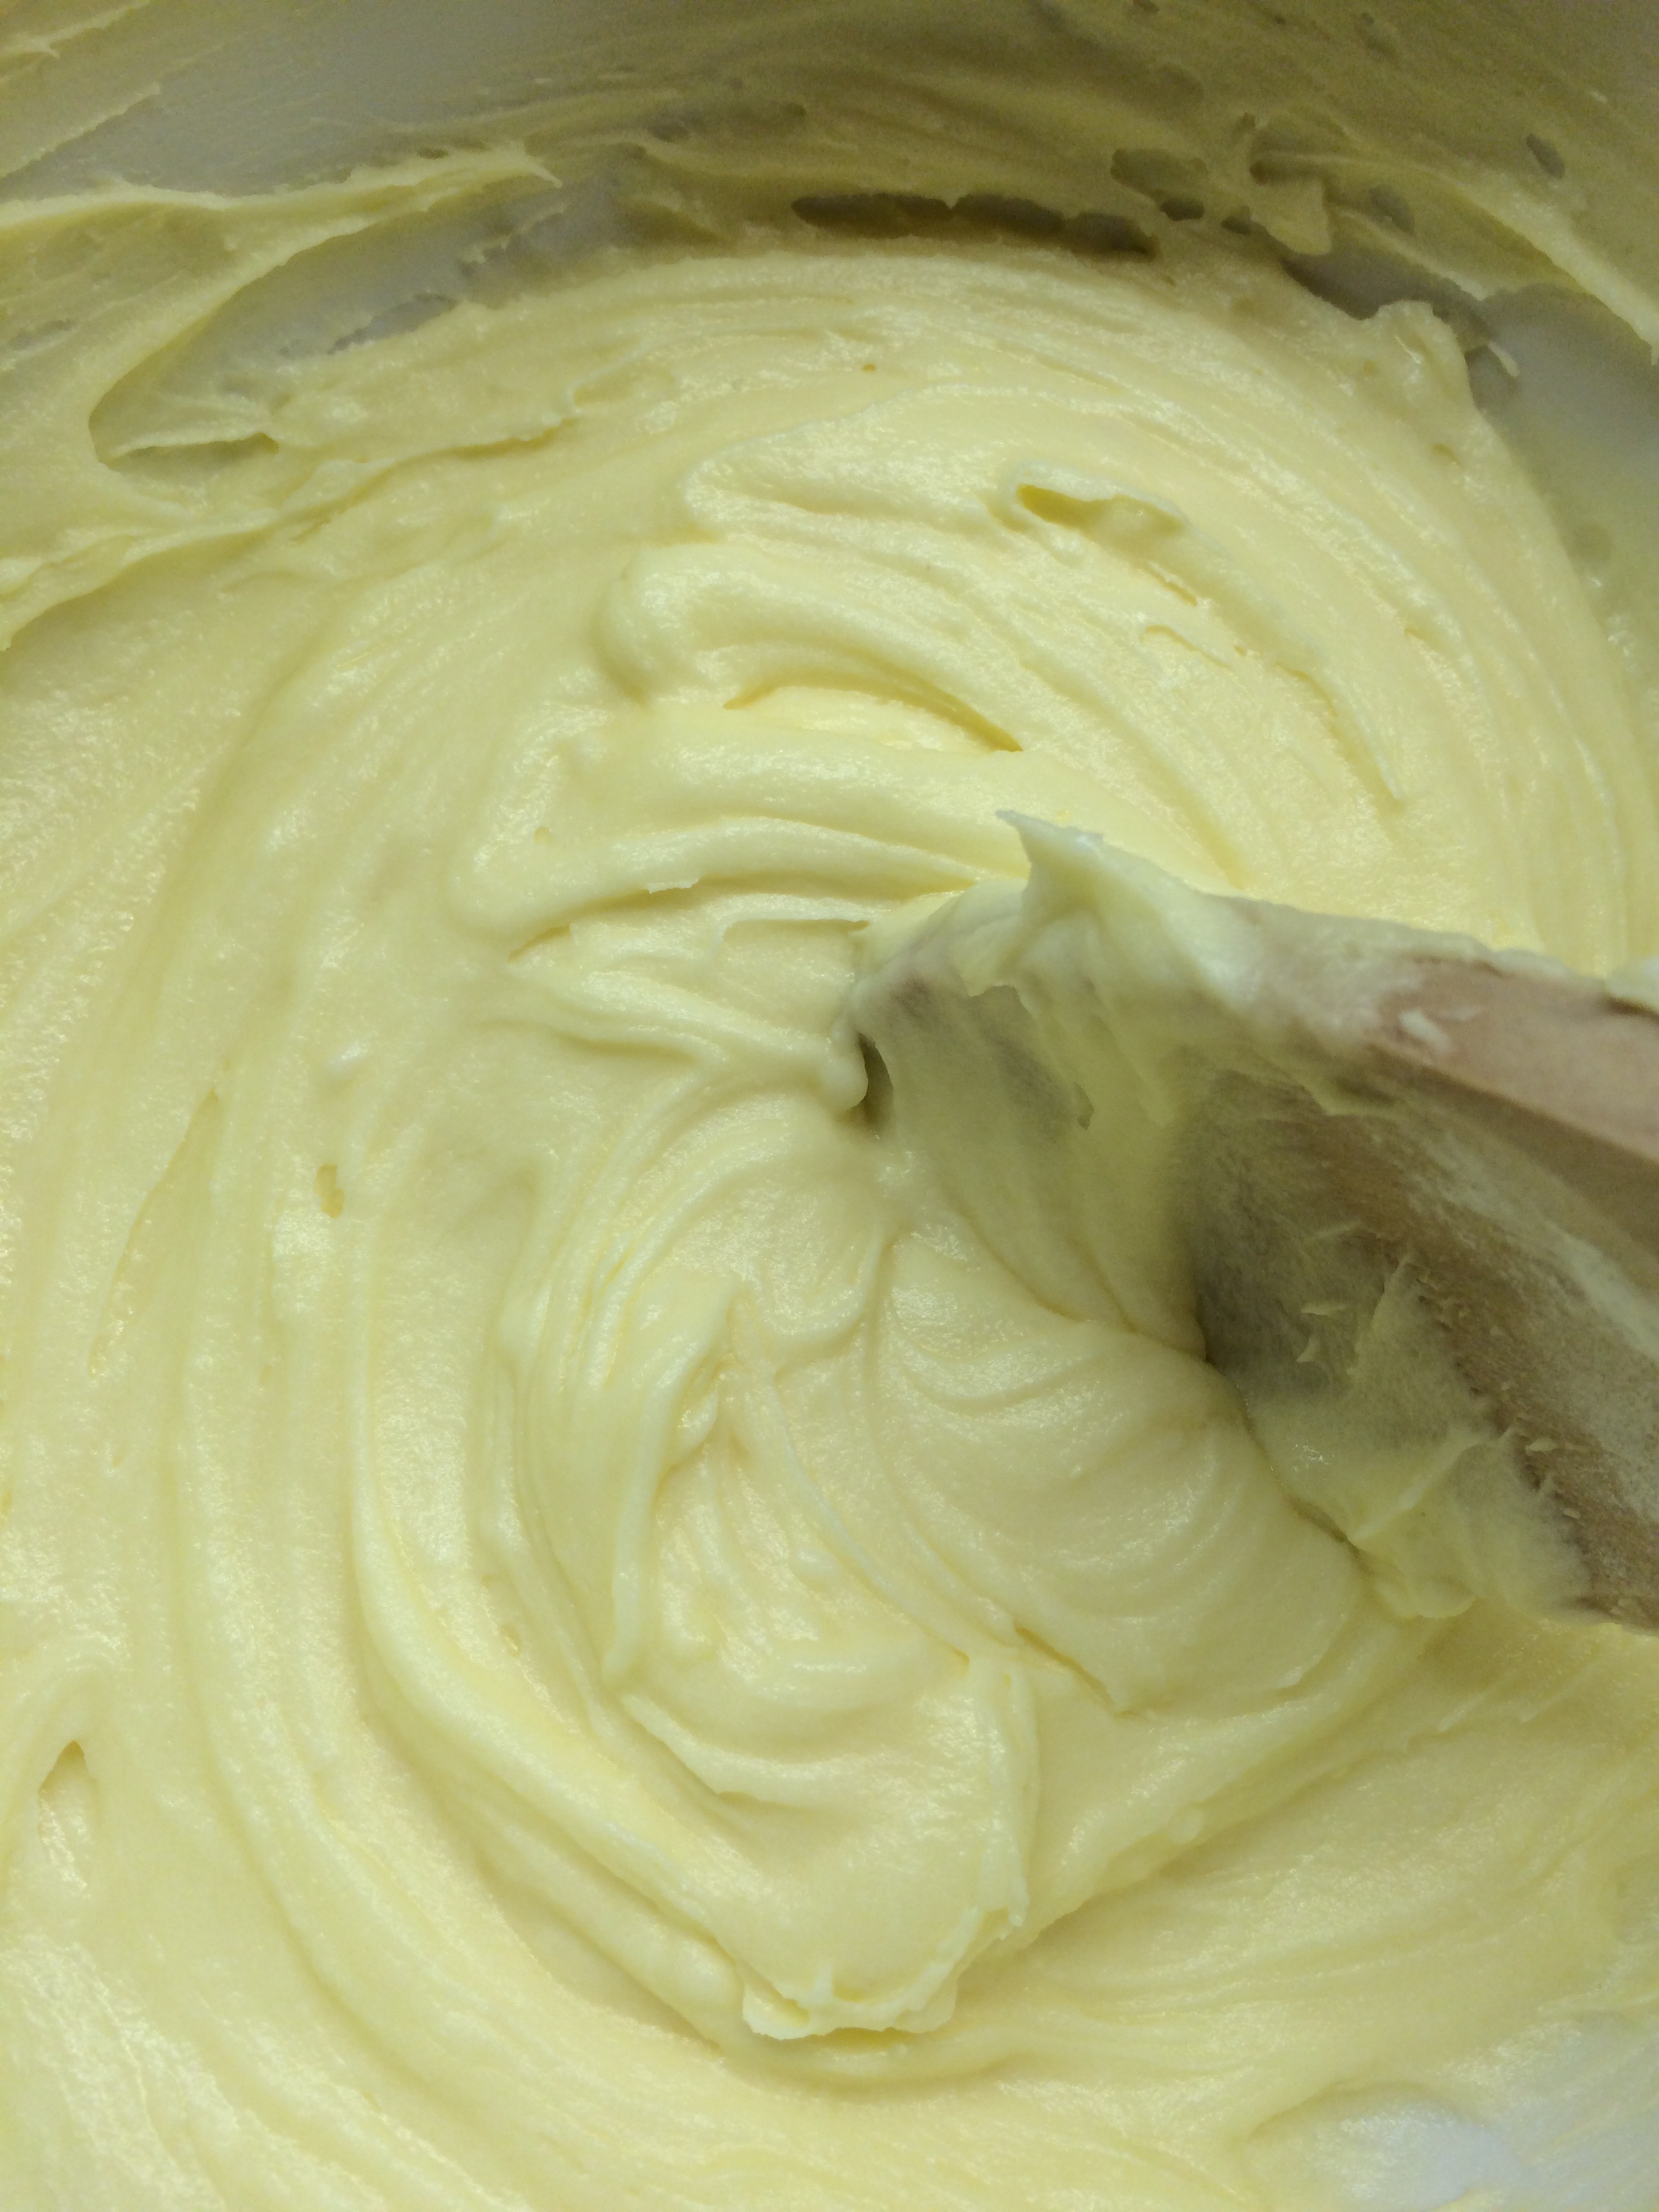
  • I usually just mix using a wooden spoon, as using an electric whisk means that I end up covering the kitchen in icing sugar.  It does involve a little more graft but I usually sit the bowl in my lap and watch TV while I mix – makes it easier!

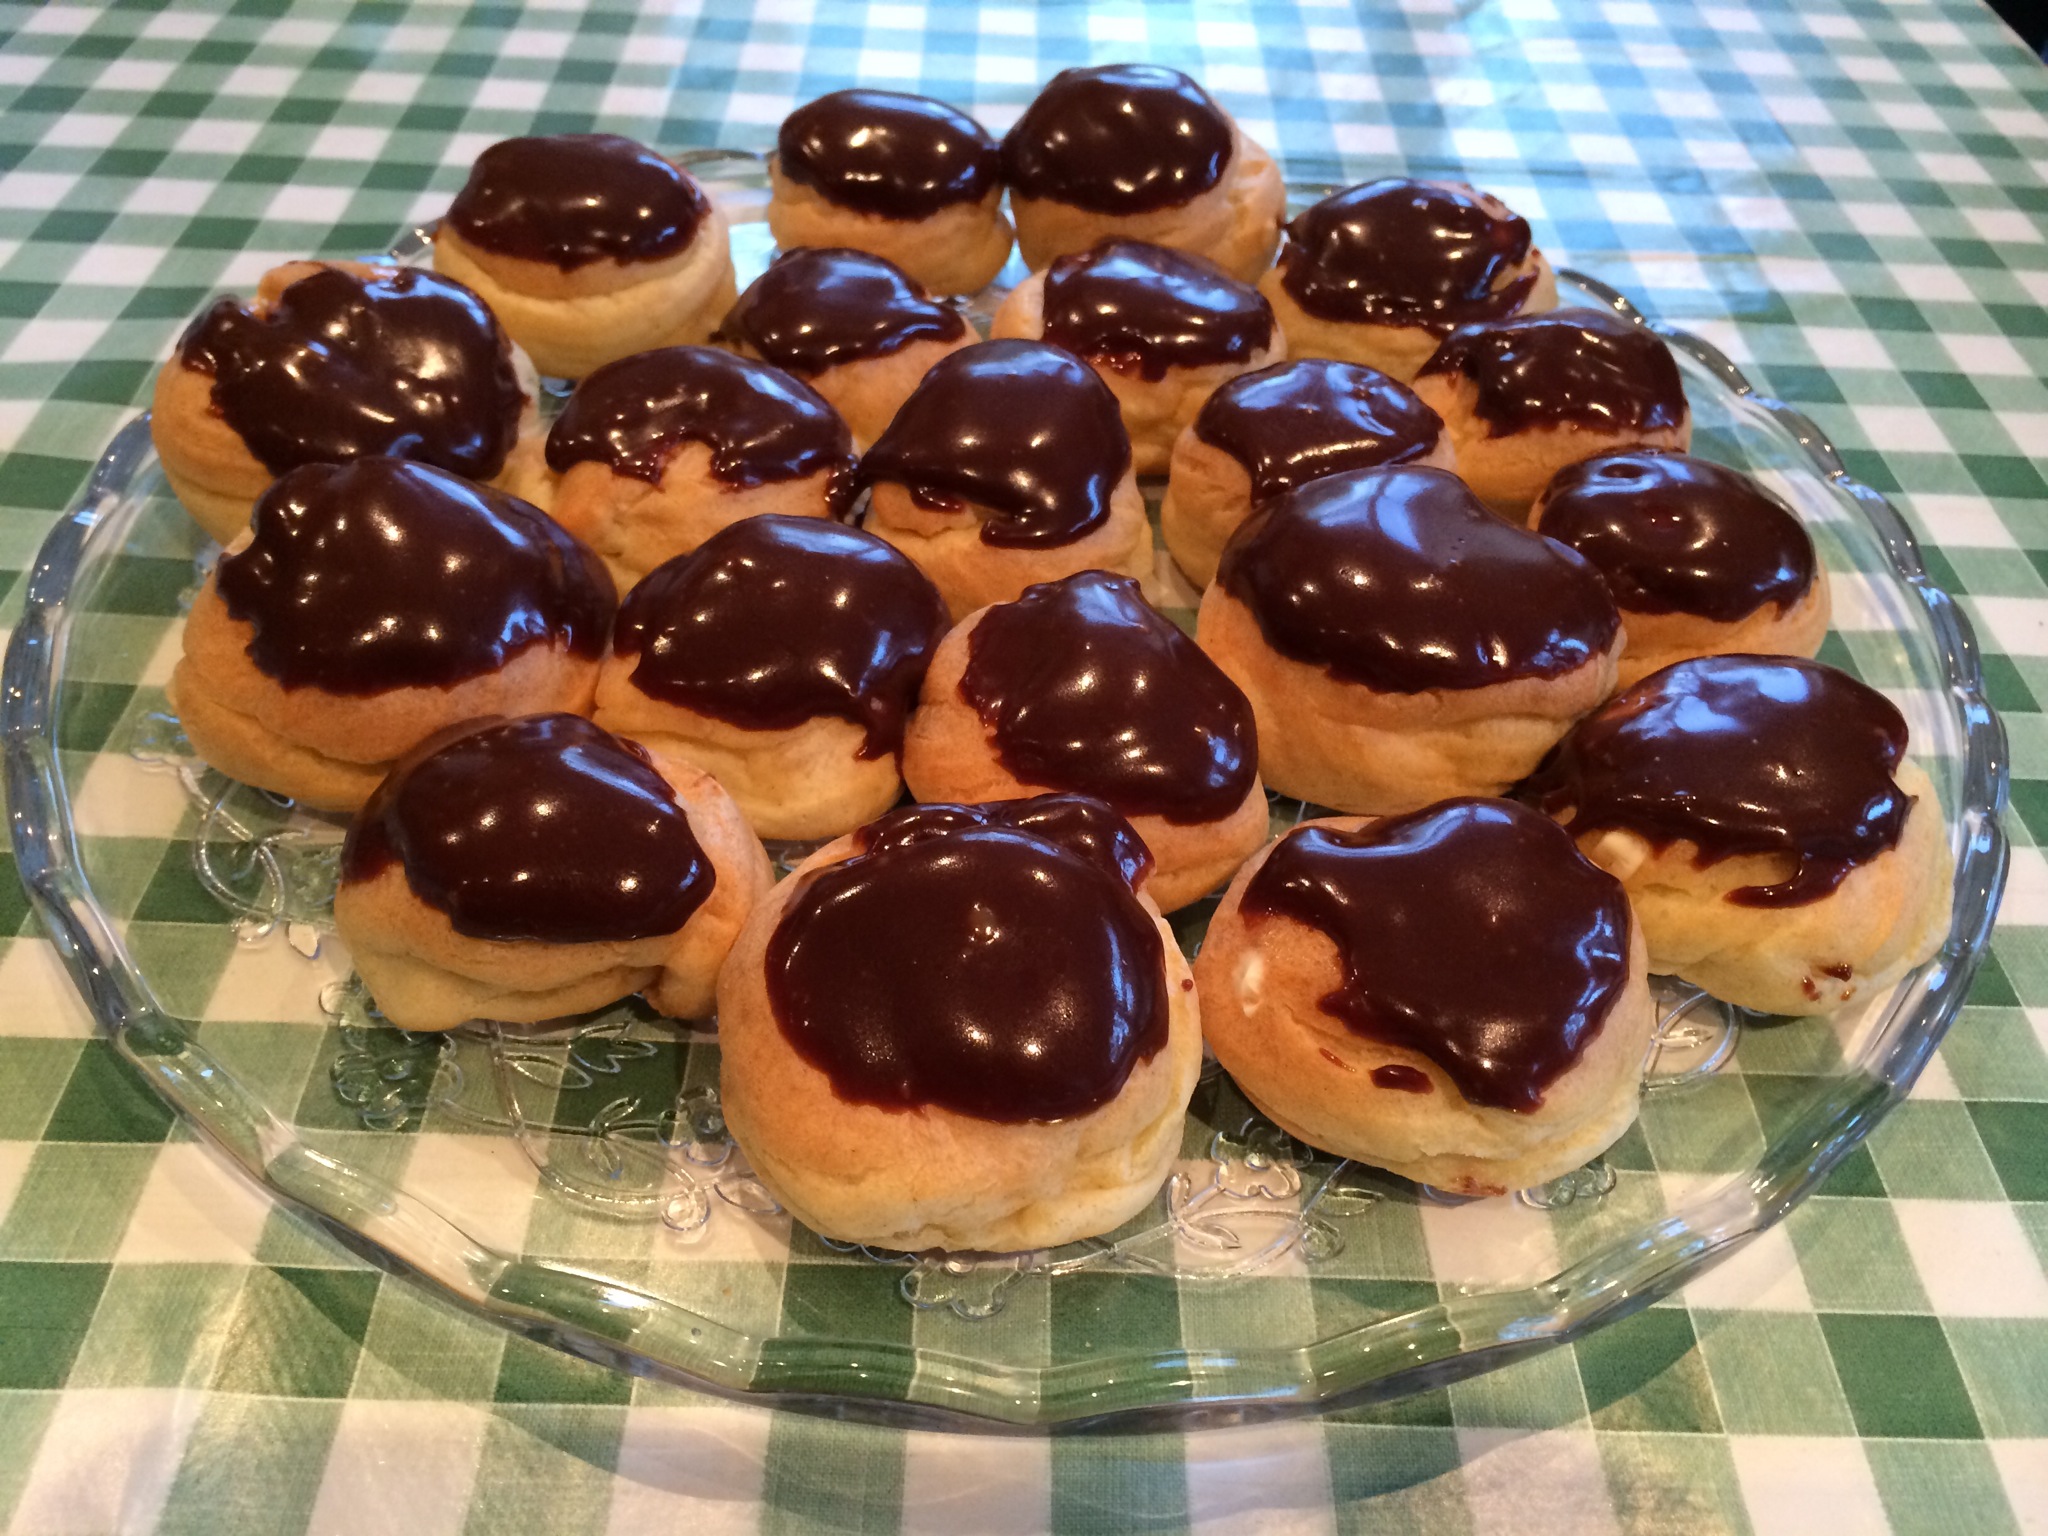
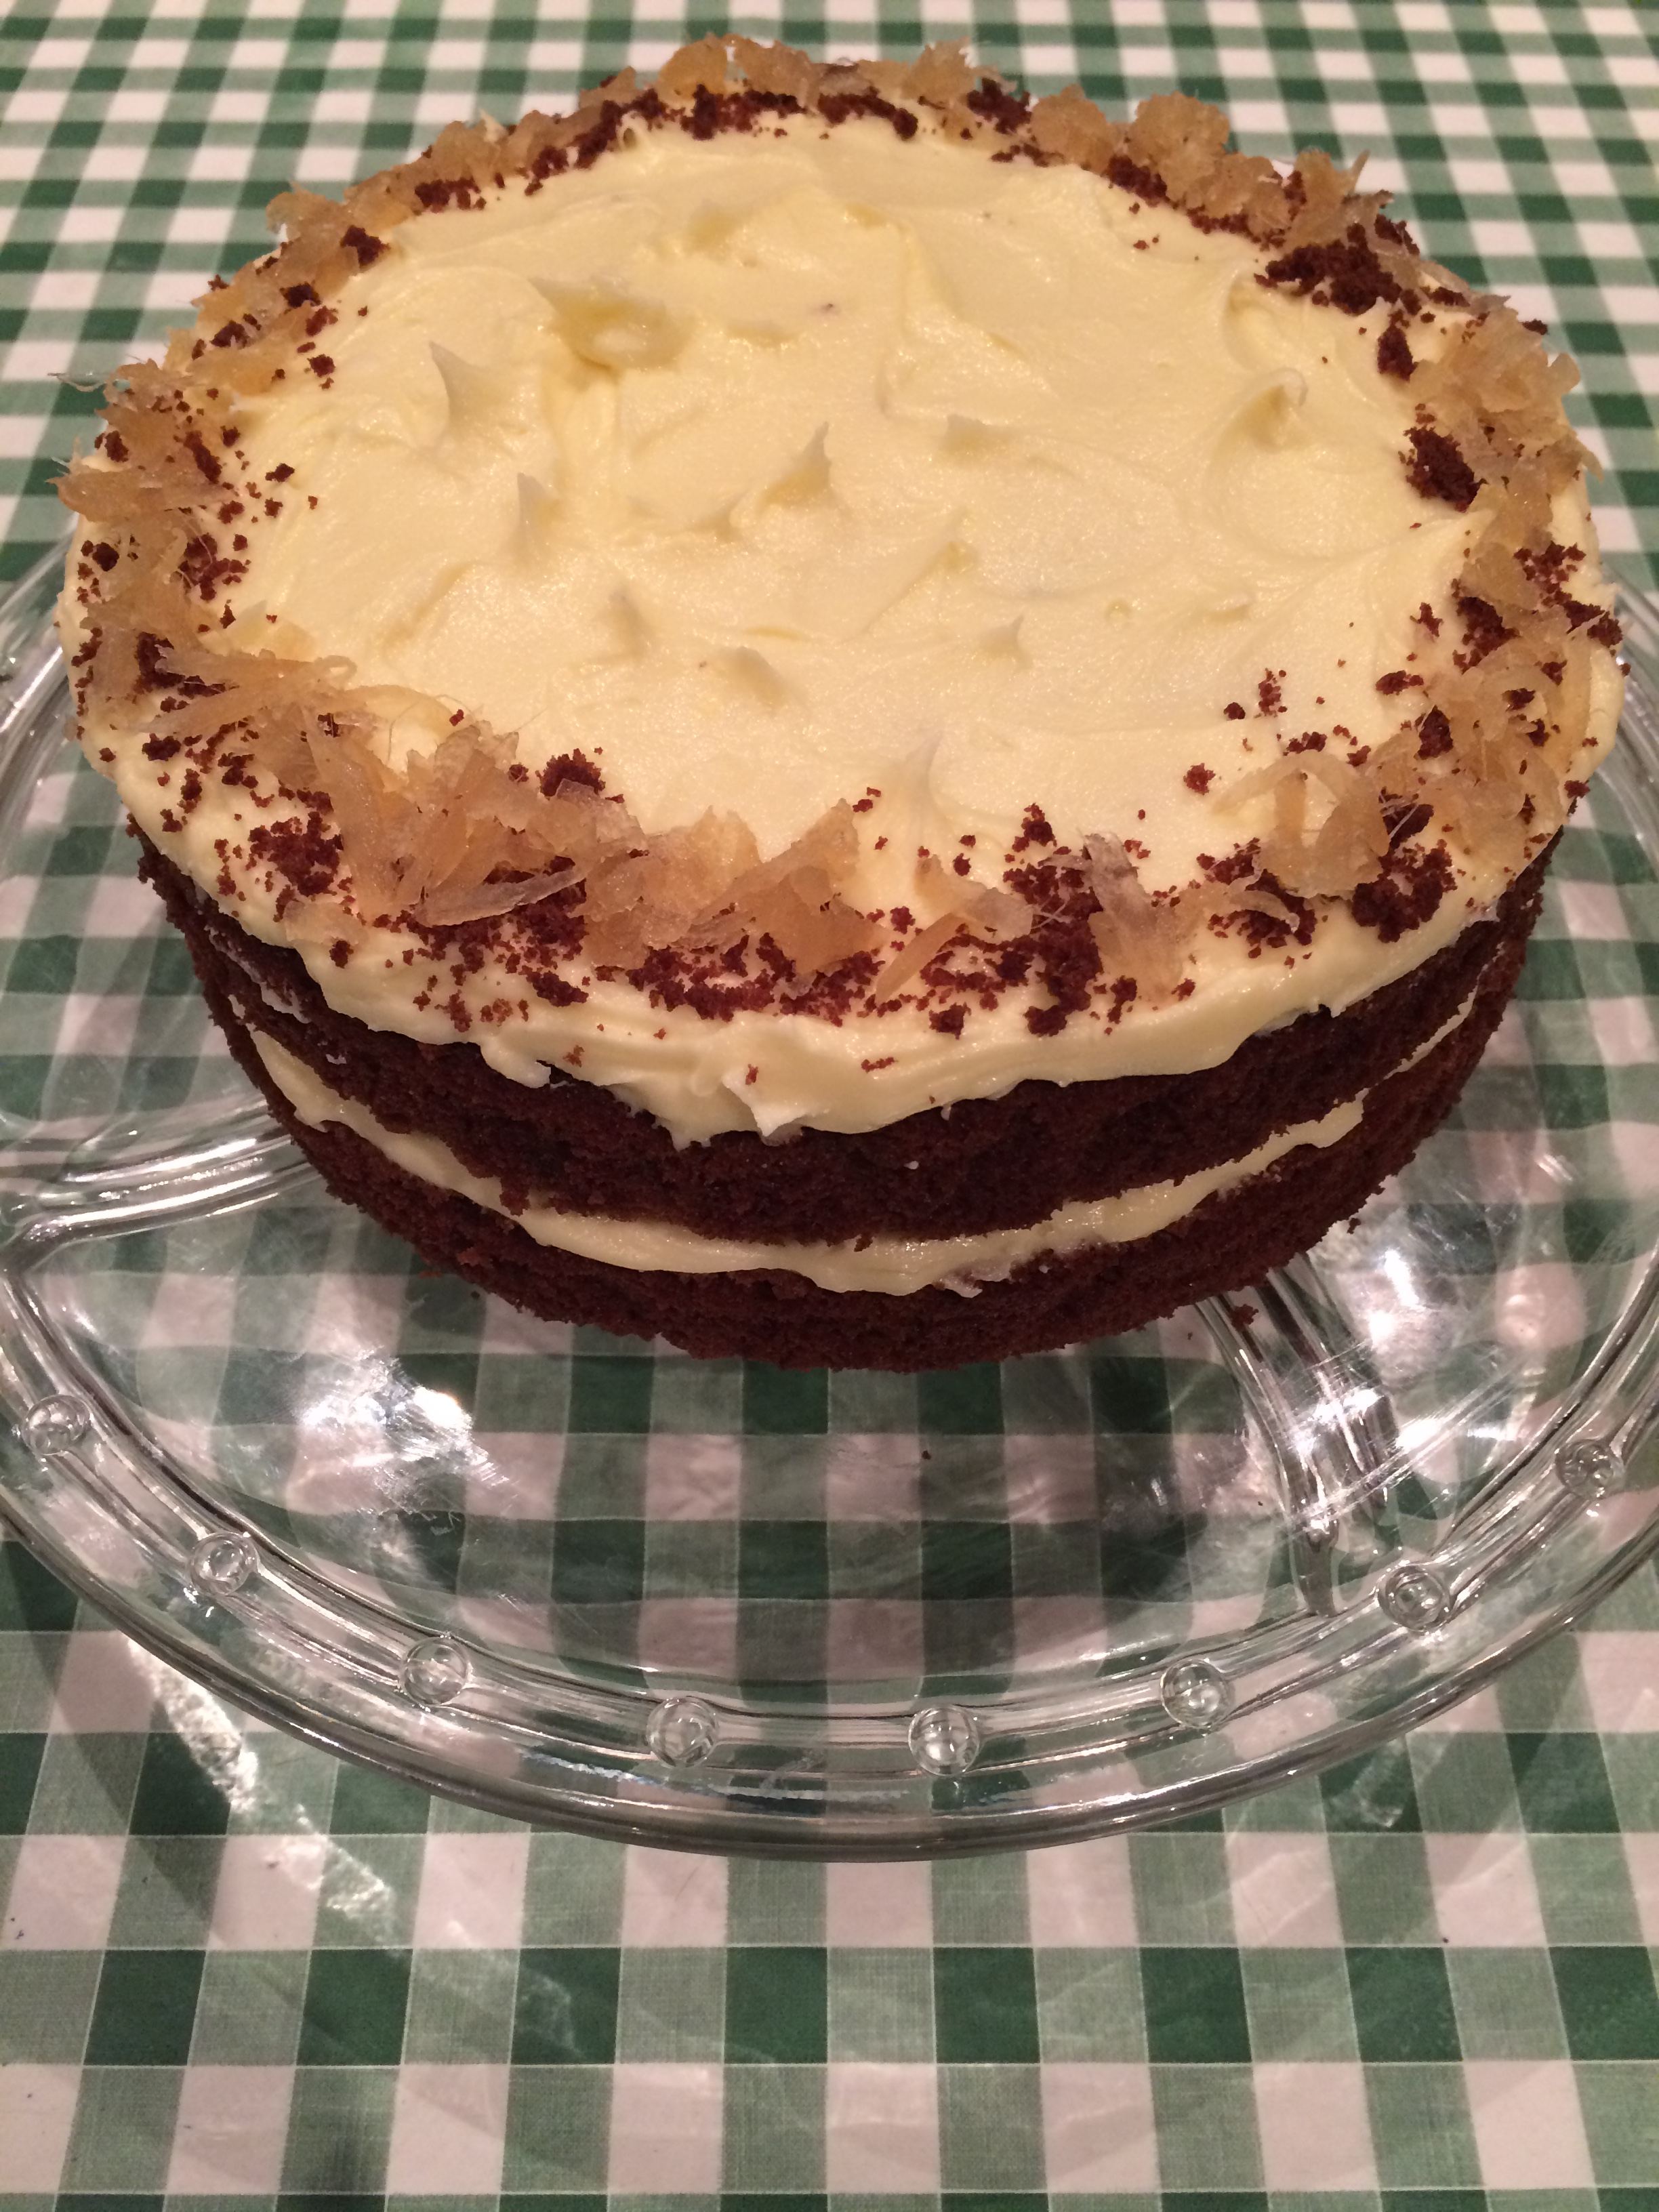
  • I transferred one of the cakes onto a serving dish and put half of the icing on top and smoothed it over evenly with a palette knife.  Then I placed the second cake on top and added the the rest of the icing, and using the palette knife, I gave it a little texture.

  • I then got the runaway cake bits from earlier and turned them into crumbs and sprinkled them around the edge of top of the cake before placing my shredded ginger on top for extra effect.

Look how purdy it looks!

IMG_5055

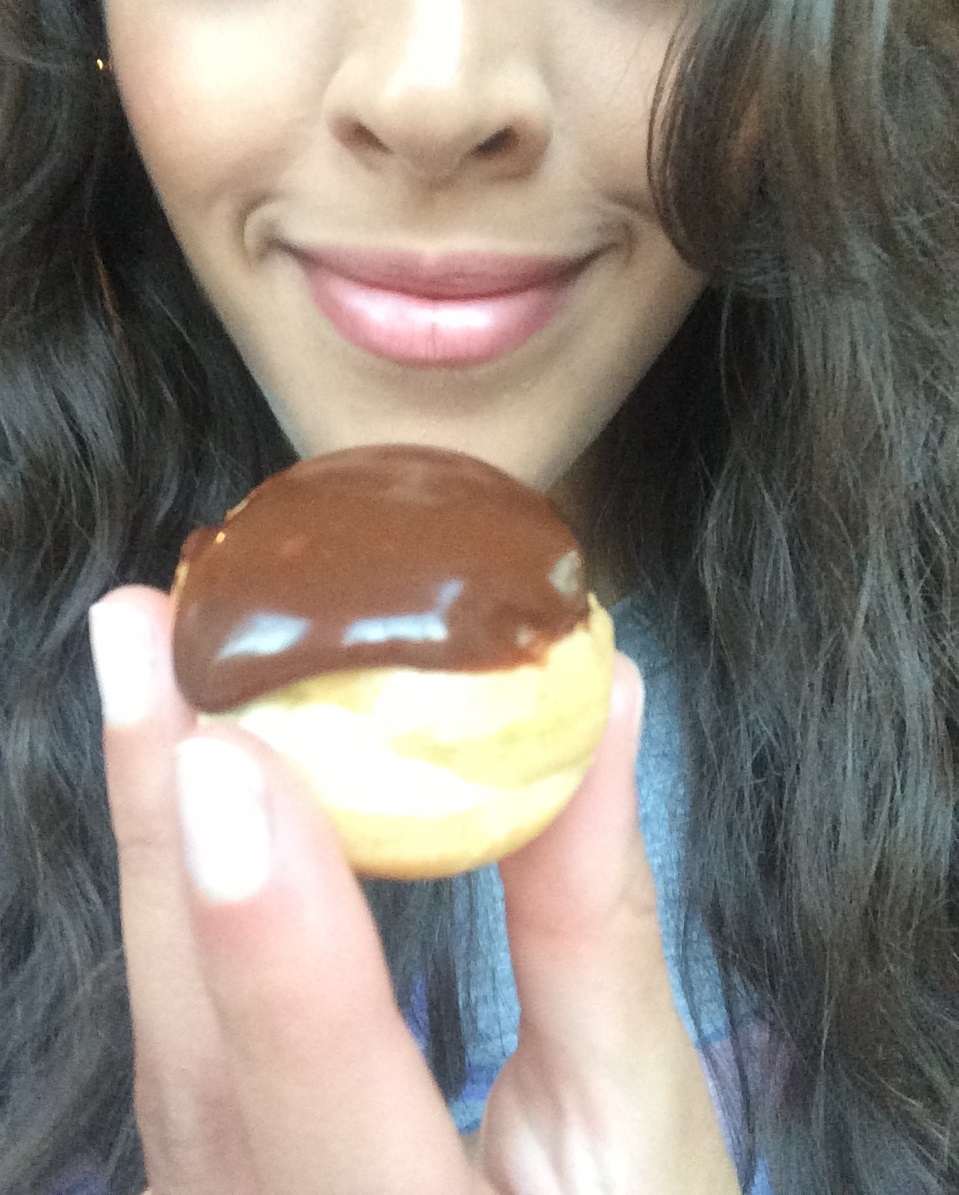
I LOVE Mary Berry recipes, I think she has some great ones to try so you should give one of them a go!  The other thing I love about her recipes is that she normally includes some great baking tips that make your life a little easier and that you can apply to other recipes.  A slice of this cake goes great with a cup of tea after a hard day’s work and makes for a yummy treat this time of year as the ginger adds such a nice kick of spice and sweet in one.

What are you favourite chocolate and ginger recipes – are there any others that I should try?  Leave your comments below and don’t forget to like if you enjoyed this post (and follow me via the links on the right as well).

Until next time! x

Food | Baking: Triple Chocolate Brownies

As much as I love trying to bake new things, I still love going back to some old favourites. This particular favourite is something I have made since I was 18, living in a rickety house in the Mumbles in Swansea with my two cousins. The recipe is based on Antony Worrall Thompson’s Triple Chocolate Brownies found on BBC Good Food Website – Triple Chocolate Brownies.

Recipe
275g/10oz plain (dark) chocolate (70% cocoa solids)
275g/10oz unsalted butter
85g/3oz pecans
85g/3oz milk chocolate
85g/3oz white chocolate
175g/6oz plain flour
1tsp baking powder
4 large eggs
1tsp vanilla essence
325g/12oz caster sugar

IMG_4189

  • I start by placing a bowl over a pan of water over the heat (make sure the bottom of the bowl doesn’t touch the water.  I break up my dark chocolate into pieces (I used 300g of chocolate – why waste any!?) and add to the bowl to melt along with the butter which I chop up into small cubes.

                                      IMG_4191IMG_4192

  • Once the chocolate and butter melted and I had stirred it through to combine, I removed the bowl from the heat (please be wary doing this, the bowl will be hot!) and added the sugar to the chocolate and stirred to combine.

                                       IMG_4197IMG_4198

  • Next I lightly whisked the eggs in a jug and added the vanilla essence to the eggs.

                                       IMG_4193IMG_4195

  • I then added the eggs to the mixture in installments and made sure to mix well after each addition (the mixture might start to separate whilst you’re doing this but don’t panic – it just involves a little elbow grease and continuous mixing!).  After this I then lined a tin with greaseproof paper which I lightly greased with some butter and as I have a fan oven I preheated the oven to 150C (the original method says 170C).

                                       IMG_4201IMG_4202

  • In a separate bowl, sift together the flour and baking powder and then add this to the mixture in installments.  Gently fold the flour into the mixture well after each addition.

                                       IMG_4205IMG_4208

  • Once all the flour has been folded into the mixture, chop up the white chocolate and milk chocolate roughly into different sized chunks (I used 100g of each – waste not want not!) and then add to the mixture and carefully fold them in.  You can add nuts such as pecans like the recipe suggests but I tend to leave them out unless it’s requested.

IMG_4209

  • With the help of a spatula, I pour my mixture into the greased tin and then using the spatula I attempt to even out the mixture in the tin.

IMG_4211

  • I the put the tin in the oven and leave it to bake for about 20 – 25 minutes.  You want to slightly undercook the brownies so that when you take it out, the top is firm but the inside should feel soft.  The residual heat from the tin will help gently cook the rest of the brownie without the use of the oven and give you a nice fudgy/gooey brownie.

IMG_4212.JPG

  • Leave the brownies aside while they cool and be sure not to cut into them straight away otherwise it will definitely fall apart.
  • Serve with a good helping of vanilla ice cream or double cream – YUM.

What brownie recipe do you use?  Does it have lots of chocolate in it or do you use healthy ingredients like avocado?  Do you put in nuts?  Let me know!  As you can see, there is no photo of me enjoying a midnight brownie as I made these quite late!

Until next time! x

Food | Baking: Profiteroles

Ok, ok so I sort-of-but-not-really promised a post about making profiteroles almost a week ago now and as you may have noticed – no profiterole post.  Oops.

In all fairness, I have been fairly busy this week and have been playing “mum” (my actual mum has gone to Pakistan).  I have been looking after my little sister who had just started school again, and it has been somewhat horrific waking up at 7am to make sure she has everything she needs for the day.  Also, I have been helping out with the school run with my dad to help take special needs children to school in the mornings and afternoon.  On top of that I have been cleaning the house and cooking so we don’t all starve to death in a dirty house!  I told you I was busy!

Anyway, back to profiteroles. I don’t know about you but I LOVE profiteroles – pastry = good, whipped cream = good, chocolate = GOOD.

I could probably eat a whole batch by myself.  I’m not sure why, but I always thought it might be difficult to make choux buns for some reason (perhaps it’s the fancy French name that put me off) but after I read a couple of different recipes it didn’t sound so hard.

I typed “How to make profiteroles” into the search engine and BAM!  There they were, recipes galore!  I finally settled between two BBC Good Food recipes.  The first was a recipe which included a step-by-step video with Lesley Waters and the second is a recipe from James Martin.  I used the James Martin recipe to make the choux pastry and the Lesley Waters for the chocolate sauce as I thought it sounded nicer.

The Recipe:

Choux Pastry

200ml/7fl oz cold water

4 tsp caster sugar

85g/3oz unsalted butter, plus extra for greasing

115g/4oz plain flour

pinch salt

3 medium free-range eggs, beaten

 Chocolate Sauce

100g/3½oz plain (dark) chocolate, broken into small pieces

3 tbsp golden syrup

½ orange, juice only

  • I started by putting the water, sugar and butter into a large saucepan and heated it gently over a low heat until the butter melted.

IMG_3971

  •  When the butter had melted, I turned up the heat and added the flour and salt straight into the saucepan in one go.

(The next few steps require some good ol’ elbow grease!)

  •  I then removed the pan from the heat and using a wooden spoon I beat the mixture as thoroughly as I could until it became dough-like and came away from the sides.

IMG_3972

  • I transferred the mixture to a large bowl and then left it to cool for about 10-15 minutes.

When cooking or baking, it’s always good to use a little bit of initiative rather than just following a recipe word for word as sometimes I find I need a little more or a little less of certain ingredients in order to achieve the finished result.  For instance, in recipe here, it tells me I need 3 medium eggs (beaten) in order to achieve a “soft dropping consistency” but I found that I needed one more to get it just right.

  • I beat in the eggs a little at a time until the mixture was smooth and glossy and had a soft dropping consistency.

IMG_3974 IMG_3975 IMG_3976

  • At this point I preheated the oven at 180C and placed a small roasting tin at the very bottom.
  • I lightly greased a baking sheet and then filled a piping bag with the choux pastry mixture and then began piping small balls in (very wonky) lines.

IMG_3977

As you can see, I started off well(ish) but I probably shouldn’t have added the ones at the bottom as it didn’t leave enough space between them – what can I say, I had a bit trigger-happy!

IMG_3978

  • Just before I placed them in the oven, I wet my finger in water and gently rubbed the top of each ball – as according the recipe this meant that the tops would be crisper.
  • I placed the baking sheet into the oven and just before I closed the door, I put in half a mug of water into the roasting tray I placed at the bottom – this helps create the steam needed to make the pastry rise.  I then shut the door and baked them for about 30 minutes (or until they were golden brown).

In all honesty, I didn’t have any faith my pastry would rise as they started looking quite flat because of the heat, so I left them to it for about 15 minutes and when I got back…they had risen, HURRAH!

IMG_3980

IMG_3981

So my first batch didn’t turn out as greatly I was expecting, as you can some of the ones at the front were a little bit squashed looking, but I still had another batch to go so I wasn’t too worried.

  •  I pricked a hole in the base of each profiterole with a skewer and returned them to the oven (which I had turned off for this step) upside down in order to help dry out the inside of the profiterole – I only left them in a couple of minutes here.

(I actually wish I skipped this step as I found that my nicely risen profiteroles came back out a little squashed – ho hum.)

IMG_3982At least the second  batch turned out better!  I put aside all the profiteroles to cool down while I made the cream filling.  Instead of following any of the recipes, I just did some guess and taste work.  I actually thought I had two pots of double cream but it turned out I only had the one and didn’t have time to go and get a second one, but nevertheless I cracked on.

  • I poured the double cream into a bowl and using my electric hand-held whisk I beat the cream until it formed soft peaks.  Then using a metal spoon I folded in a little icing sugar (I didn’t really use measurements, I just sifted some in).  I didn’t want the cream to be too sweet because of the chocolate I would be adding later on.
  • Once the profiteroles had cooled down, I spooned the cream into a piping bag (fitted with a small nozzle) and began filling the profiteroles.

In hindsight, I should have filled them from the sides but dopey me filled them from the bottom instead!

  • For the sauce, I placed a pan of water over the heat and placed a bowl over the top (make sure the water doesn’t touch the bottom of the bowl) and I added 100g of milk chocolate broken into pieces (I couldn’t find where the dark chocolate was stashed so again I improvised!).

(It was at this point that I uncovered some dark chocolate chips so I added that to the bowl to melt as well.)

  • I then added three tablespoons of golden syrup to the melted chocolate and began mixing until everything was incorporated.

As you can see from the recipe, it mentions adding the juice from half an orange, but I skipped this step – I wanted my chocolate sauce to taste chocolately and not orangey.

IMG_3988

Instead of pouring the chocolate over a tower of profiteroles, I dipped the top of each one into the sauce so that each profiterole got an even helping.  And here is the finished result – not bad for a first try, eh?

IMG_3993And as it is customary, I got the first try!

IMG_3989Have you ever tried to make profiteroles? If so I would love to know how yours turned out in the comments below and whether you tried anything differently or used different flavours.

Until next time! x