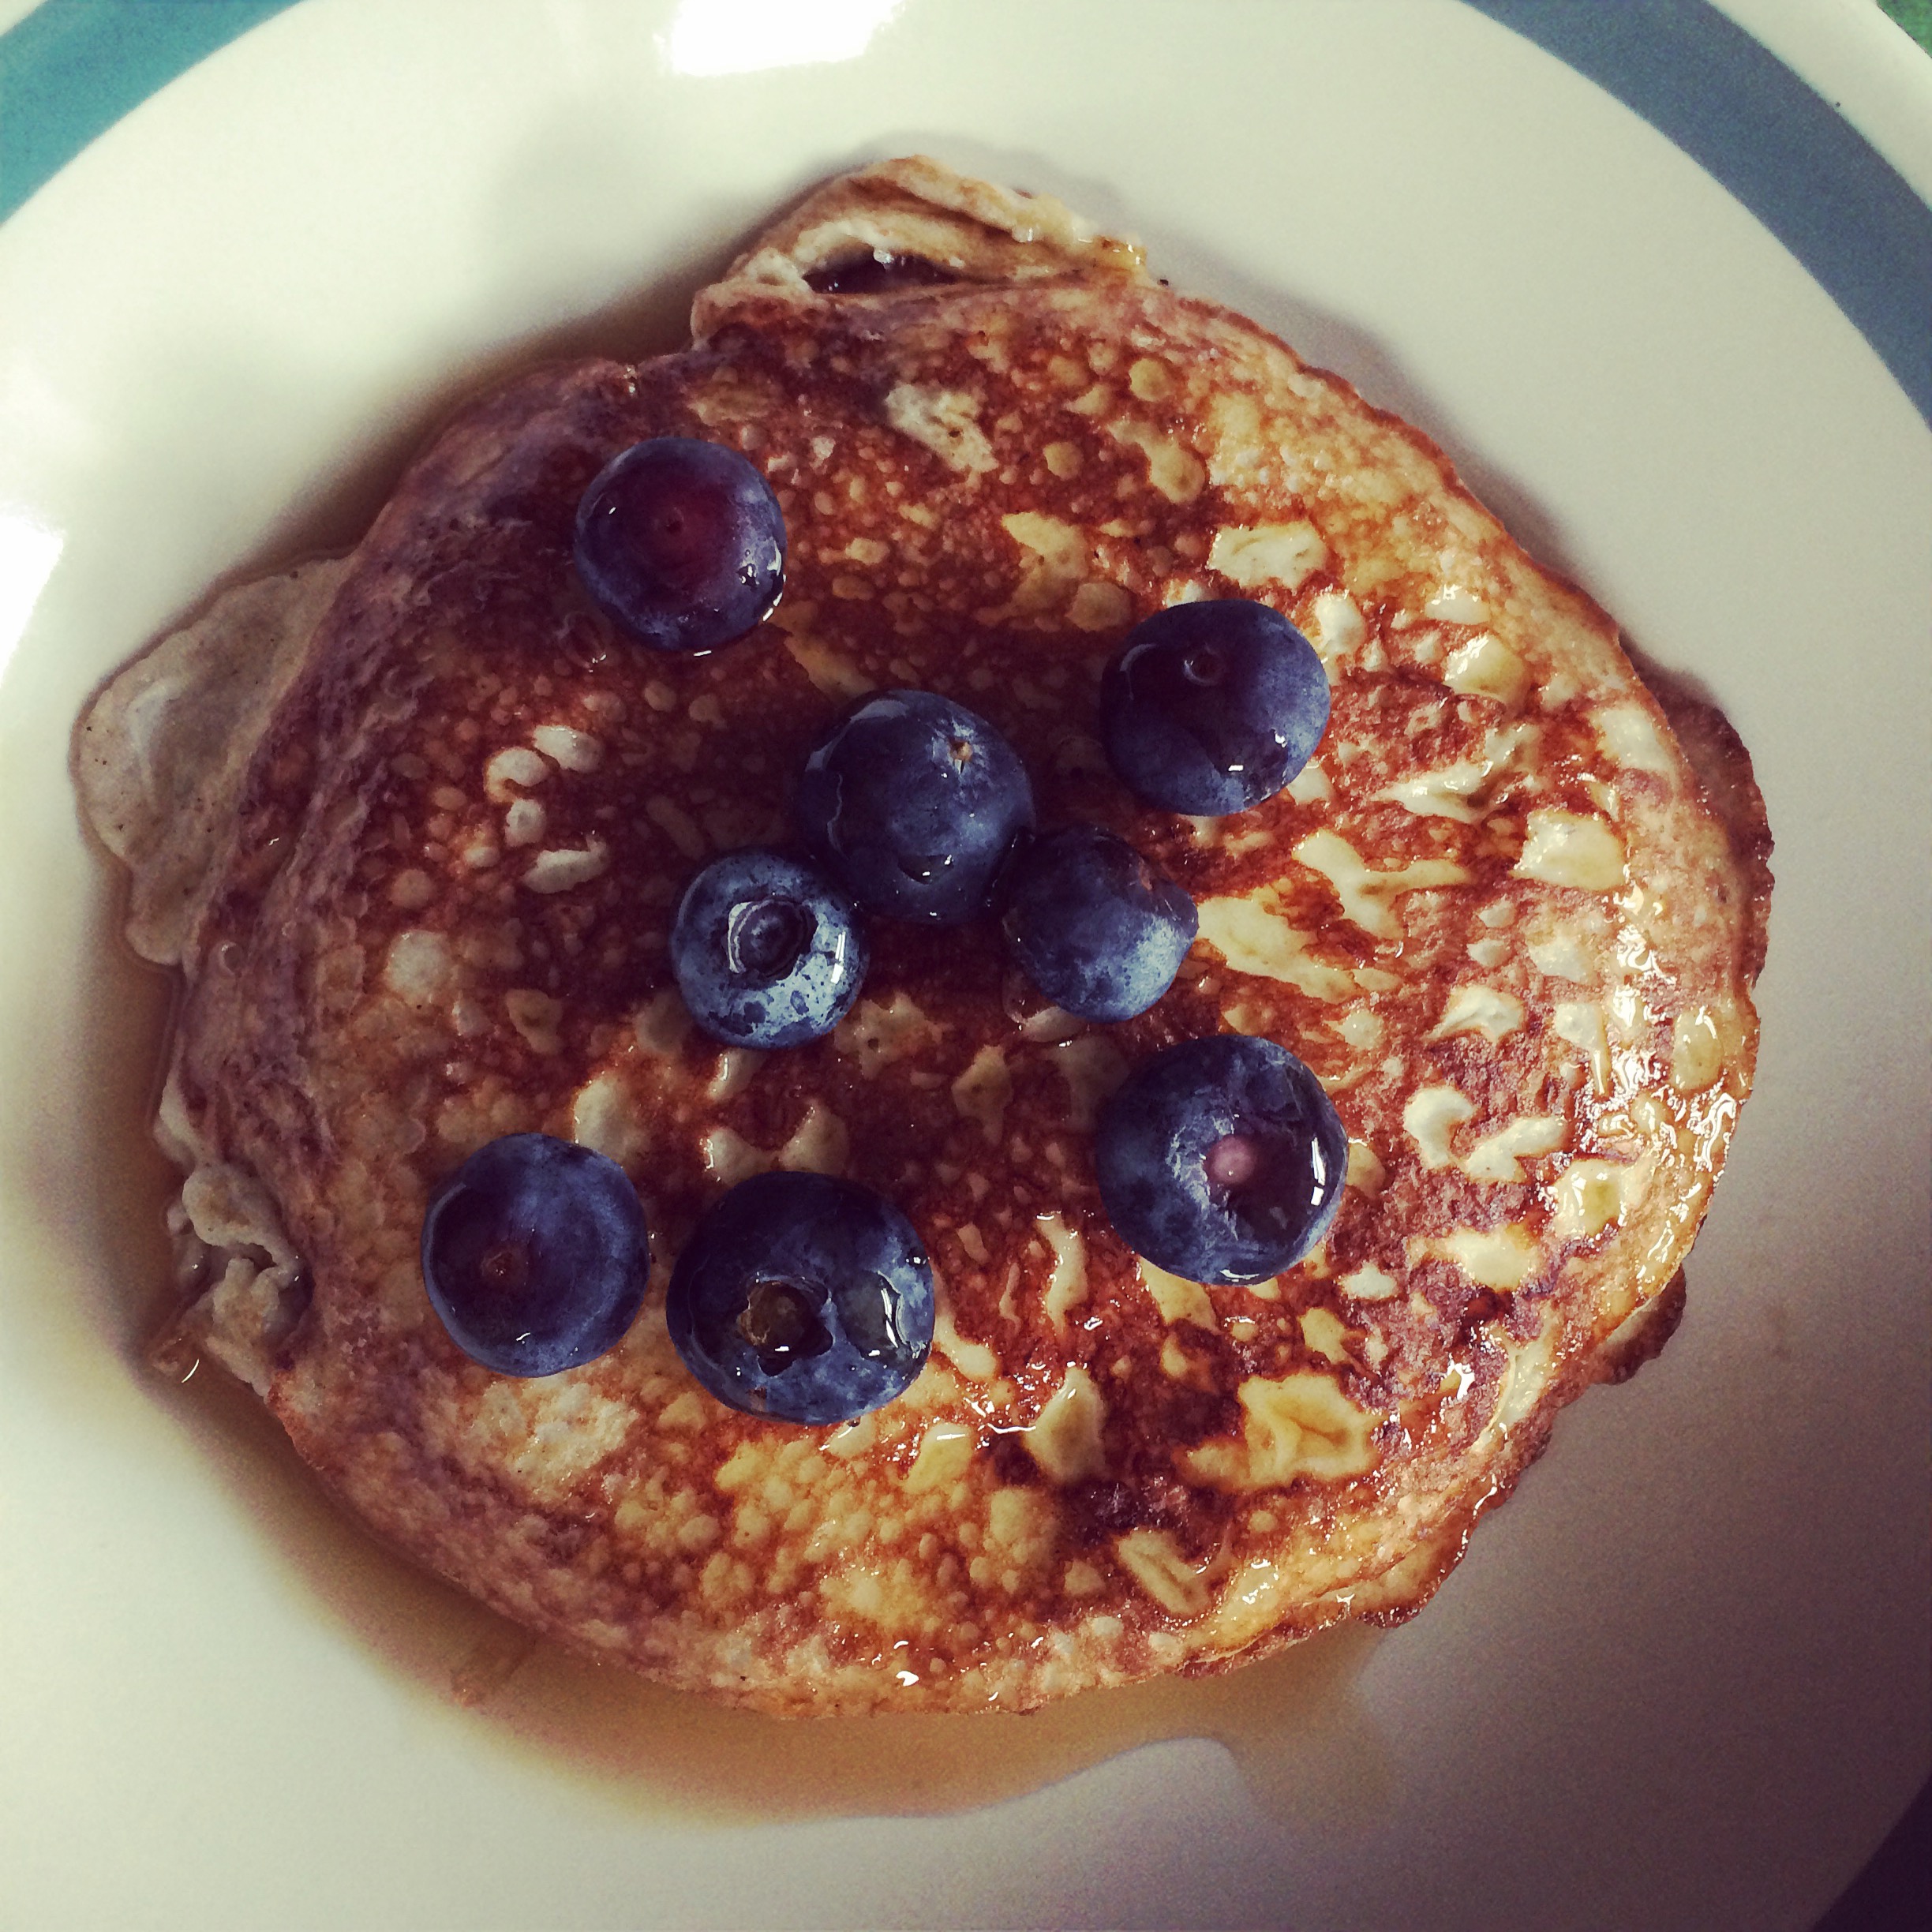
So, I was actually deliberating on whether I was going to share my latest bit of baking with you lot because I was actually very disappointed by the results (as I am a bit of a perfectionist) but hey ho, here is my attempt at trying out a schichttorte (yes, that 20-layered German cake from The Great British Bake Off).
This recipe is from Paul Hollywood and can be found on the BBC – Food Website.
Recipe
Cake
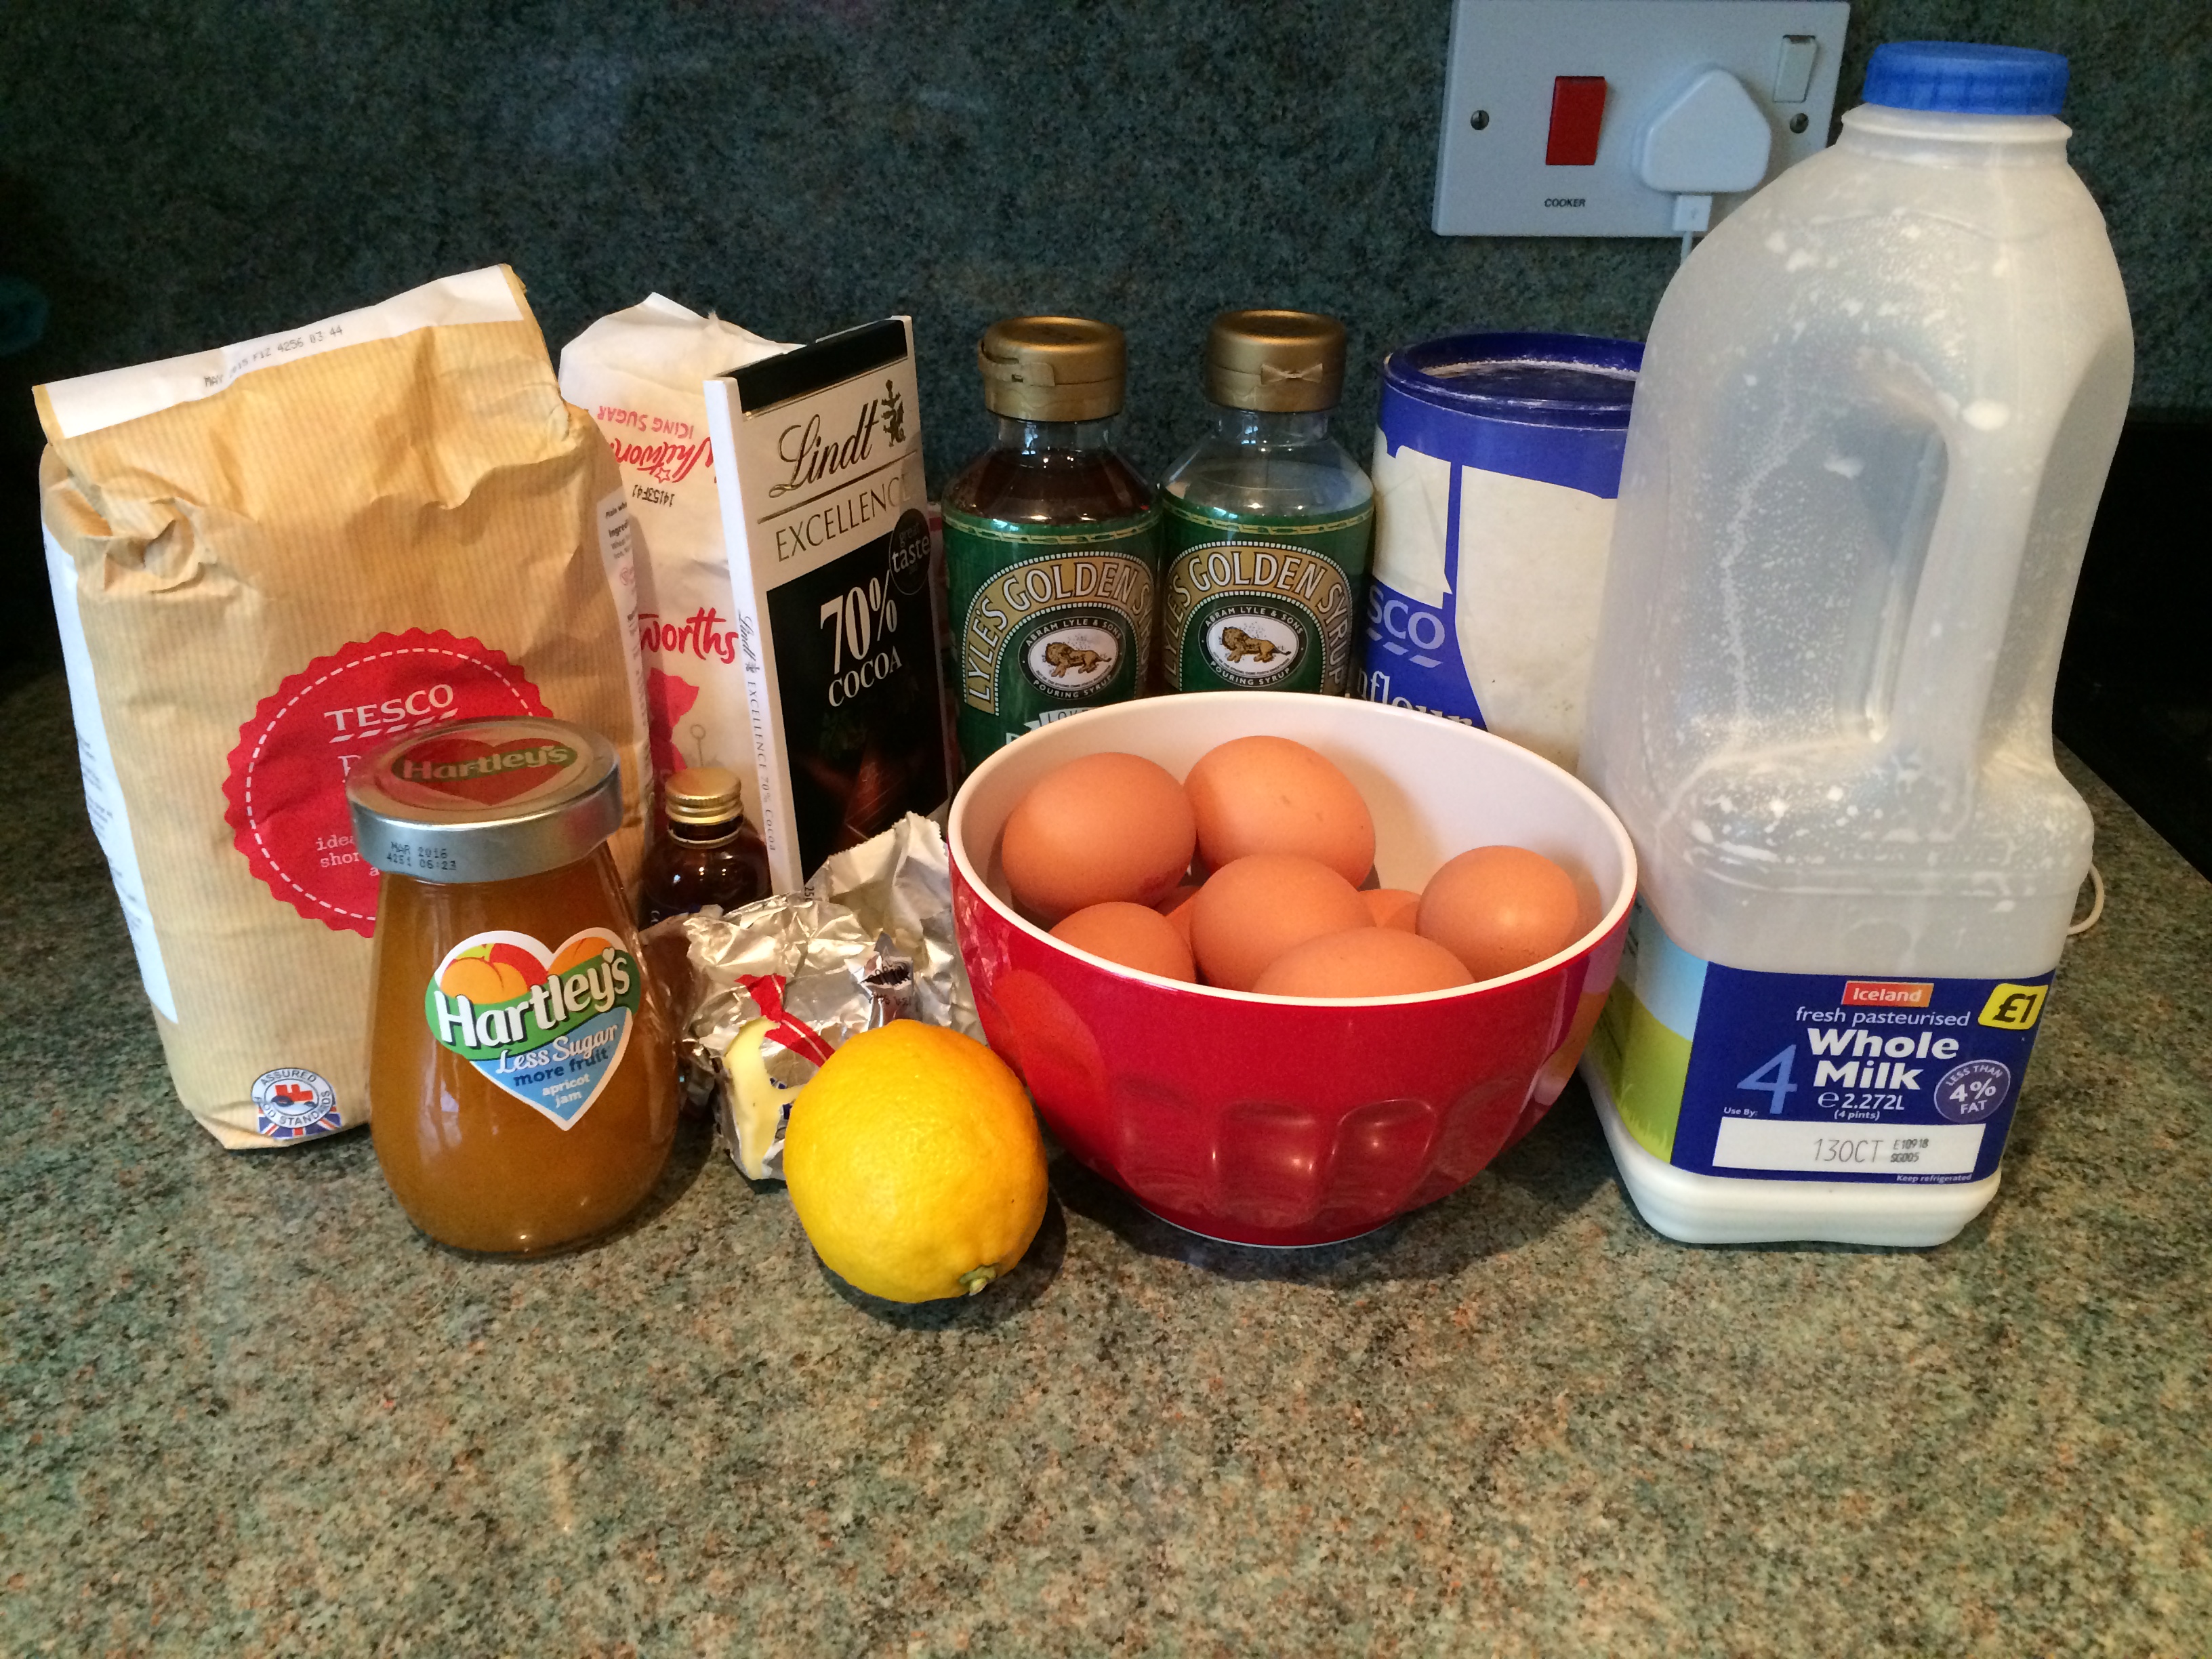
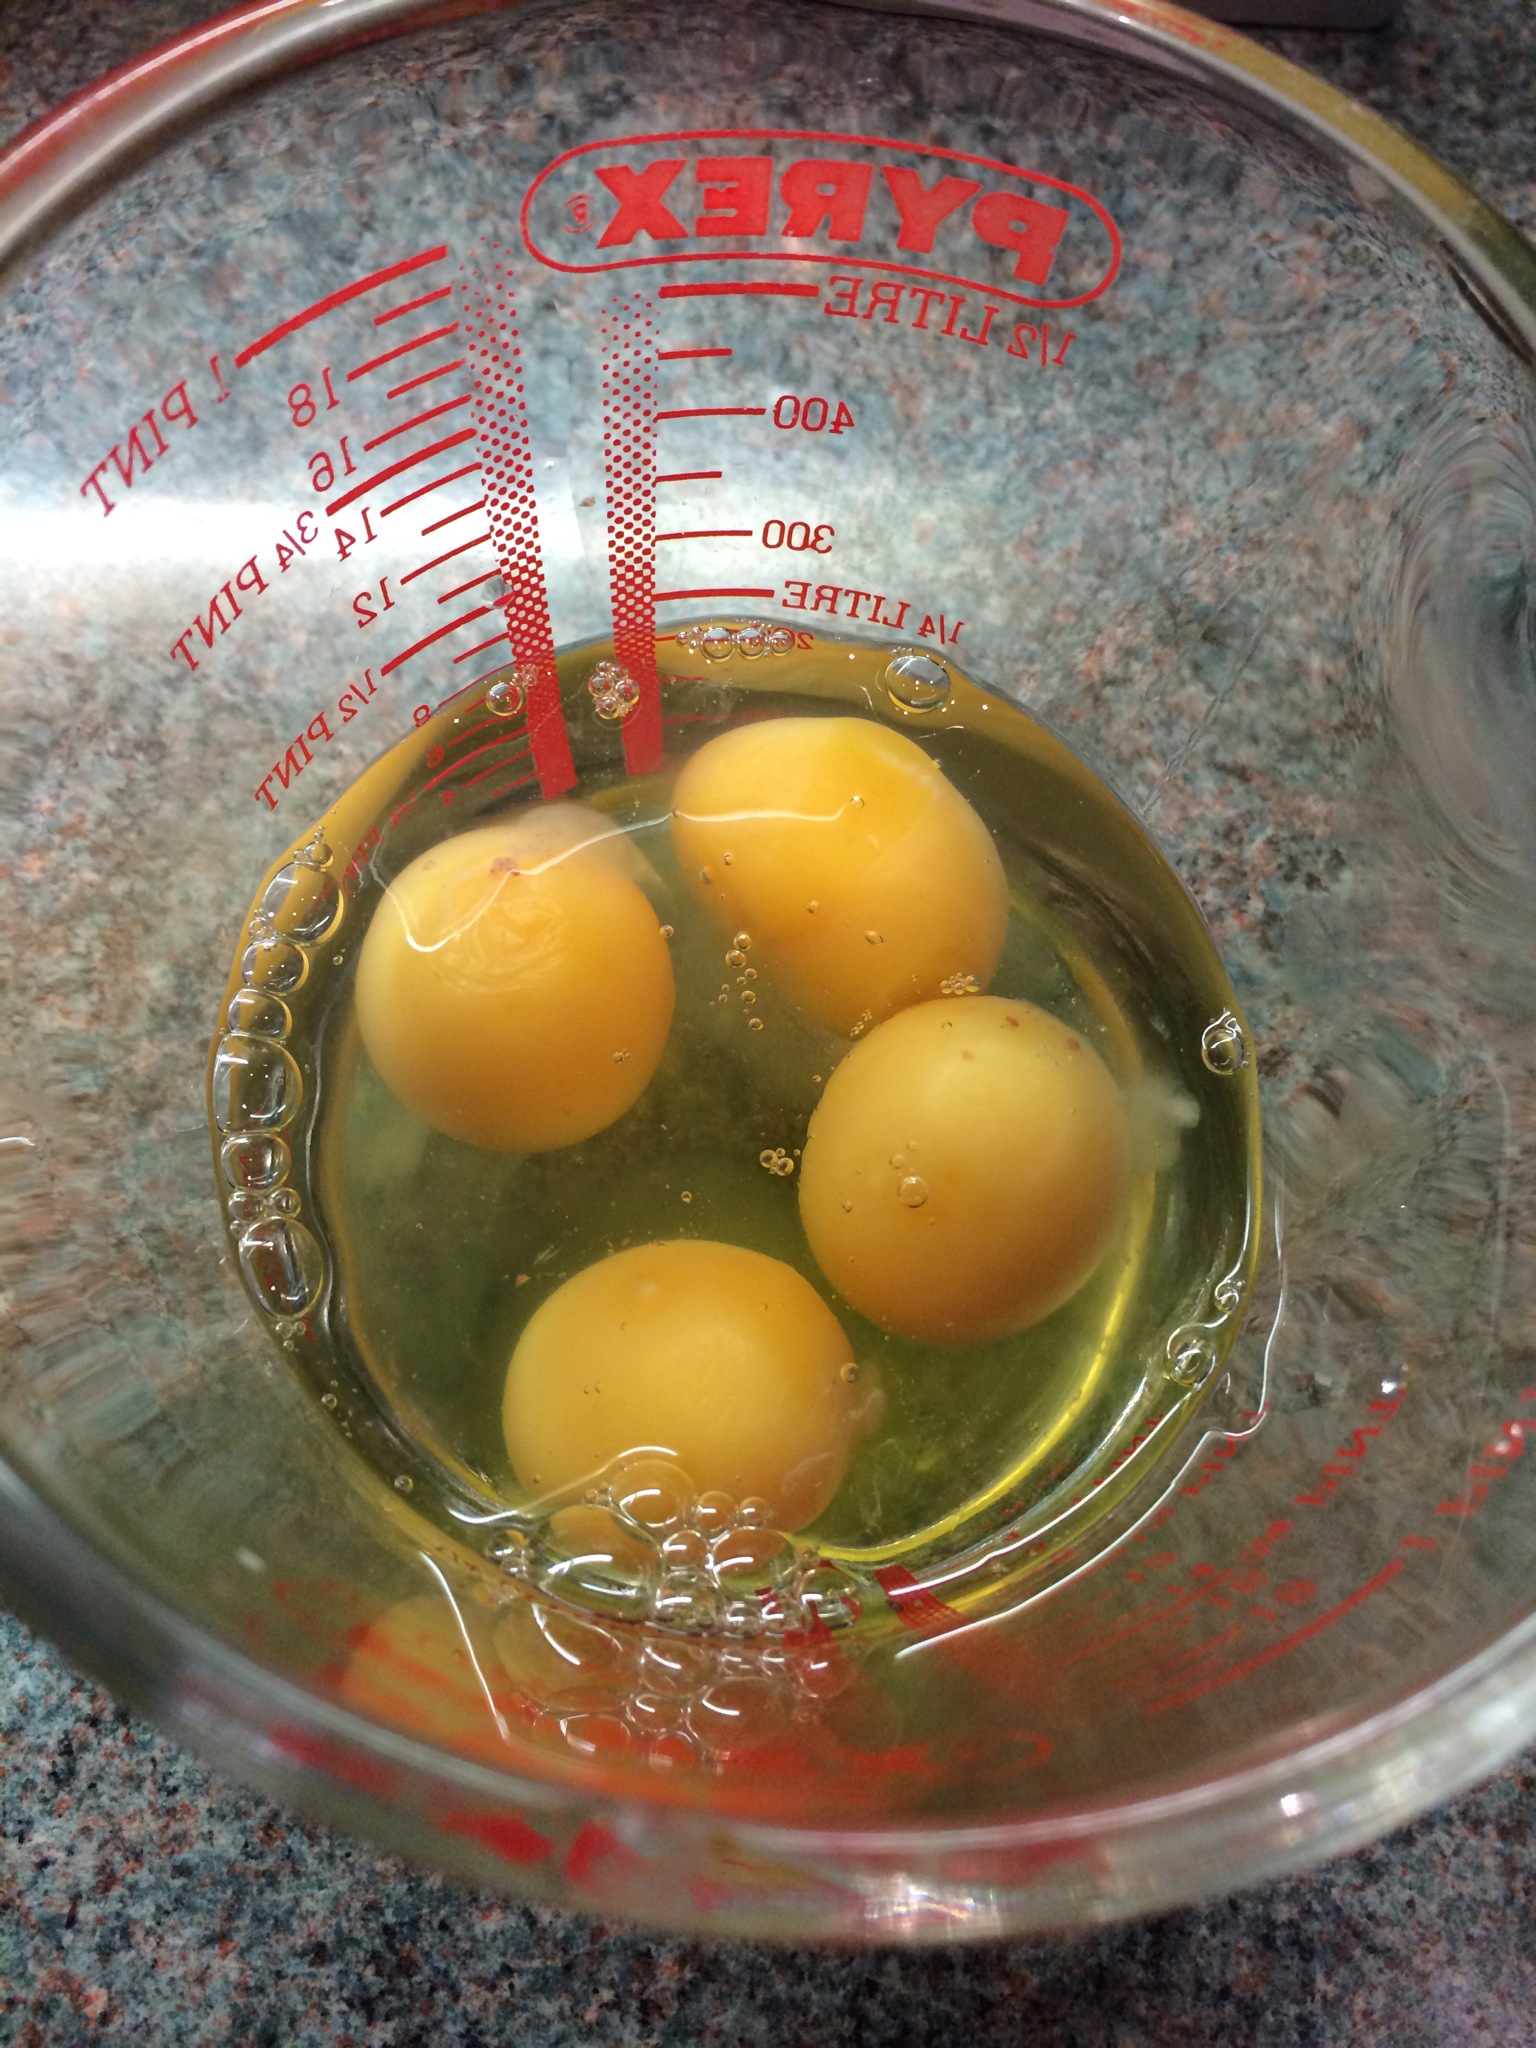
10 large eggs, separated
100g/3½oz unsalted butter
150g/5½oz caster sugar
1 large lemon, zest only
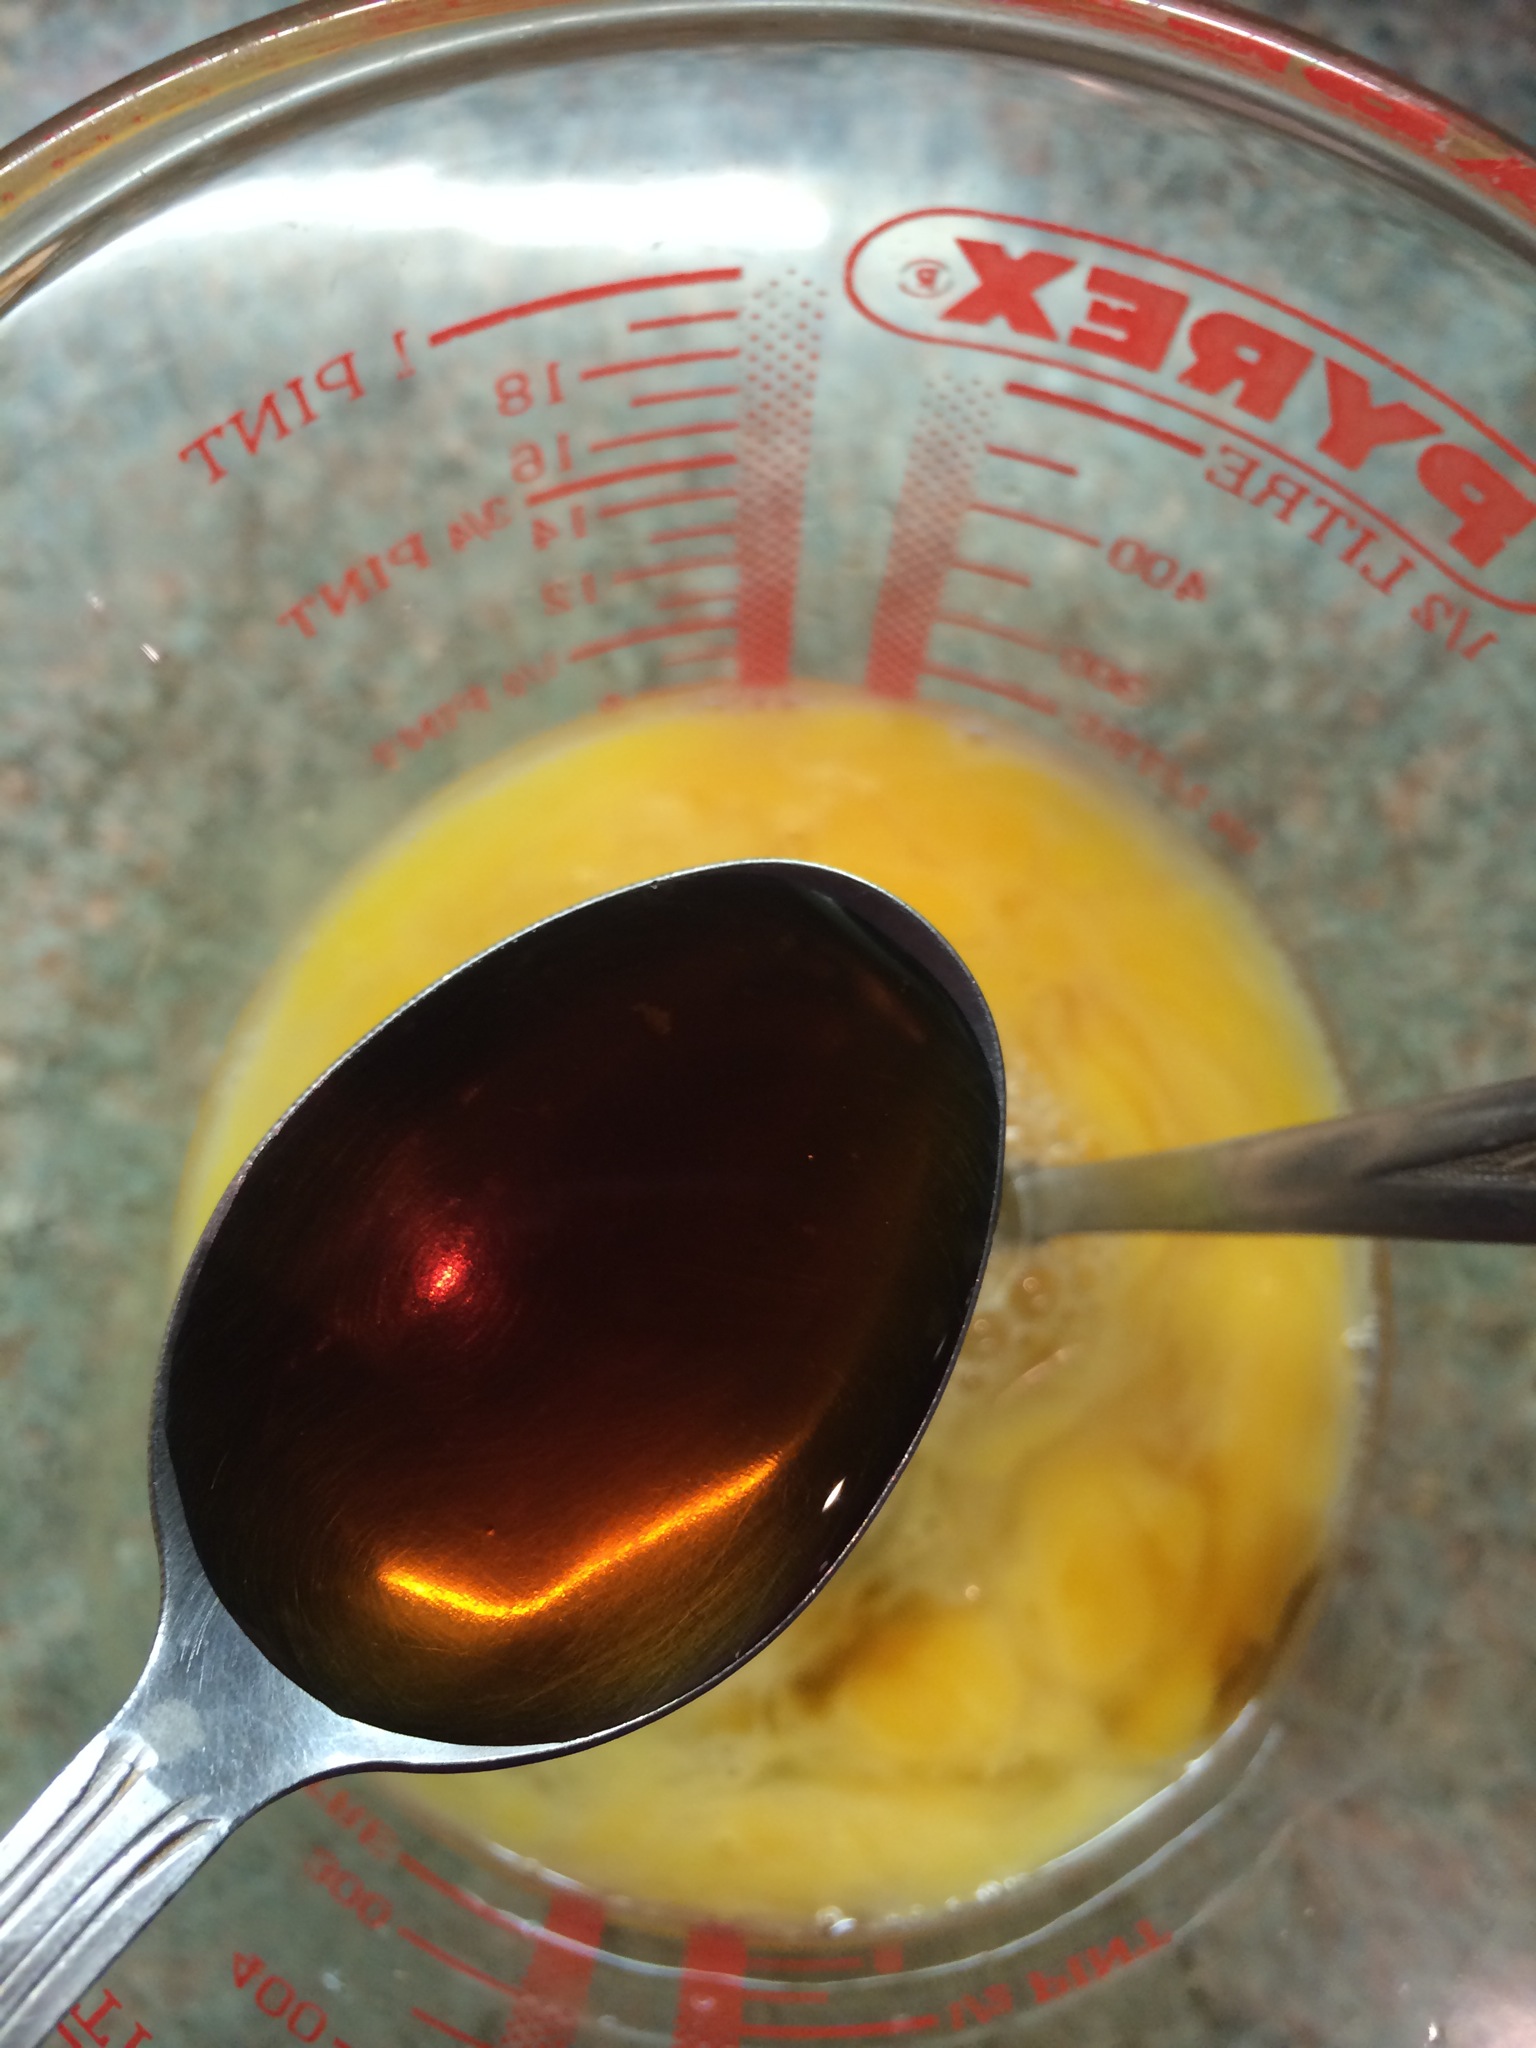
1 tsp vanilla bean paste
150g/5½oz plain flour, sifted
65g/2¼oz cornflour, sifted
oil, for greasing
6 tbsp apricot jam
Chocolate Glaze
50g/1¾oz unsalted butter
1 tbsp golden syrup
1 tbsp rum
1 tsp vanilla bean paste
75g/2½oz plain chocolate (36% cocoa solids), finely chopped
Vanilla Glaze
250g/9oz icing sugar
1 tbsp rum
½ tsp vanilla bean paste
1-2 tbsp milk

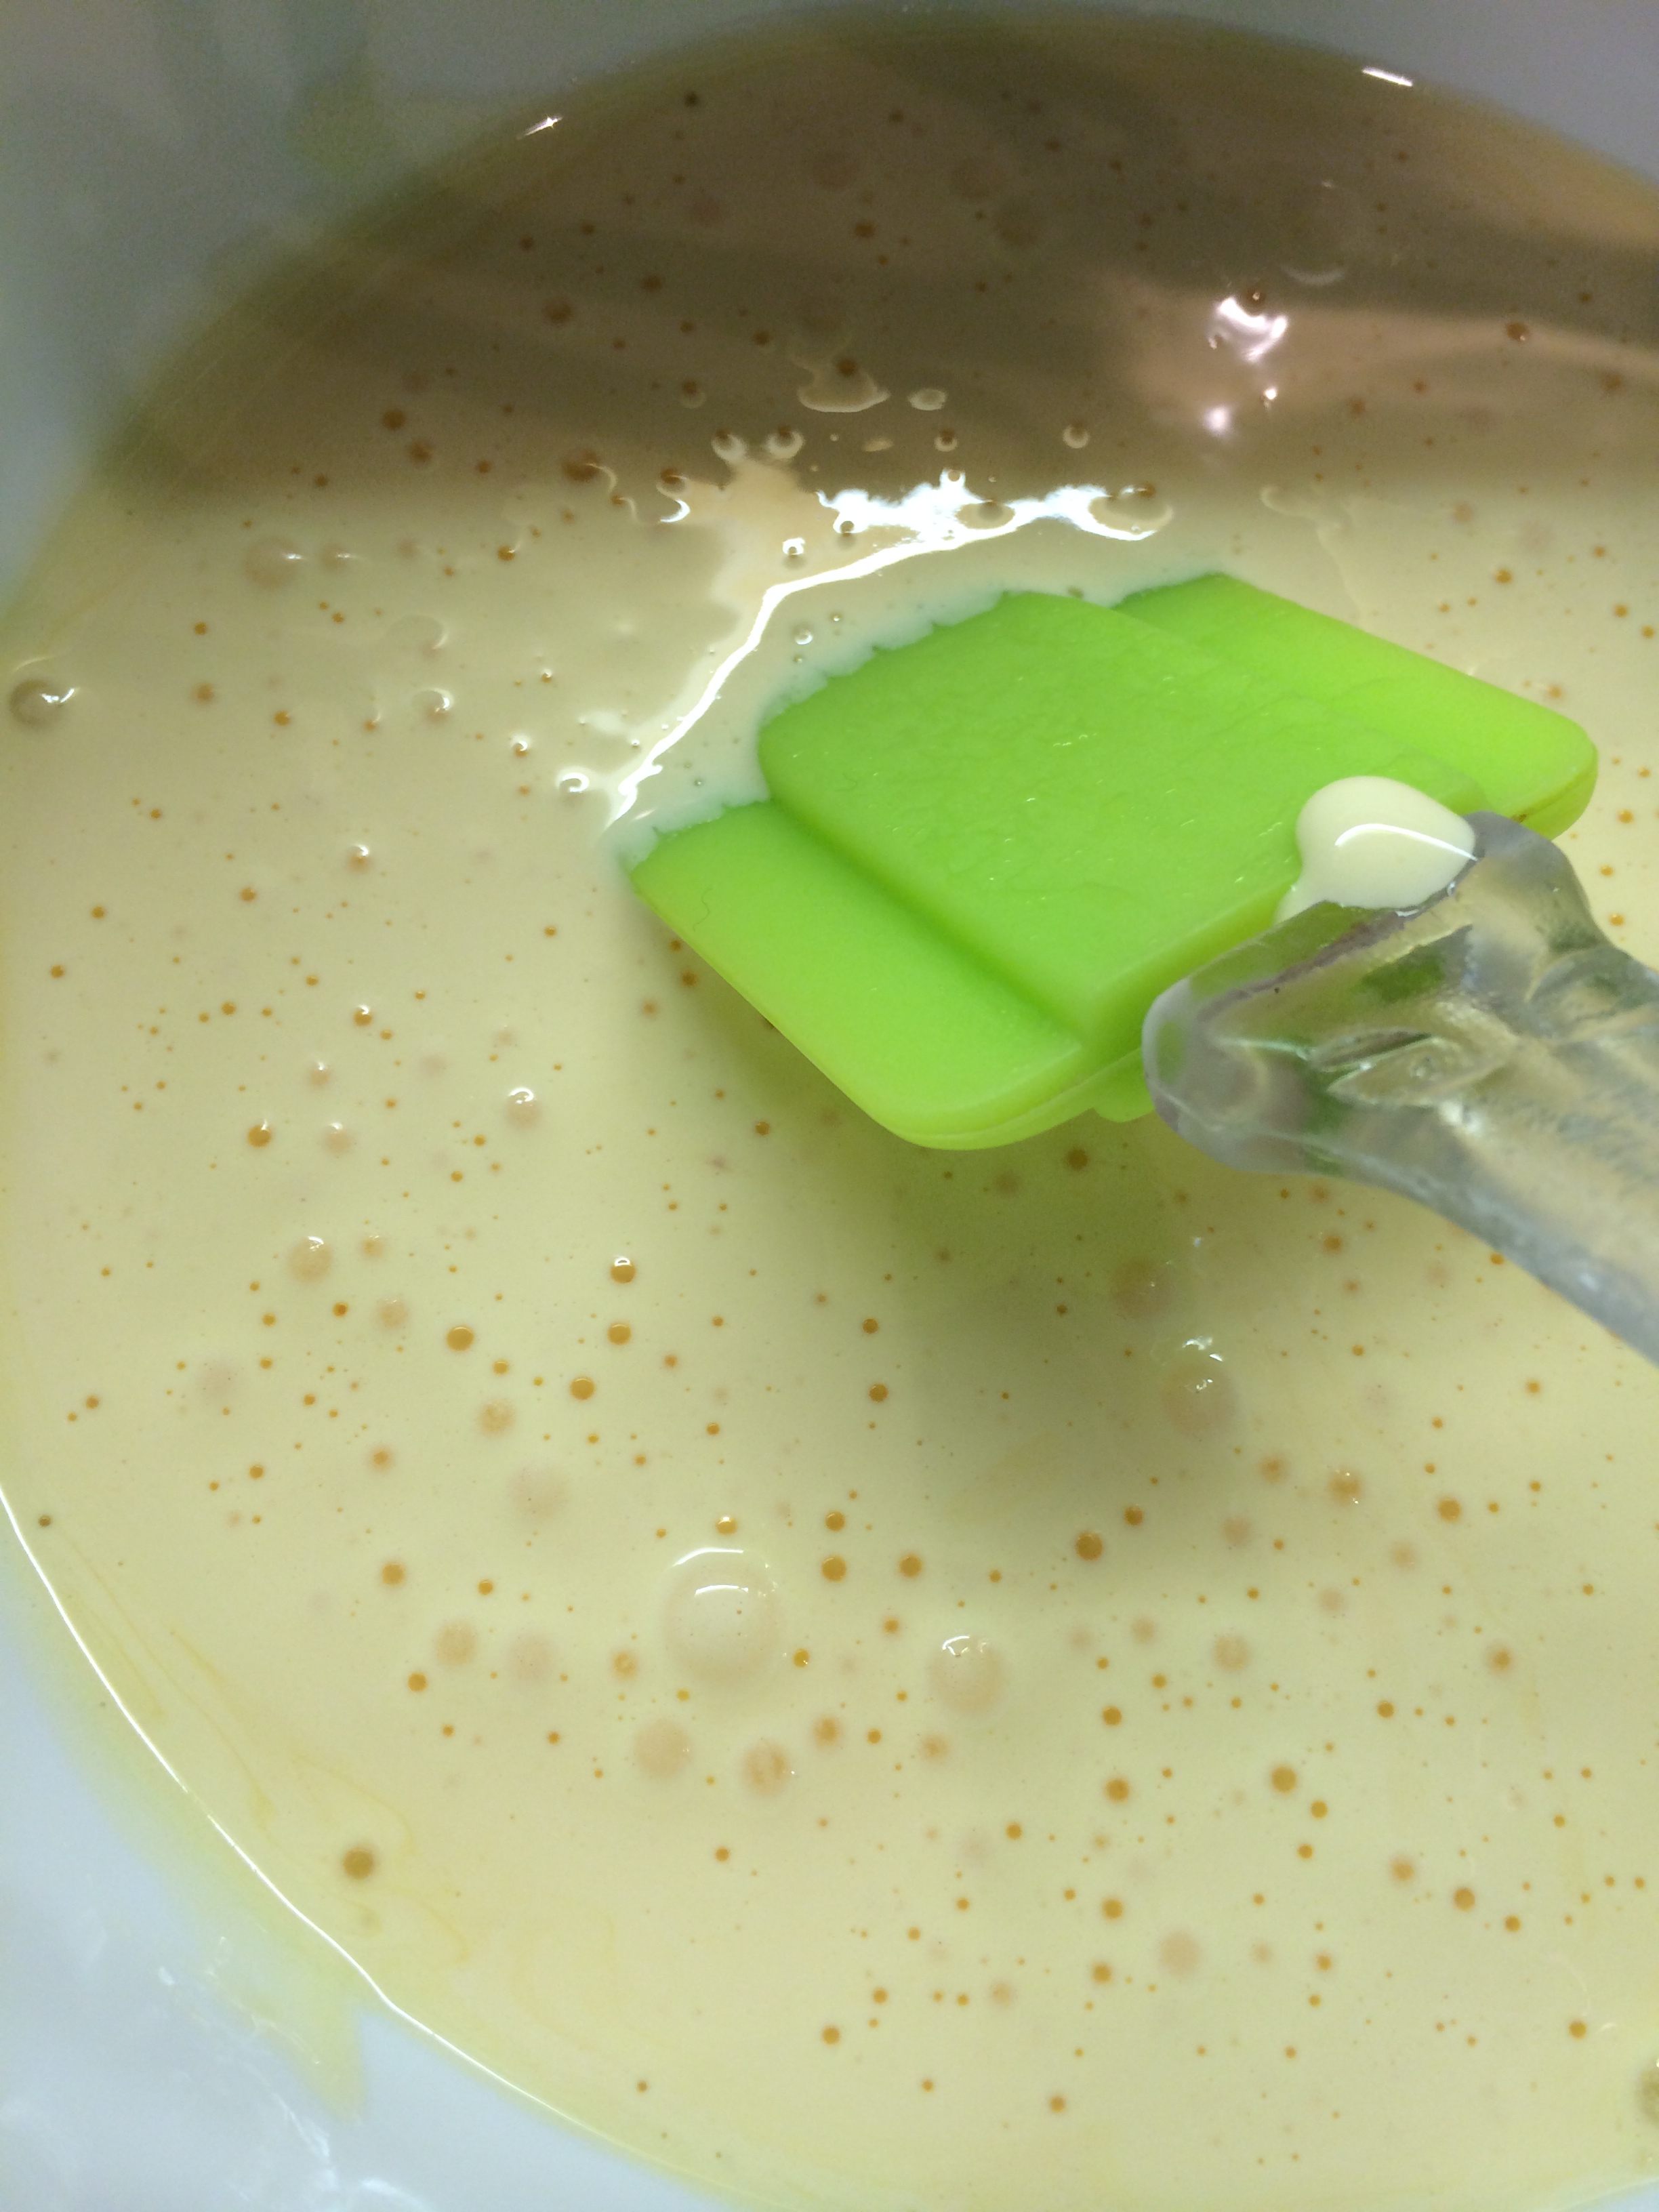
- After I managed to separate all 10 eggs after a little bit of difficulty, I then whisked the egg yolks using a hand-held whisk on high speed until the mixture became pale, thick and creamy.


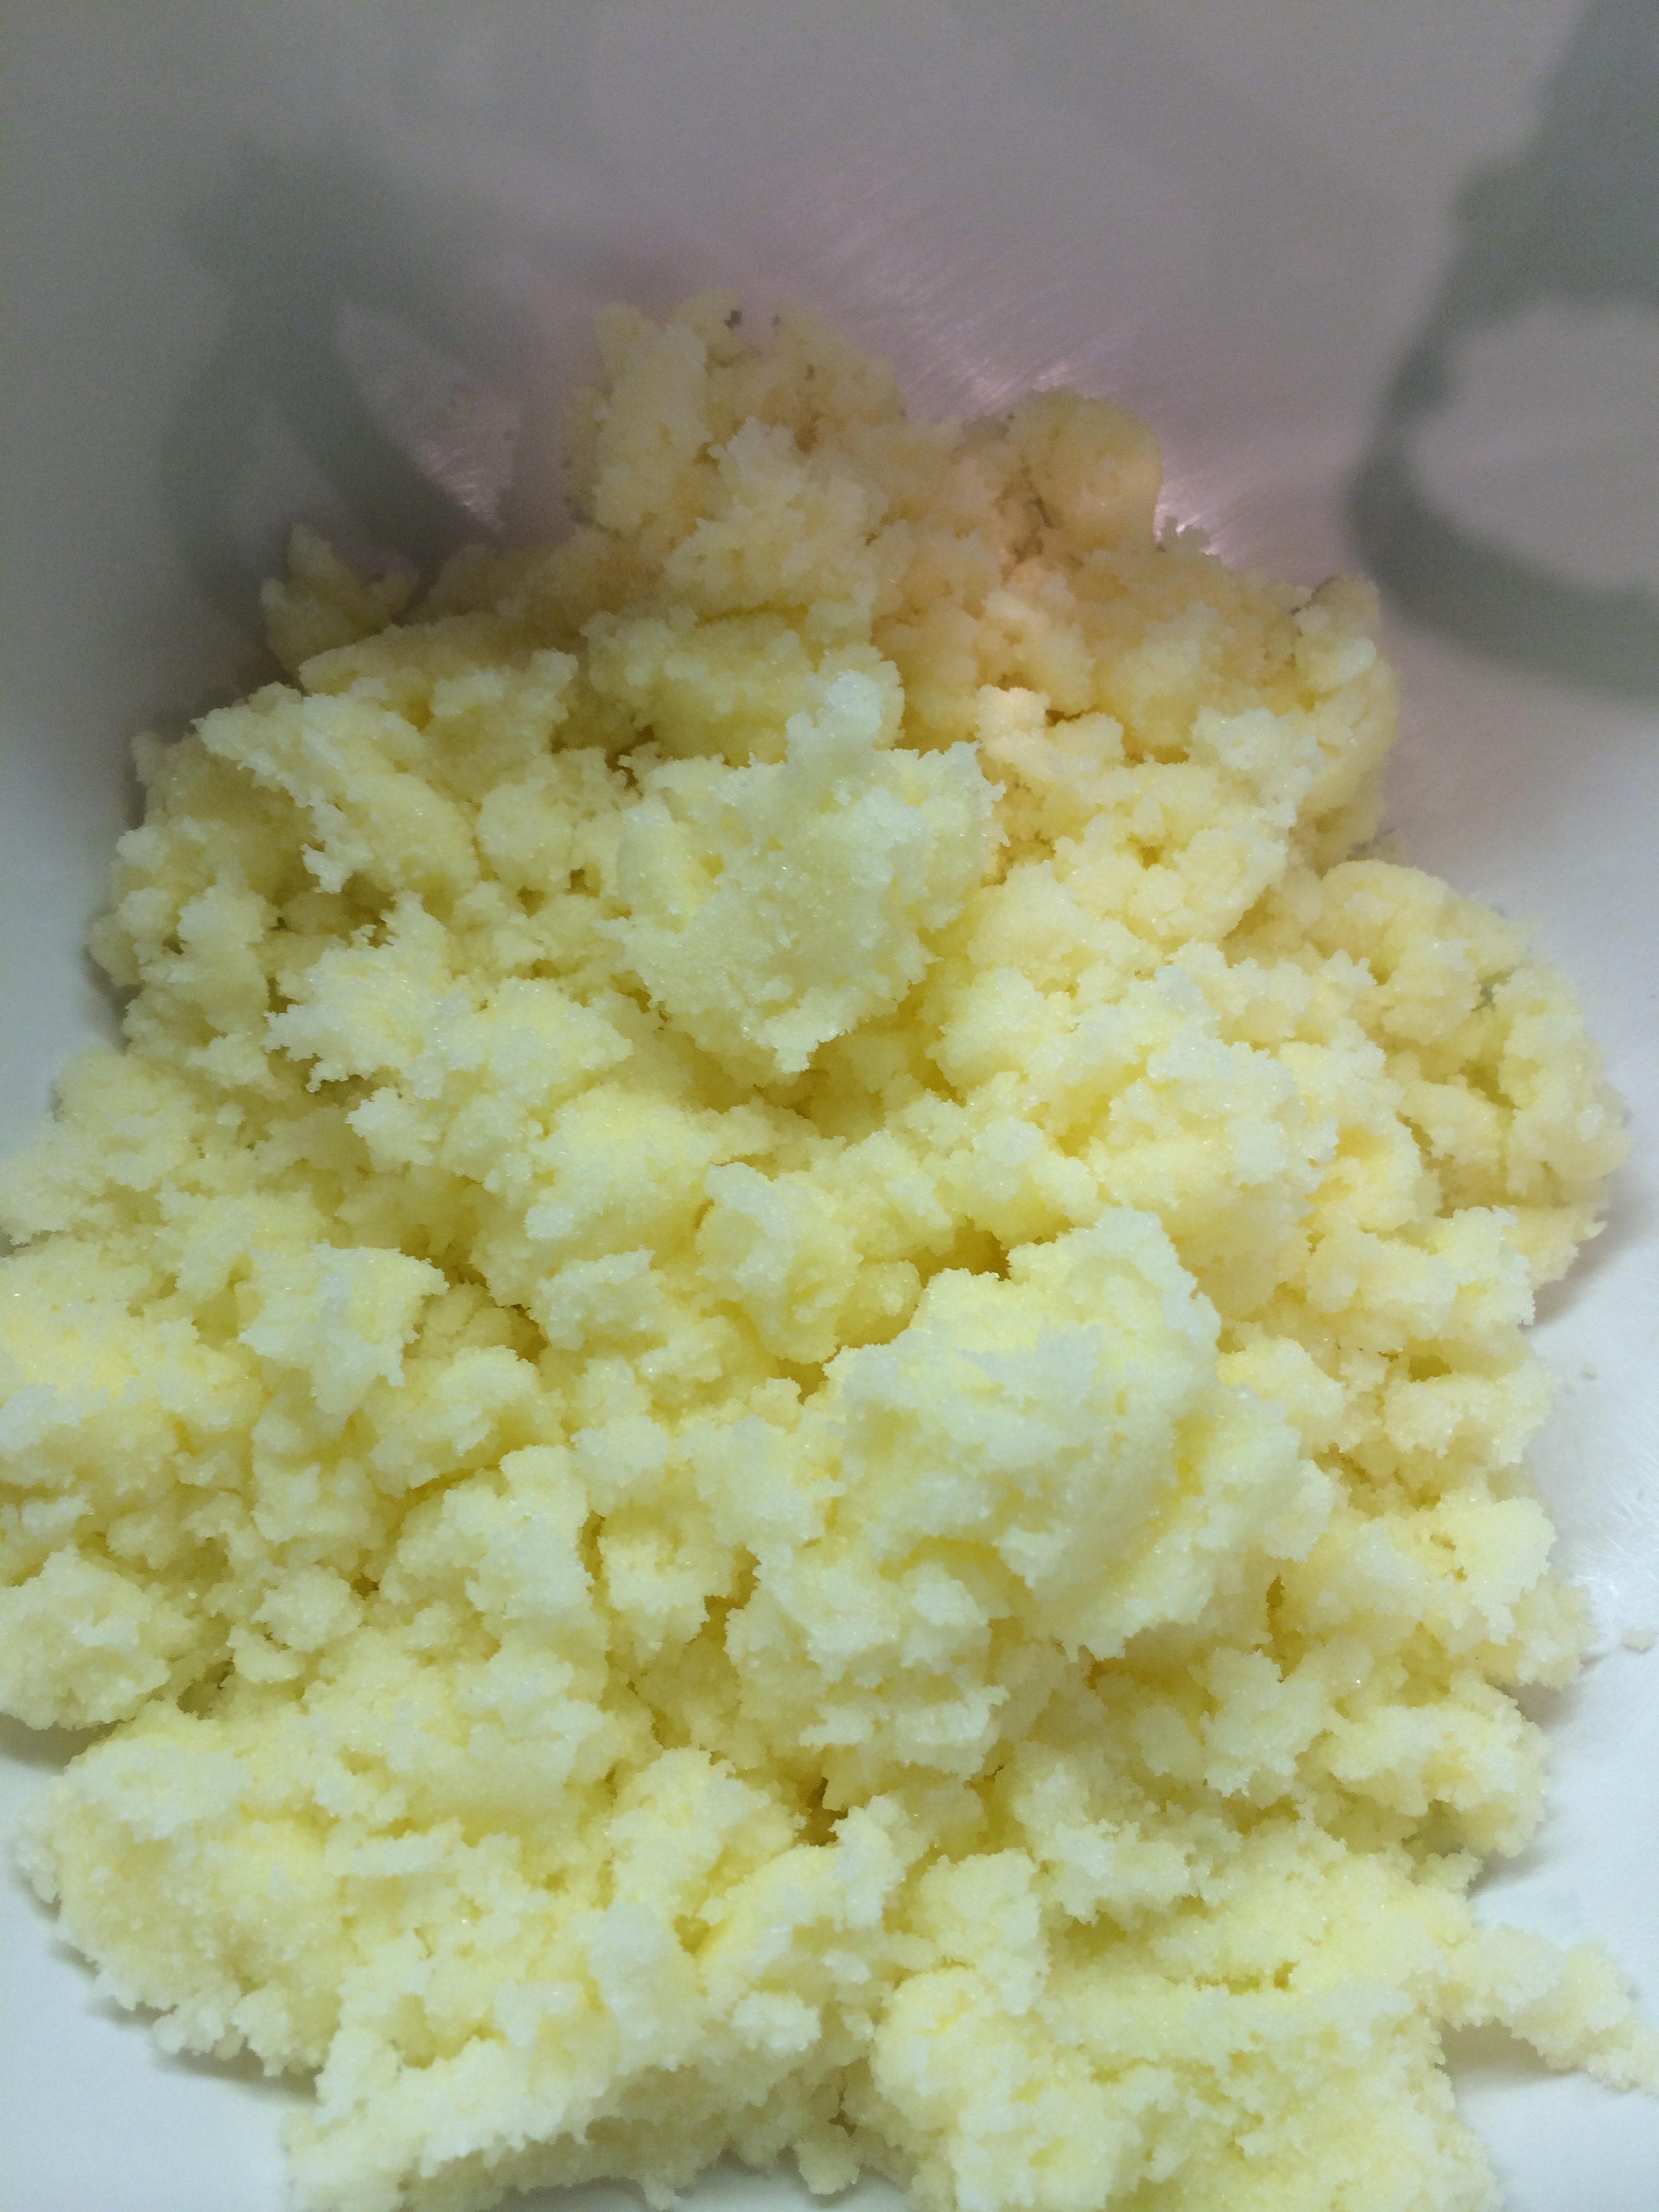
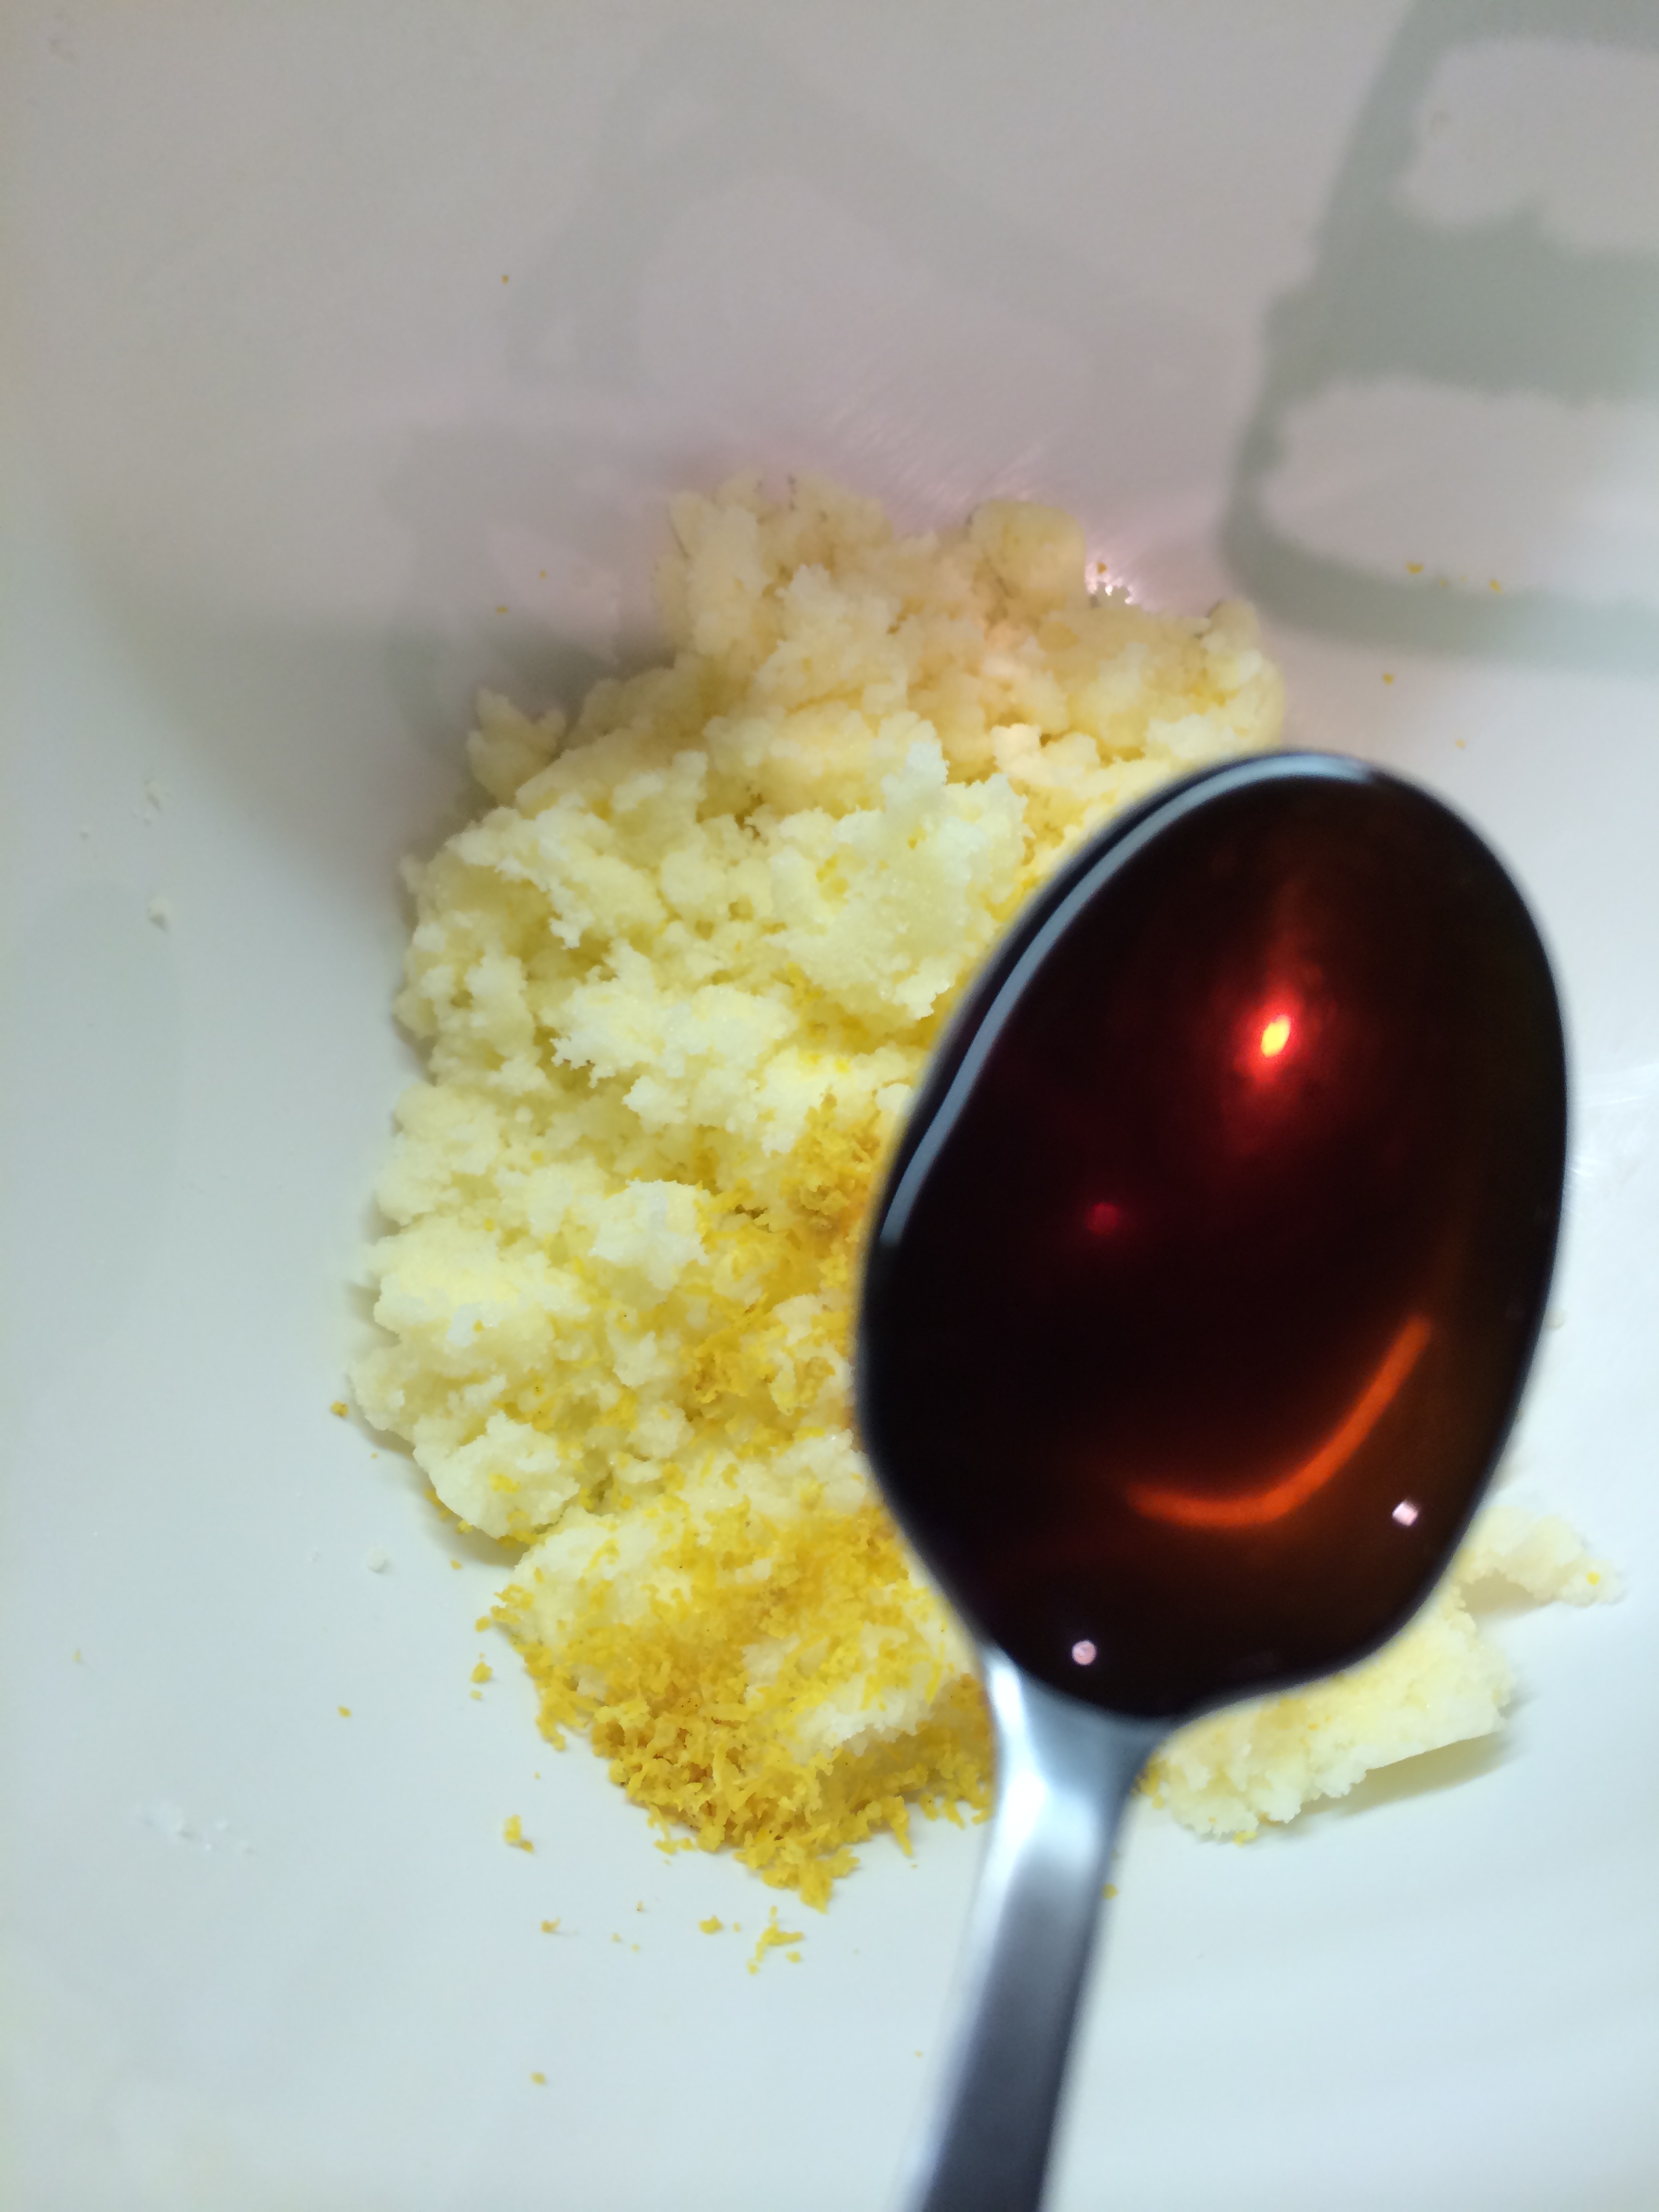
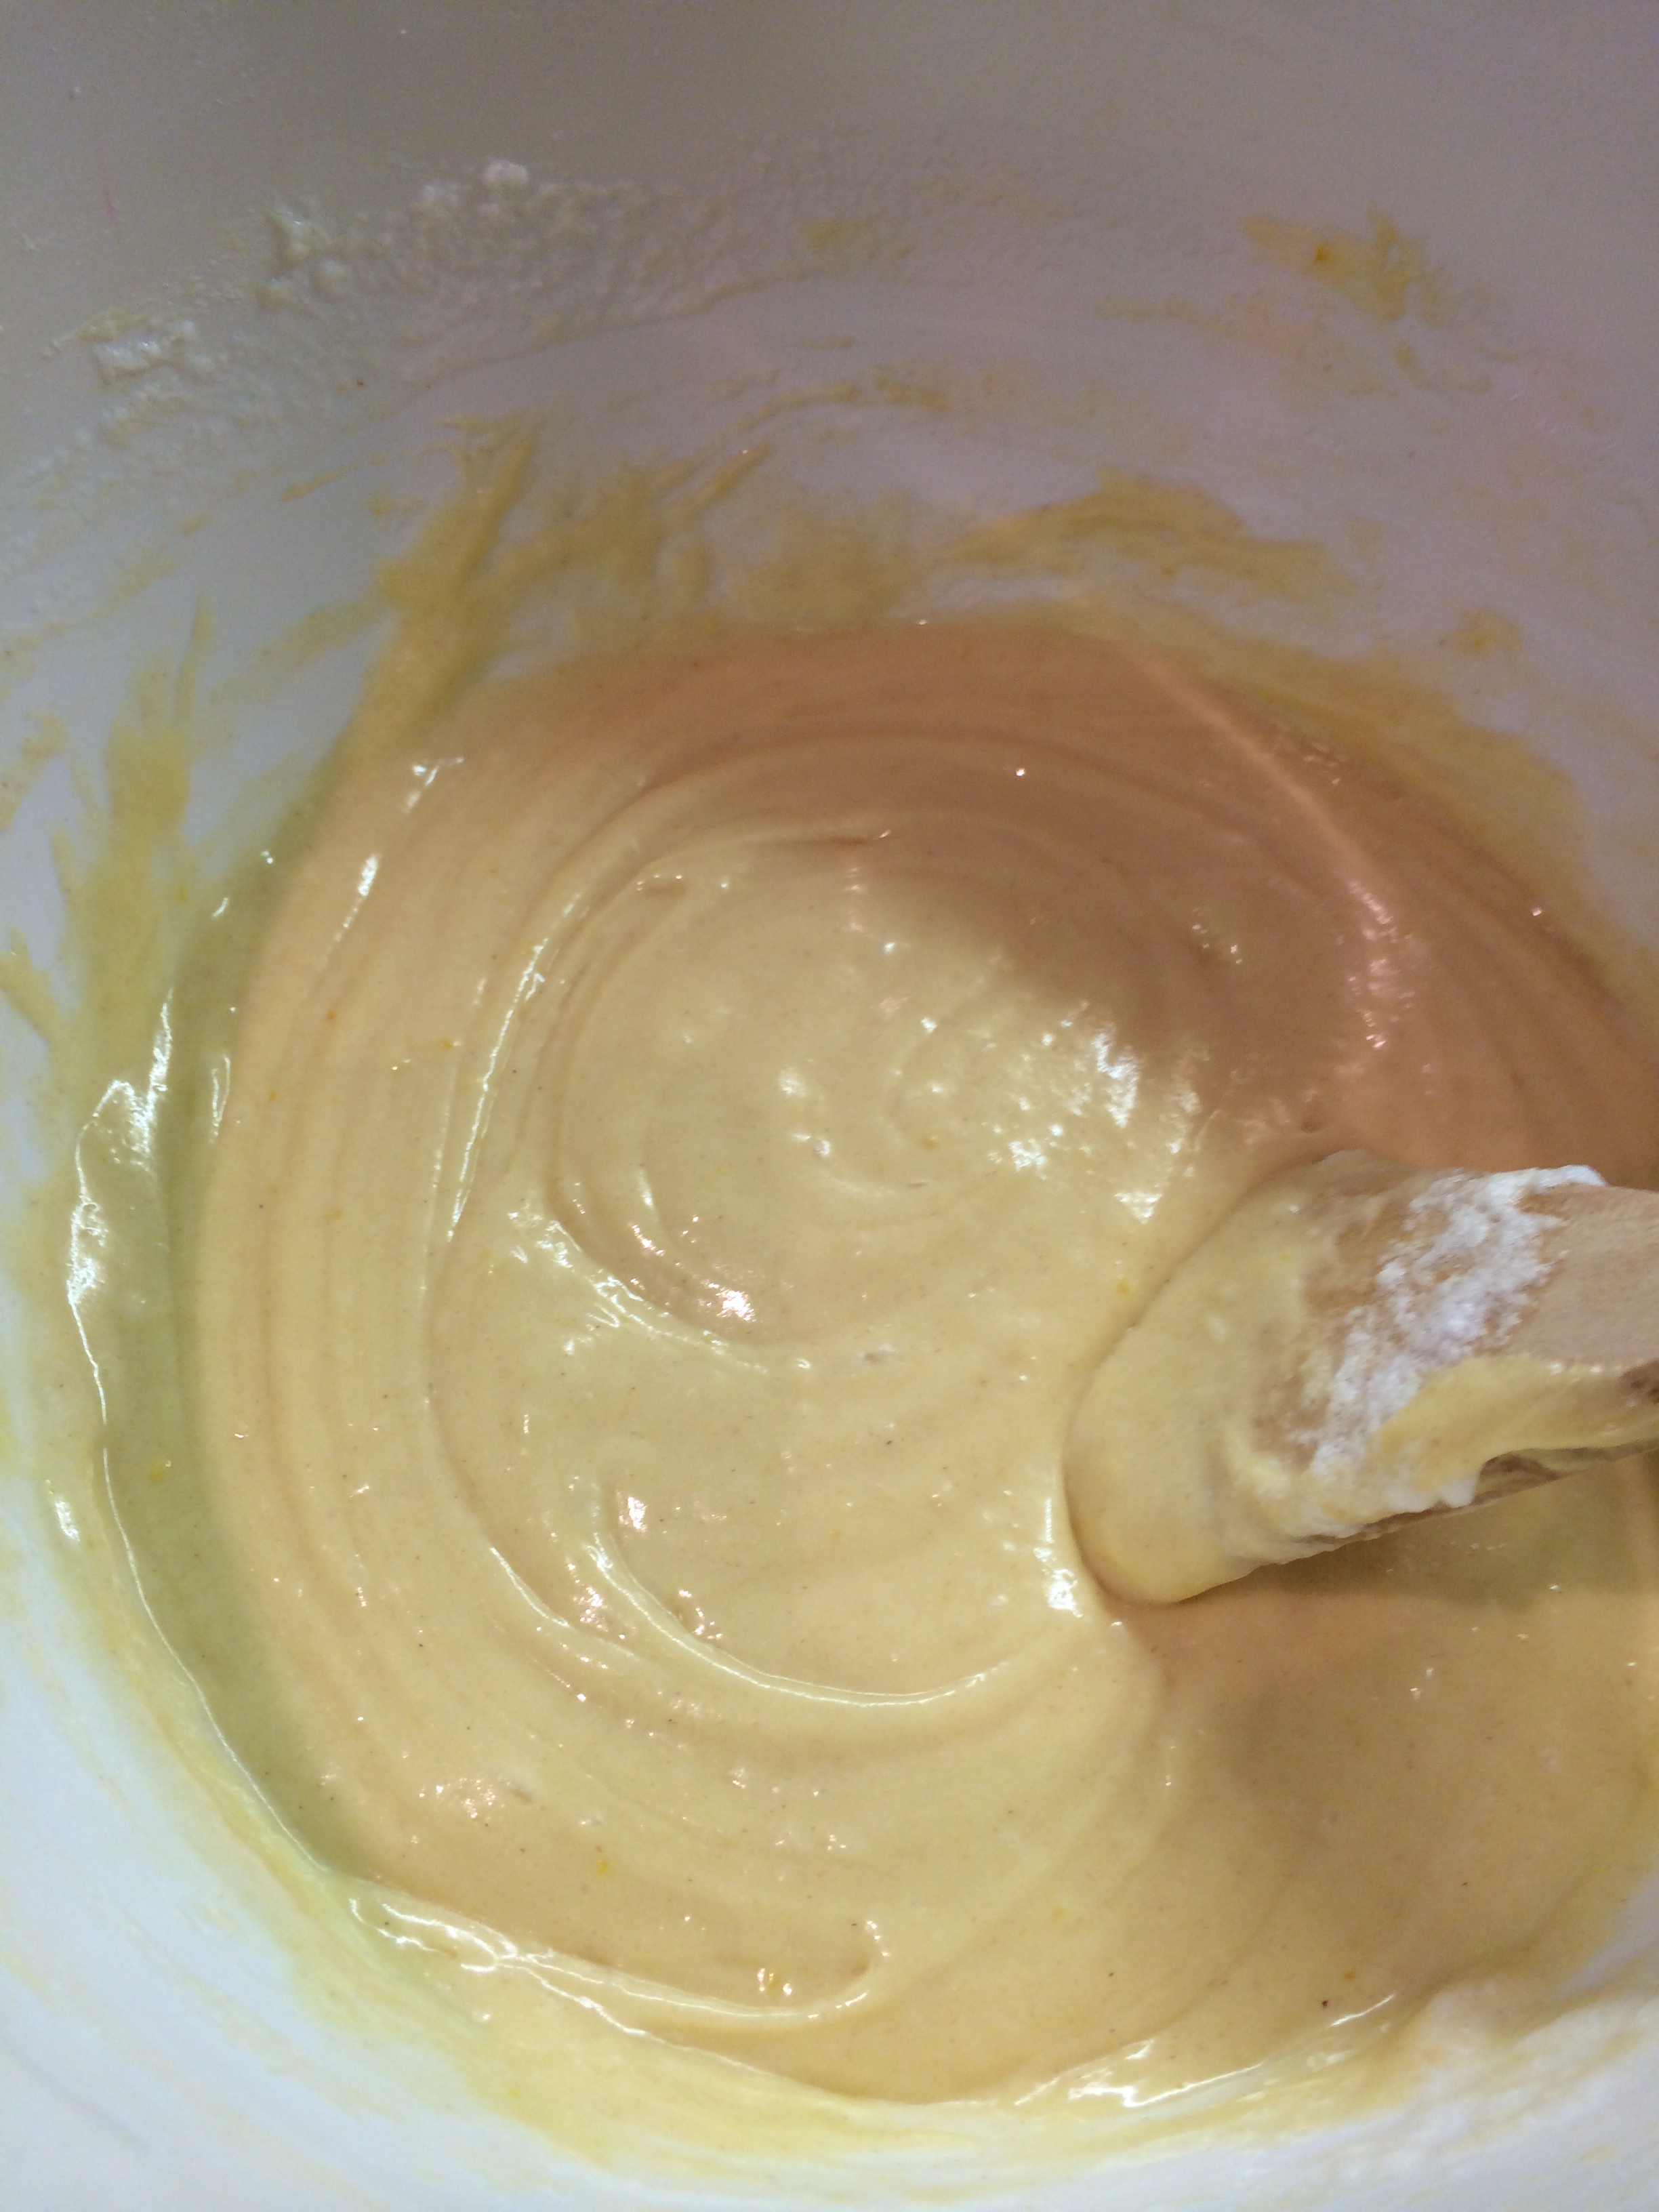
- In another bowl, I creamed together the butter and sugar until pale and creamy. I then added the zest of one lemon and 1 tsp of vanilla extract (but you can use vanilla bean paste if you have it) and mixed well.


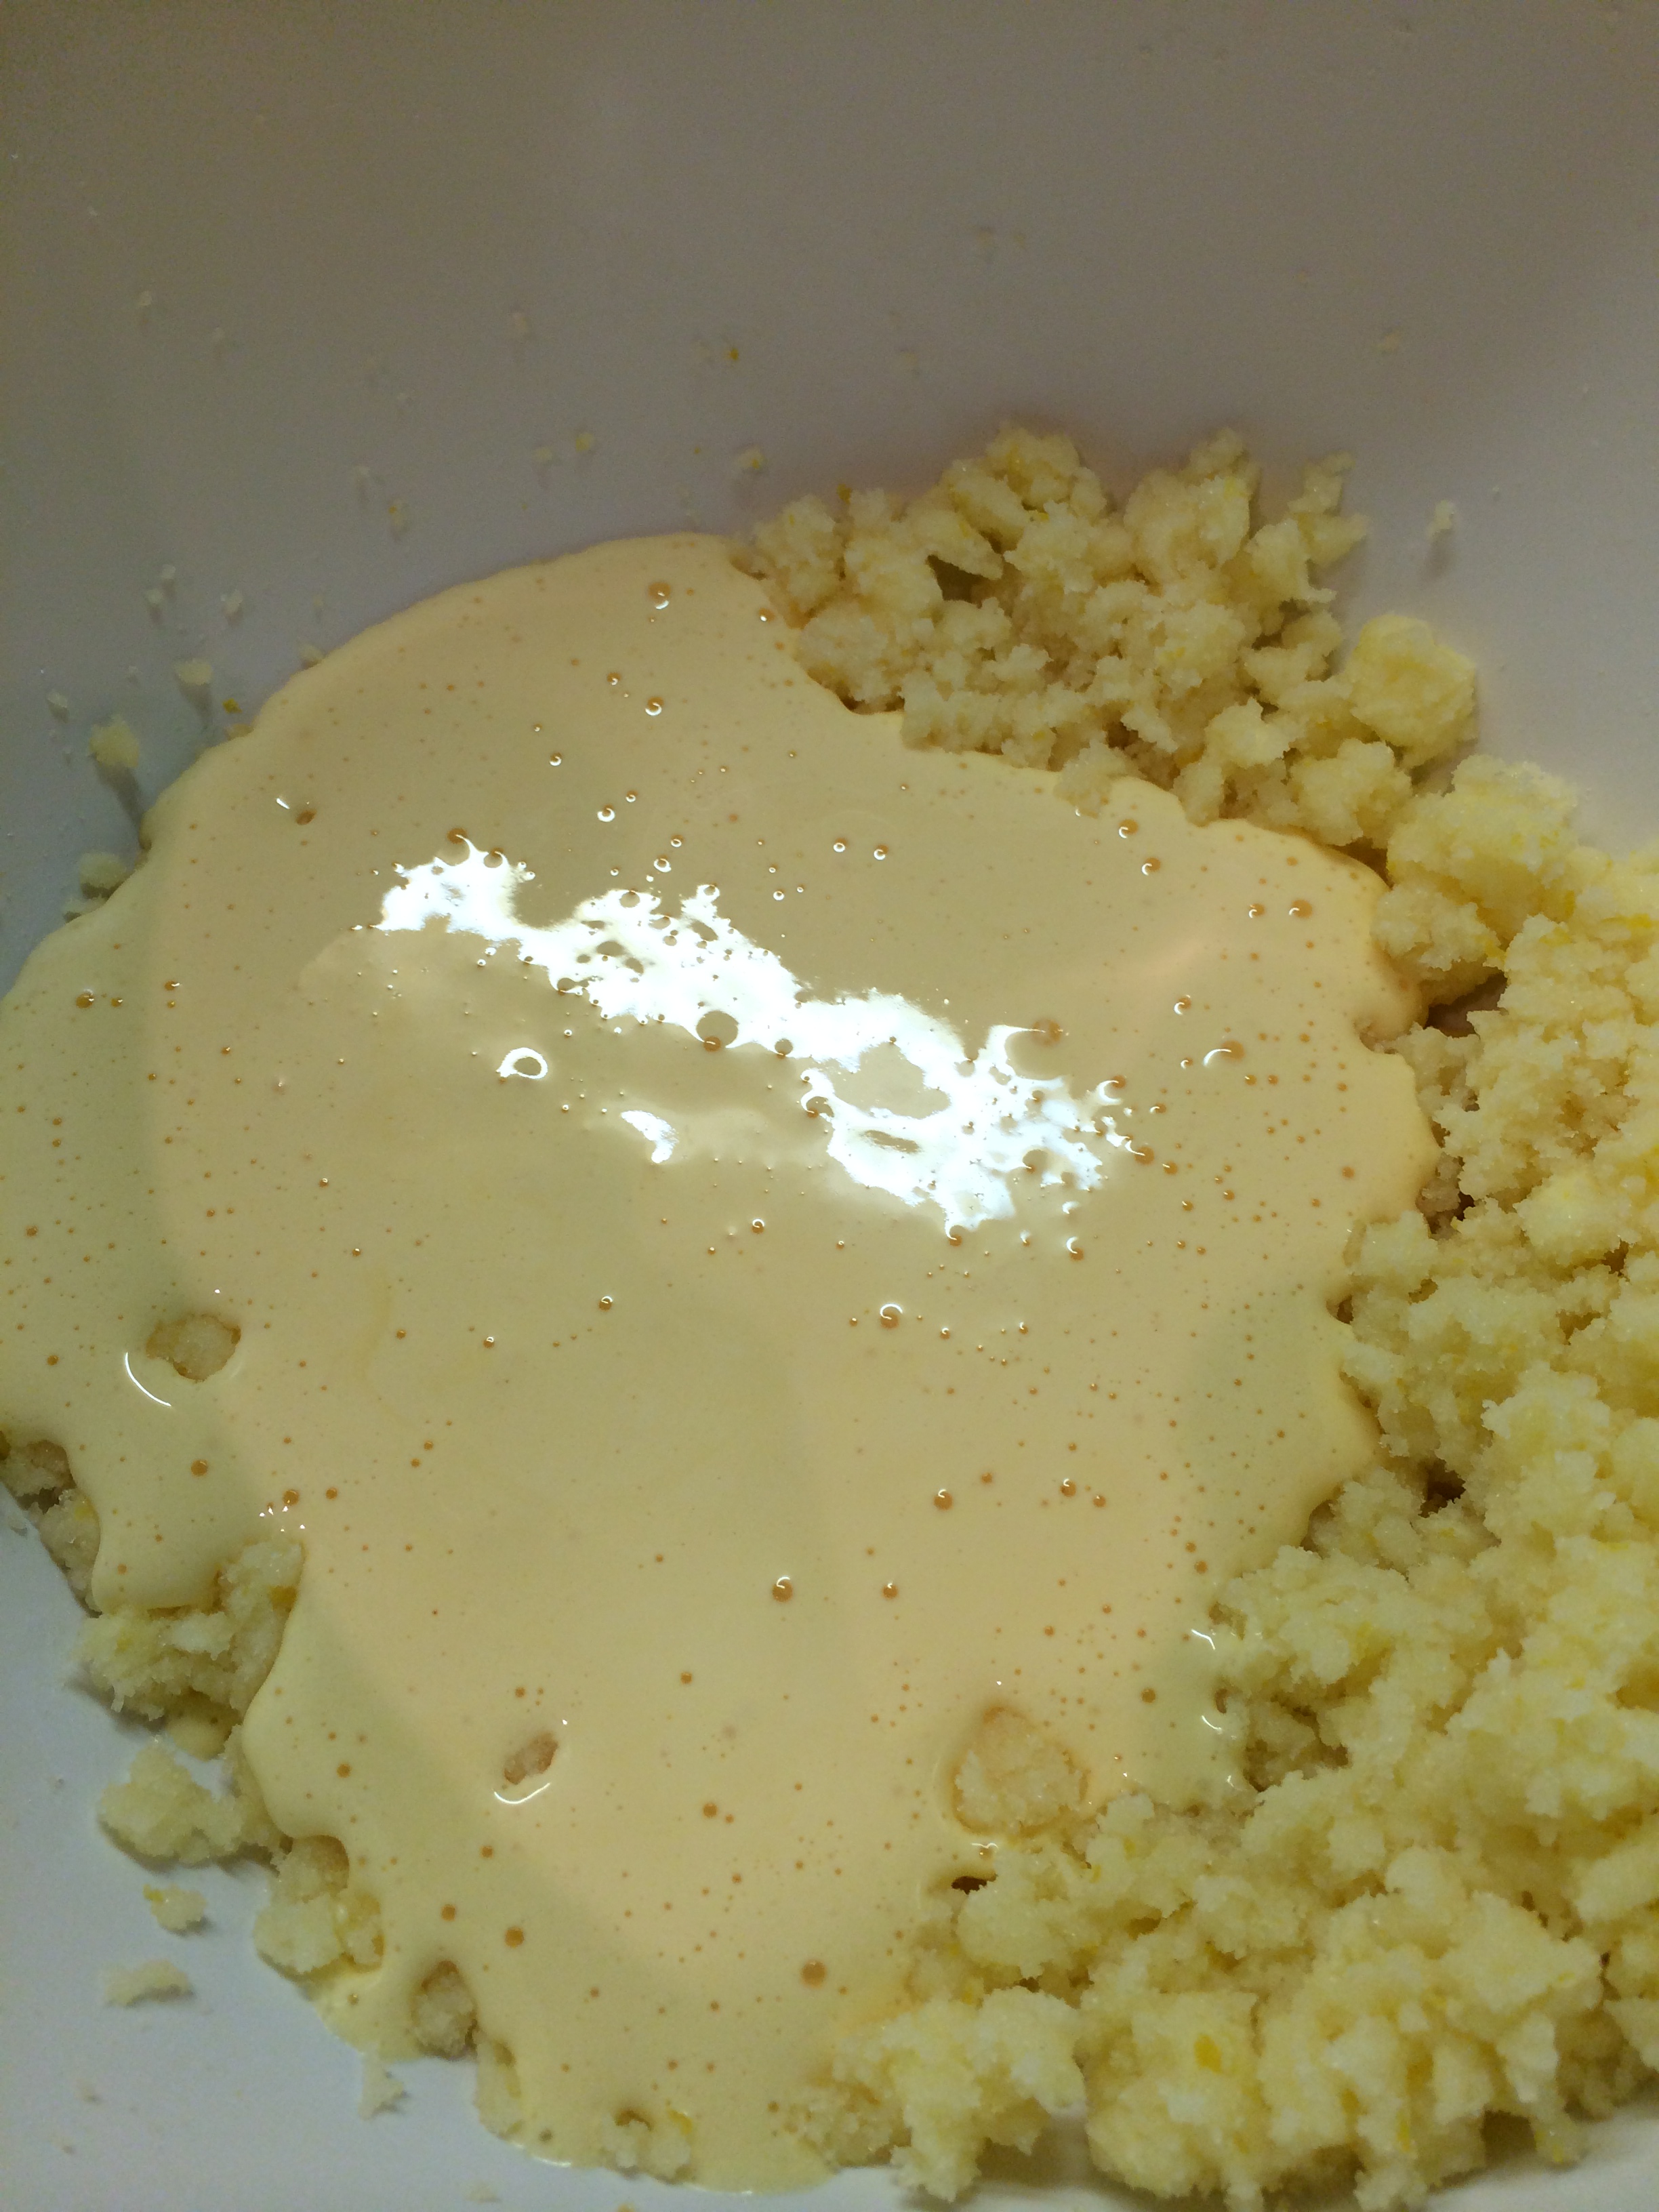
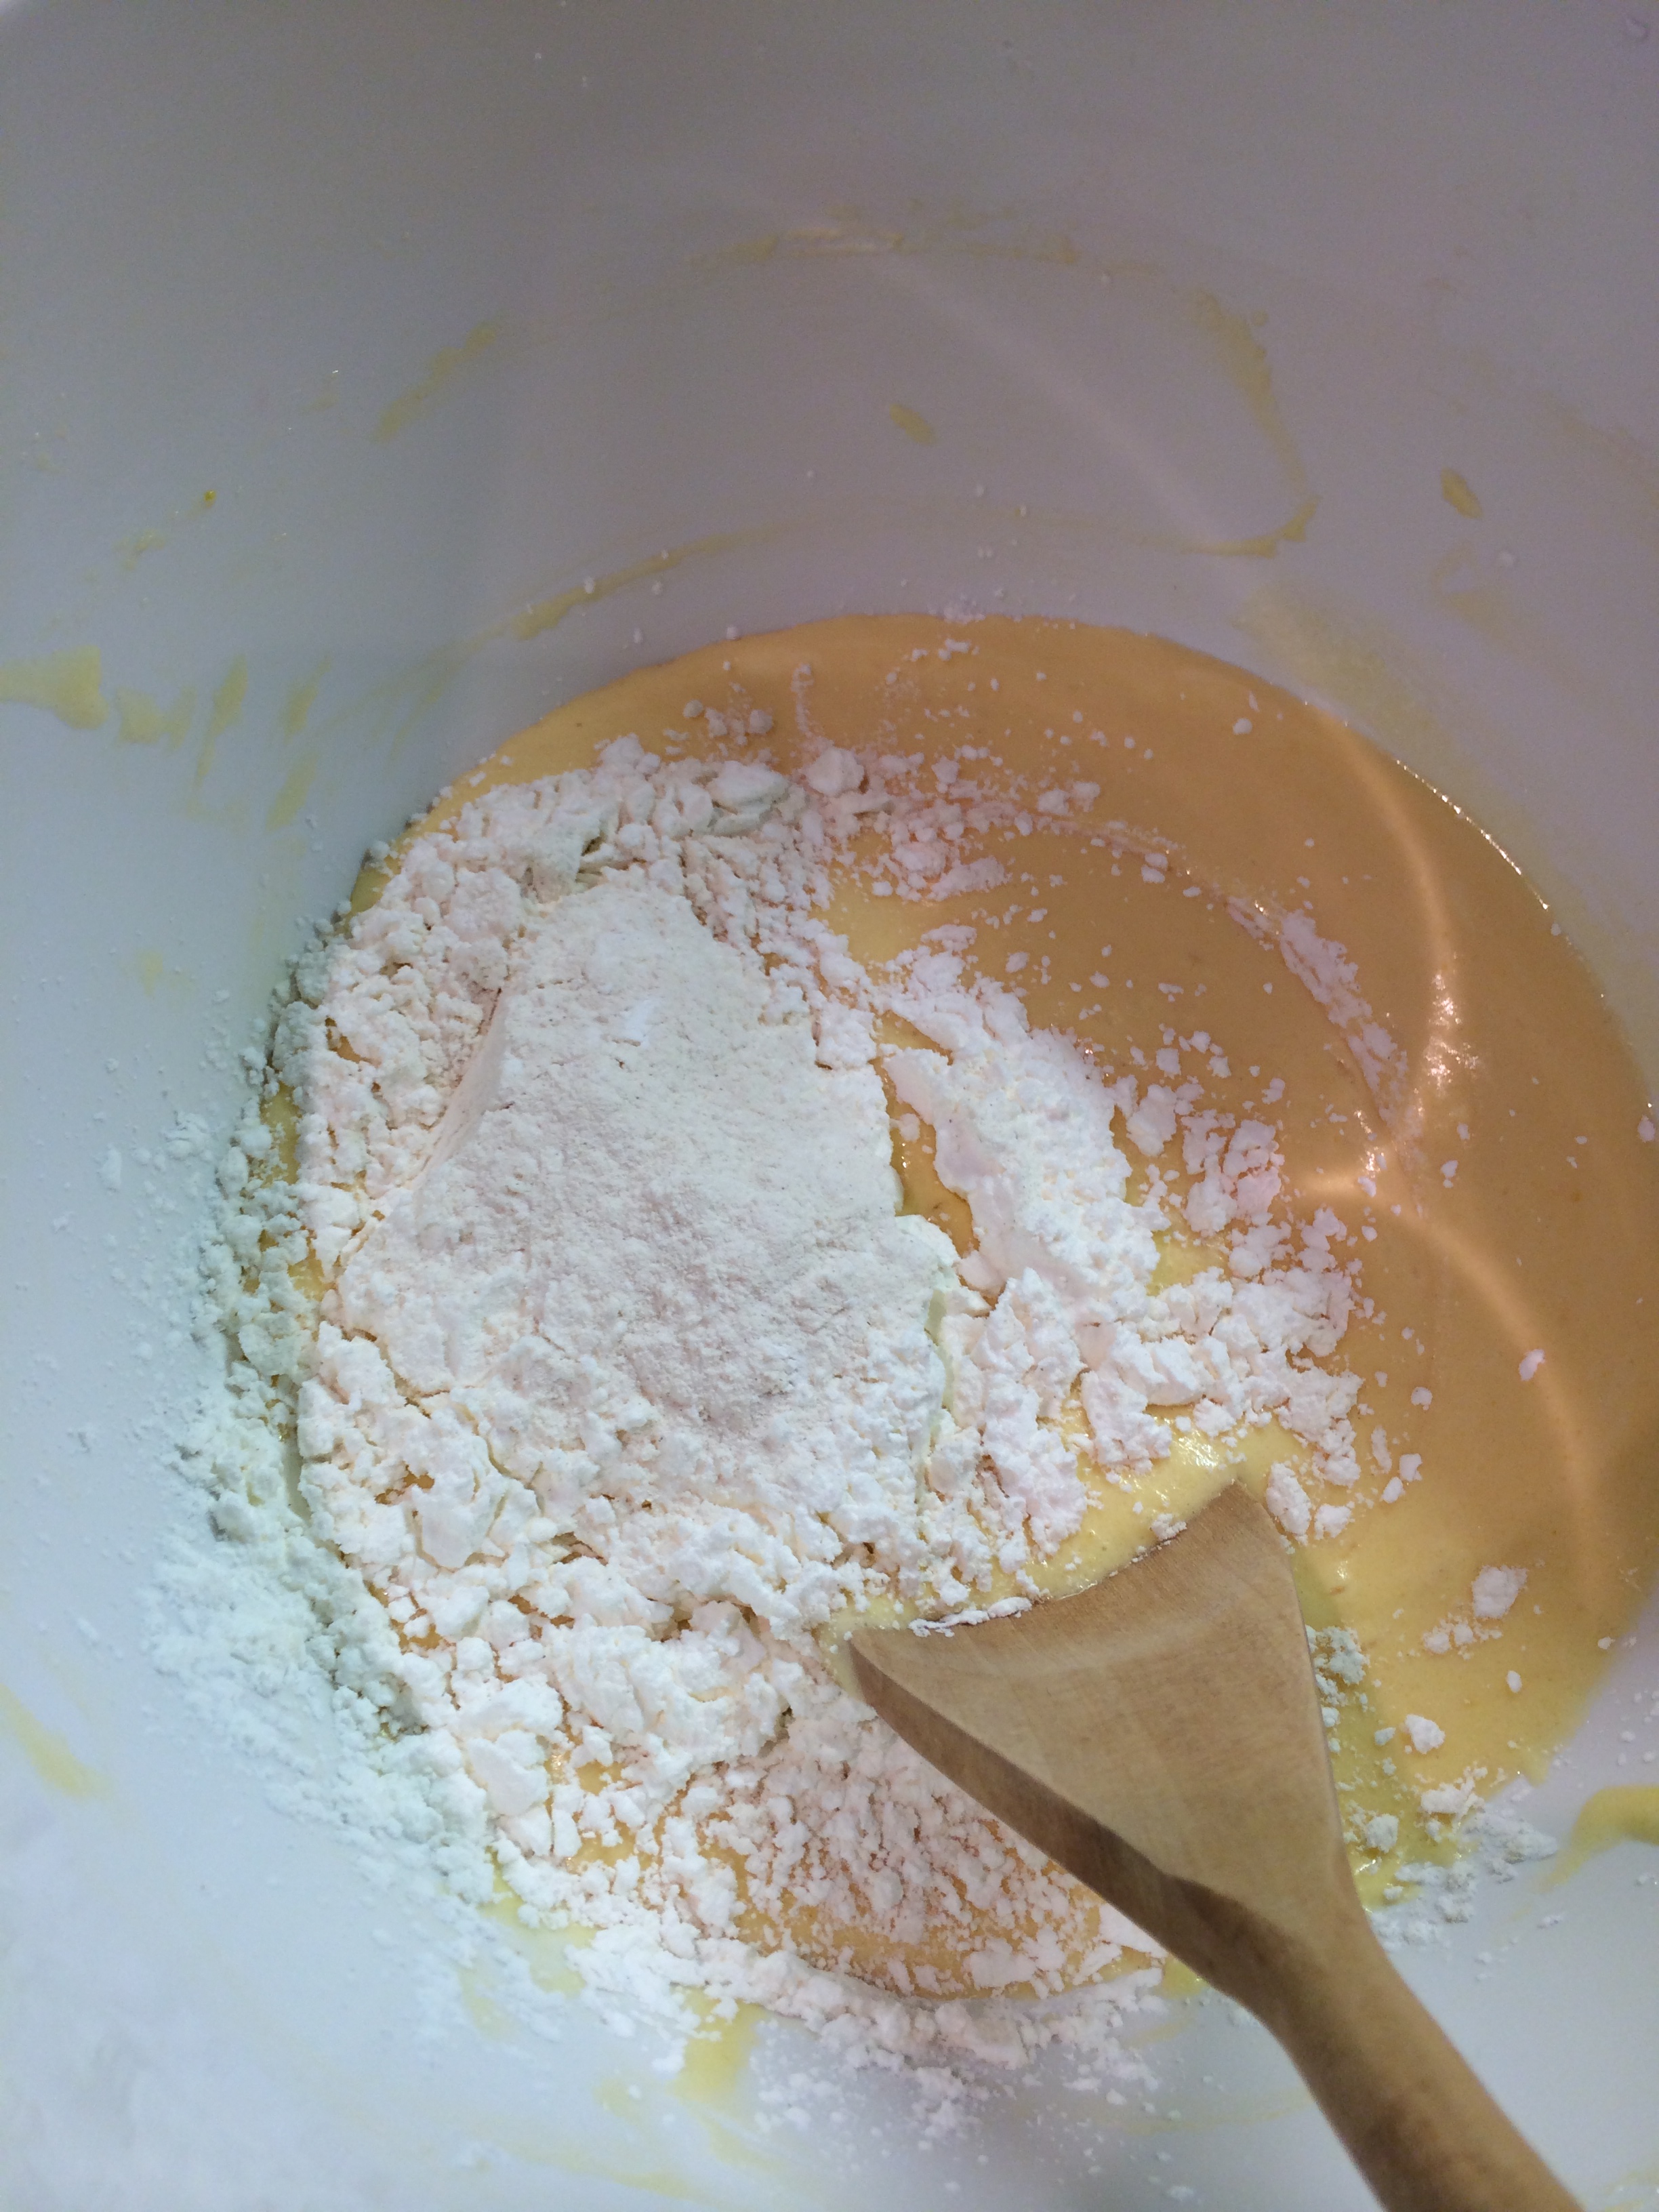
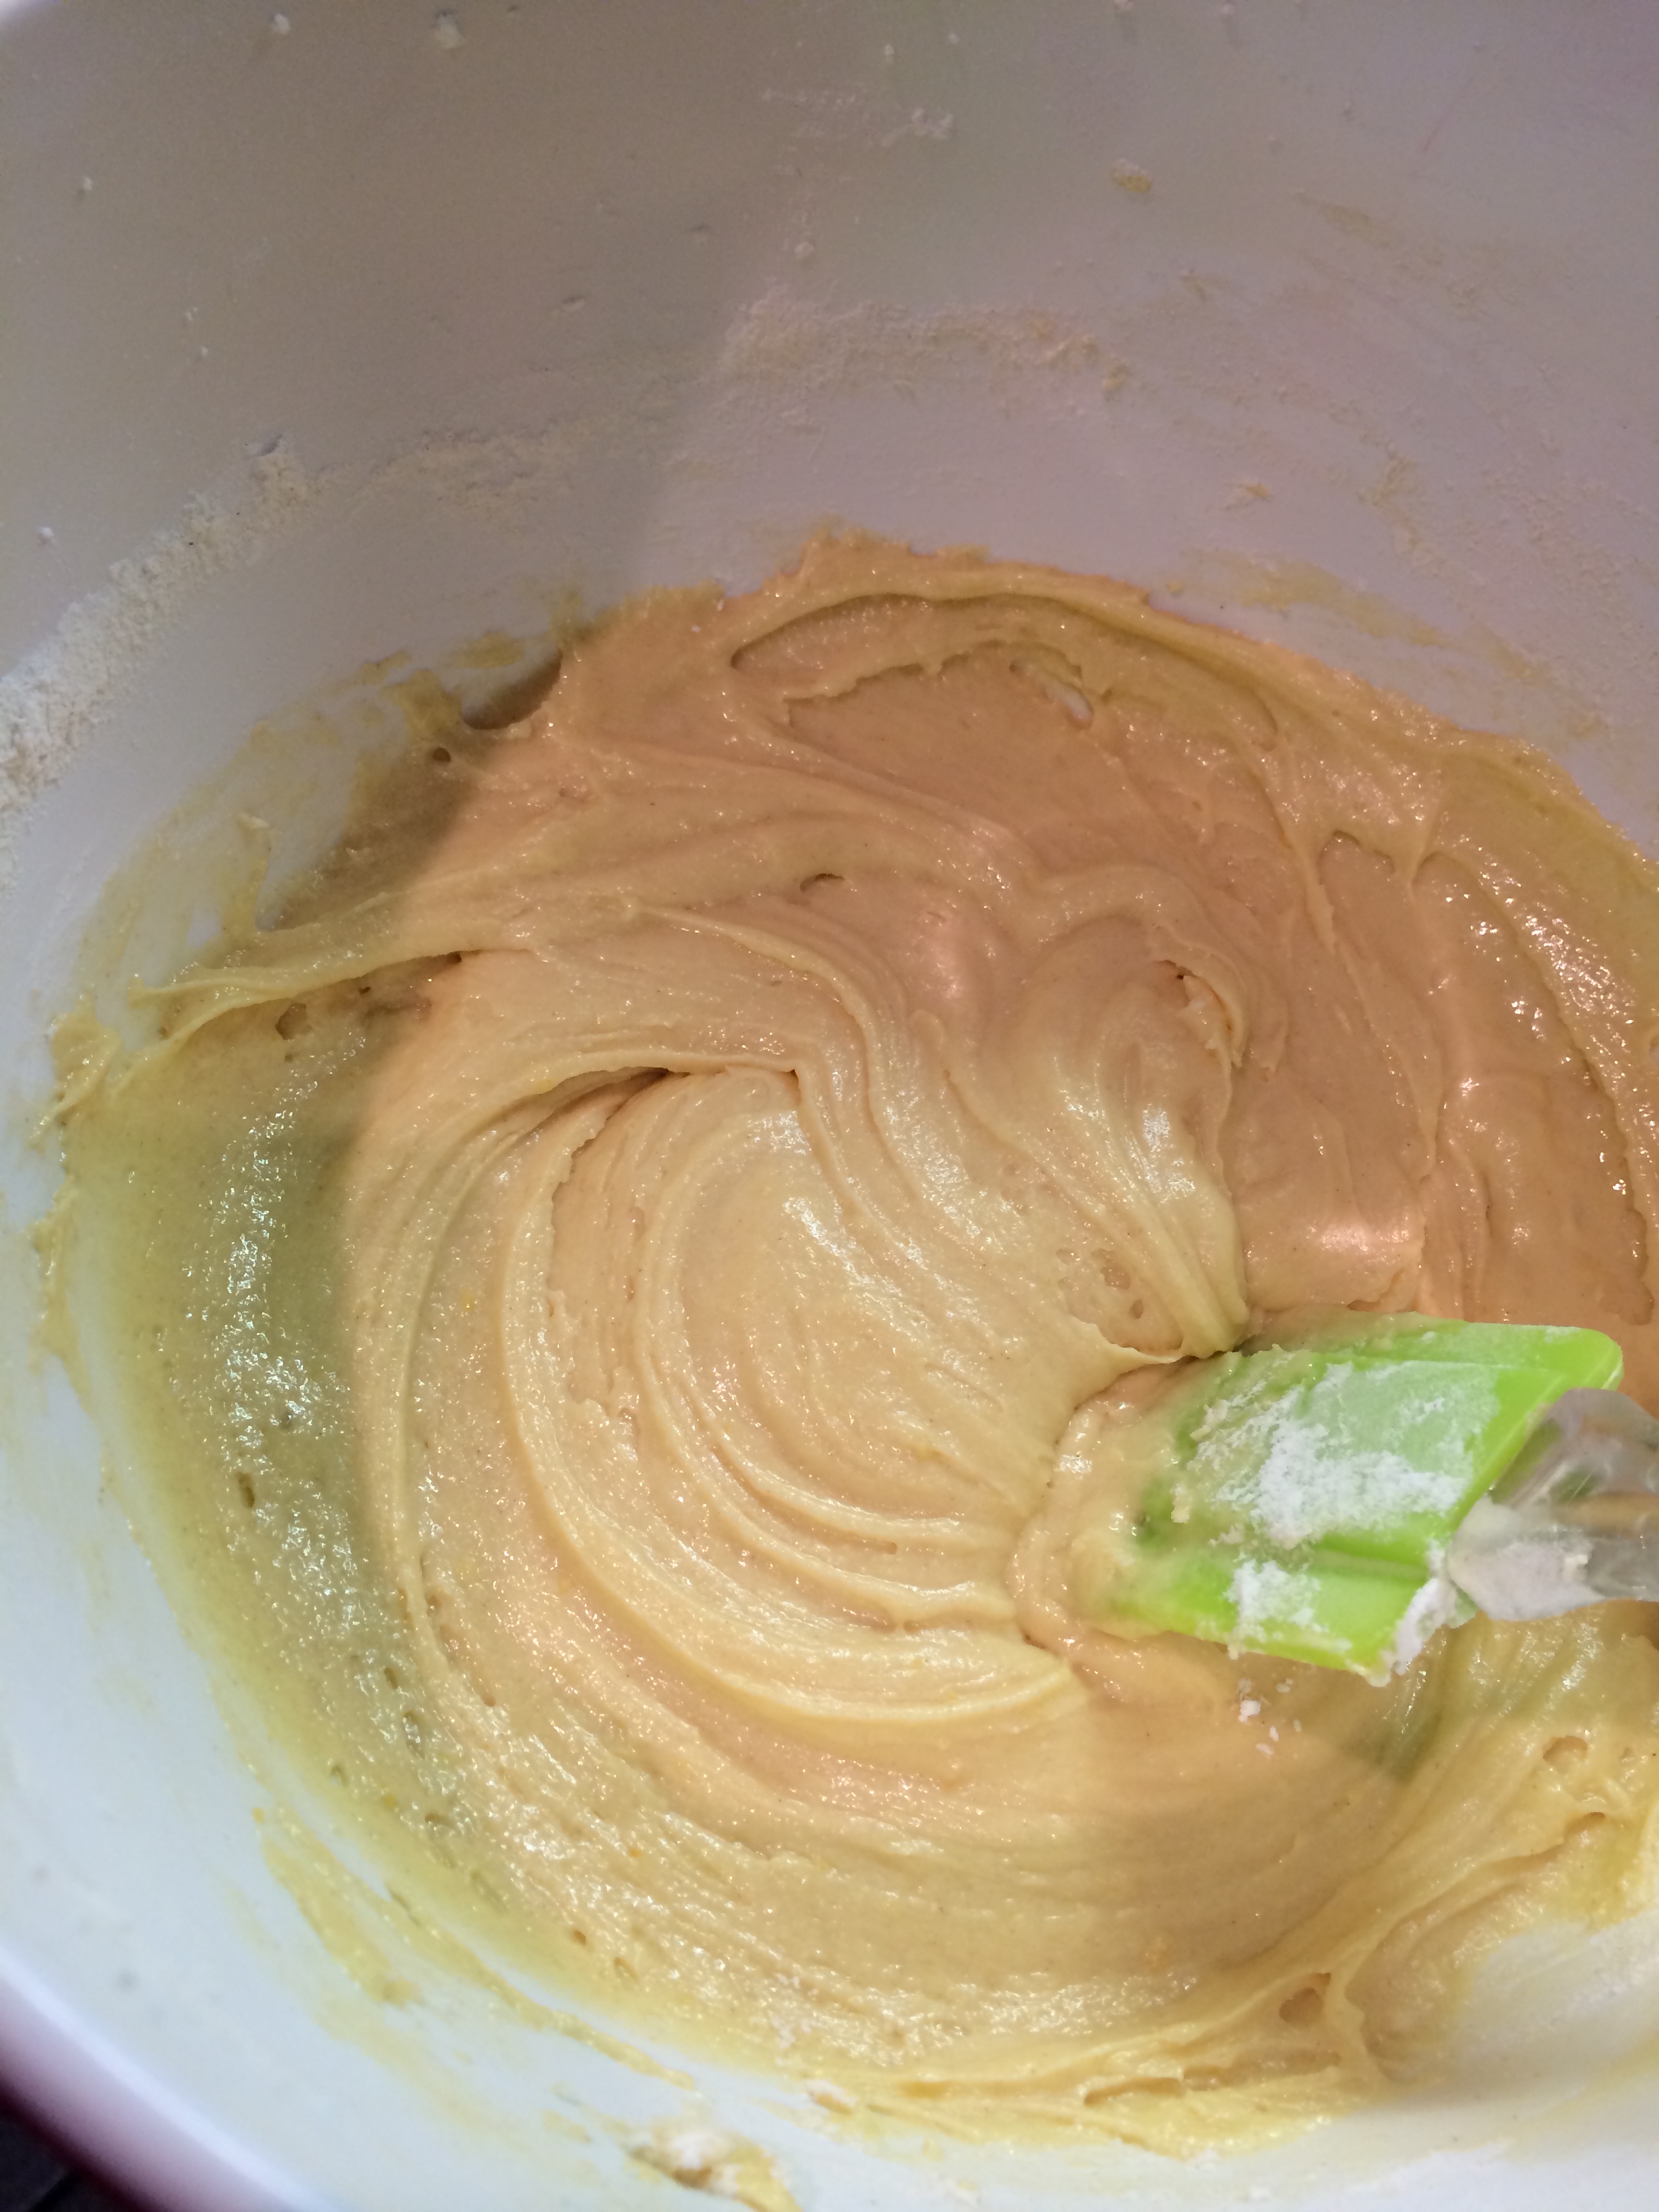
- I added the whisked egg yolks and mixed well. I then added the flour and cornflour (which I sifted together beforehand) in installments to make it a little easier to mix.


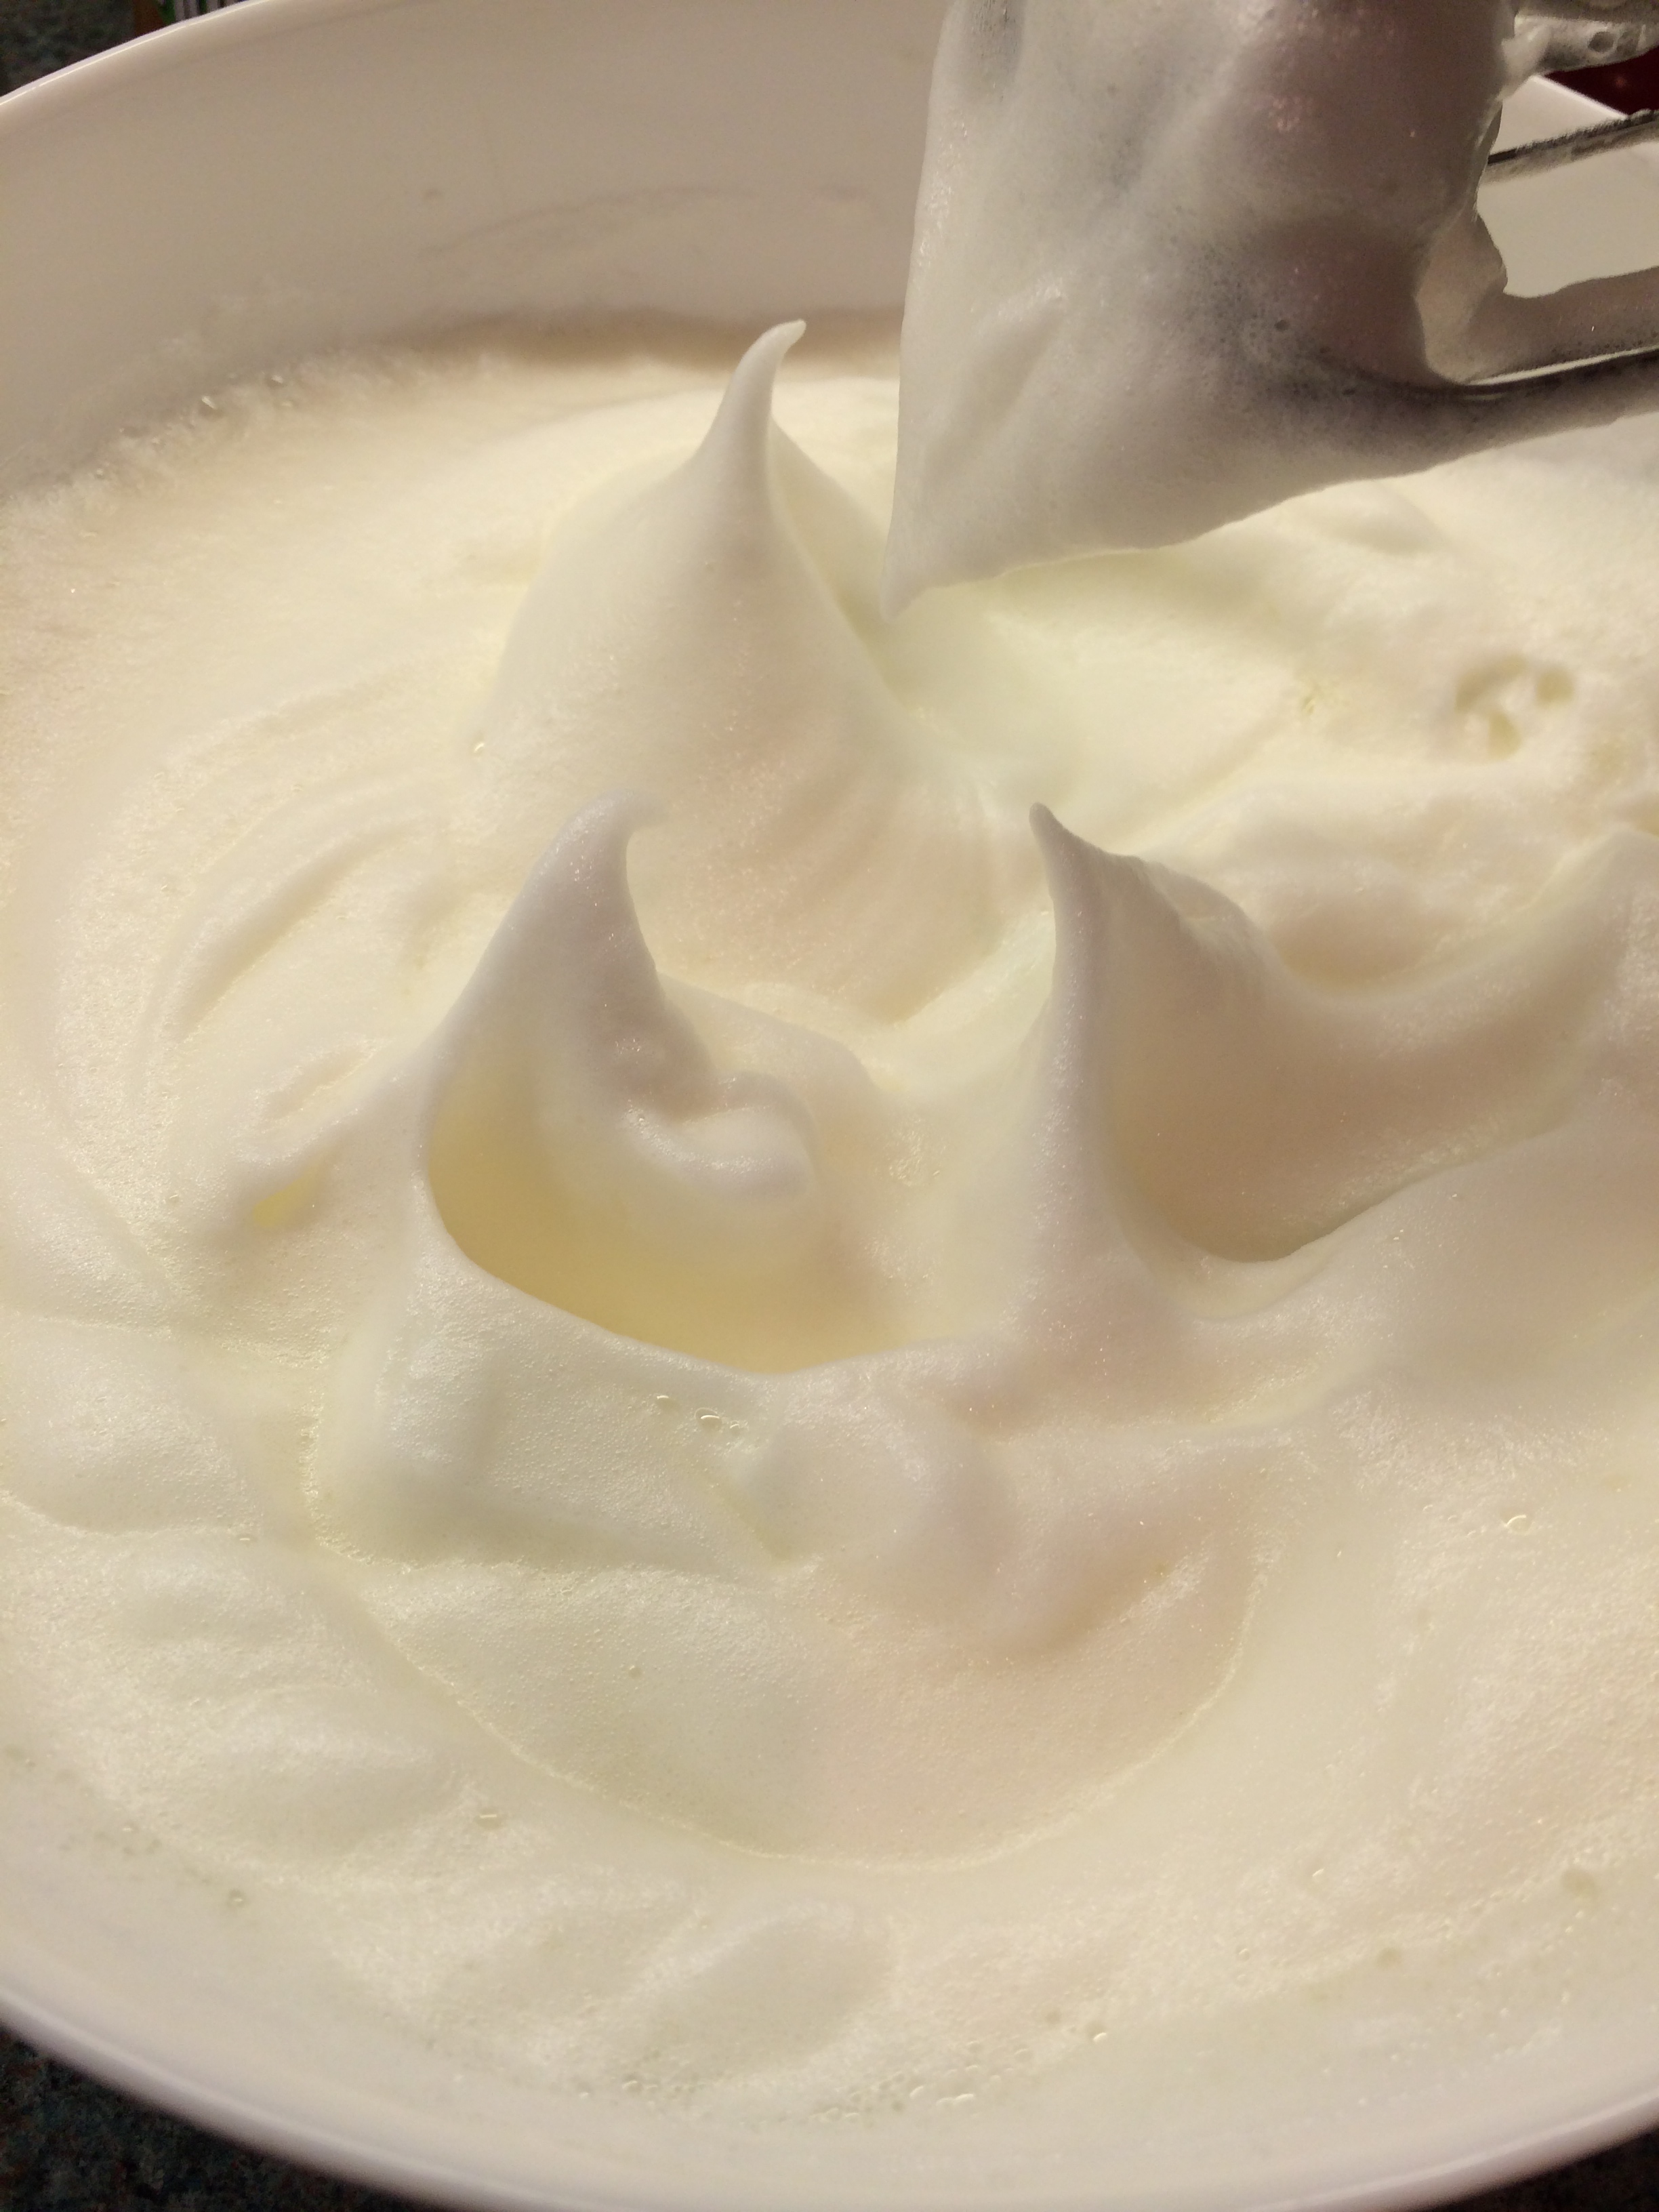
- In yet another bowl, I whisked the egg whites until soft peaks formed.


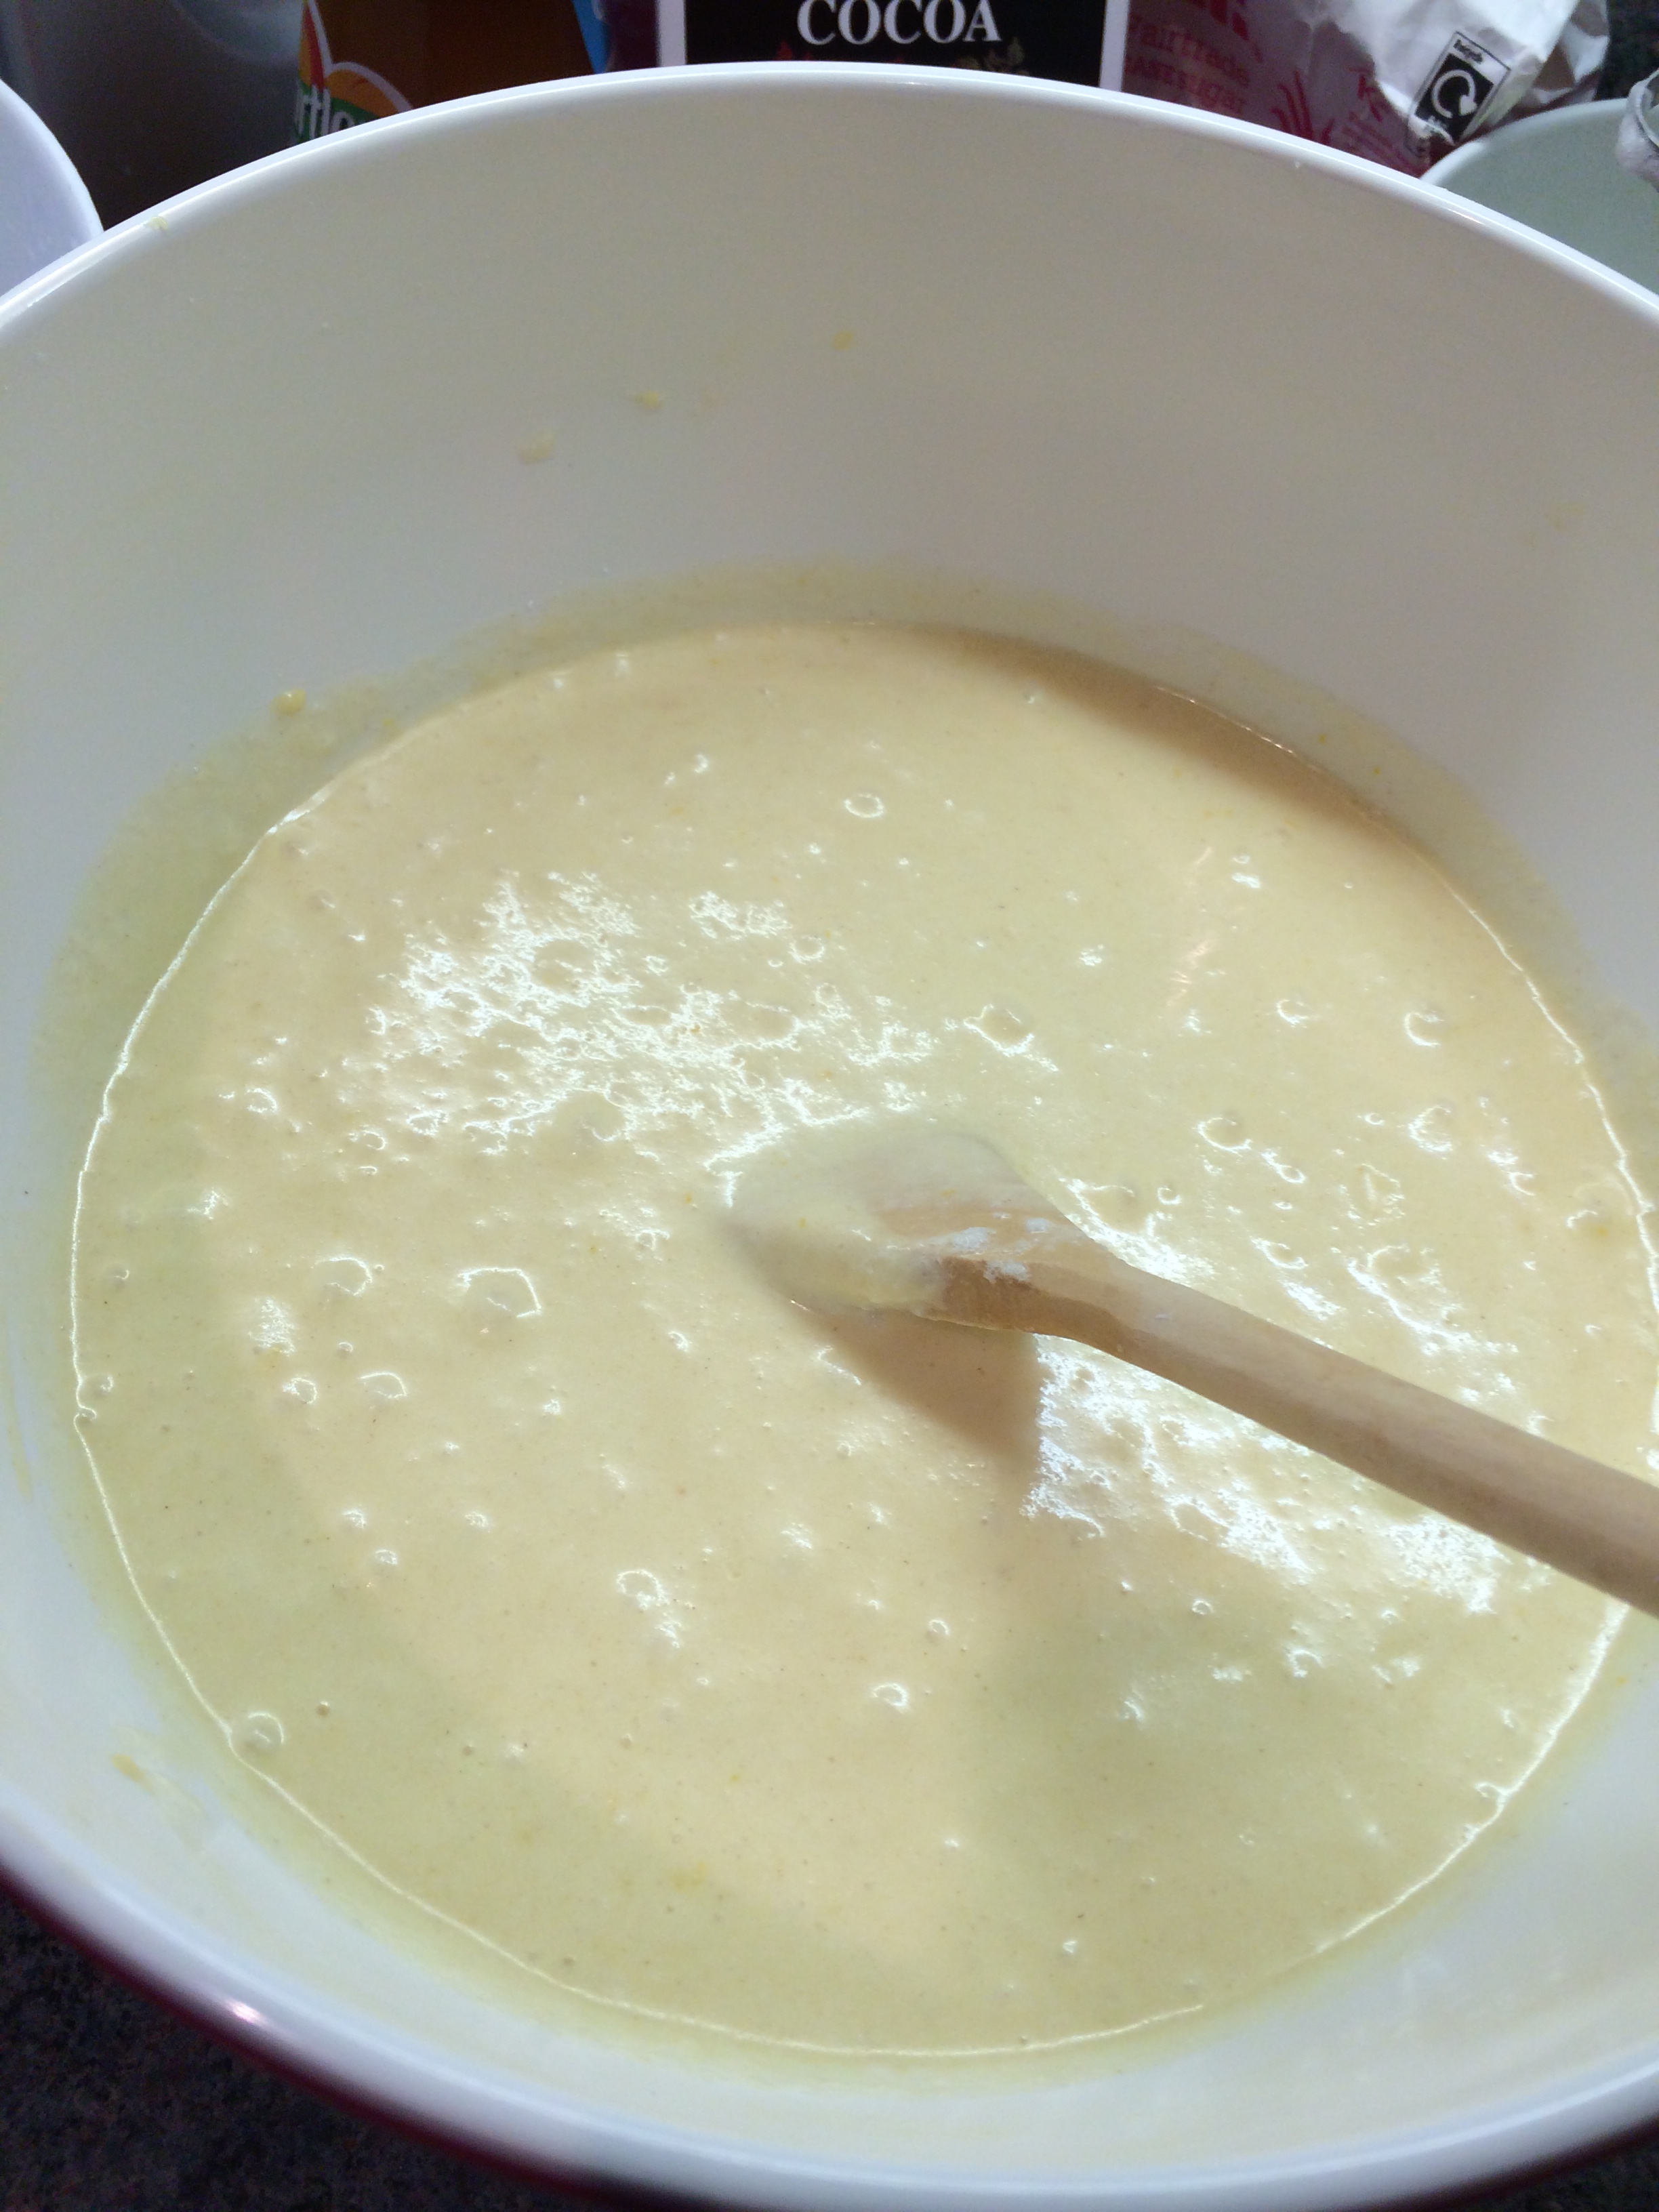
- I stirred one-third of the egg whites into the batter to loosen it a little and then I gently folded the rest of the egg whites into the batter.


(I do have to apologise for the poor lighting in most of these pictures, it started to get dark outside when I started this and so struggled to get enough natural light in order to take nicer photos!)
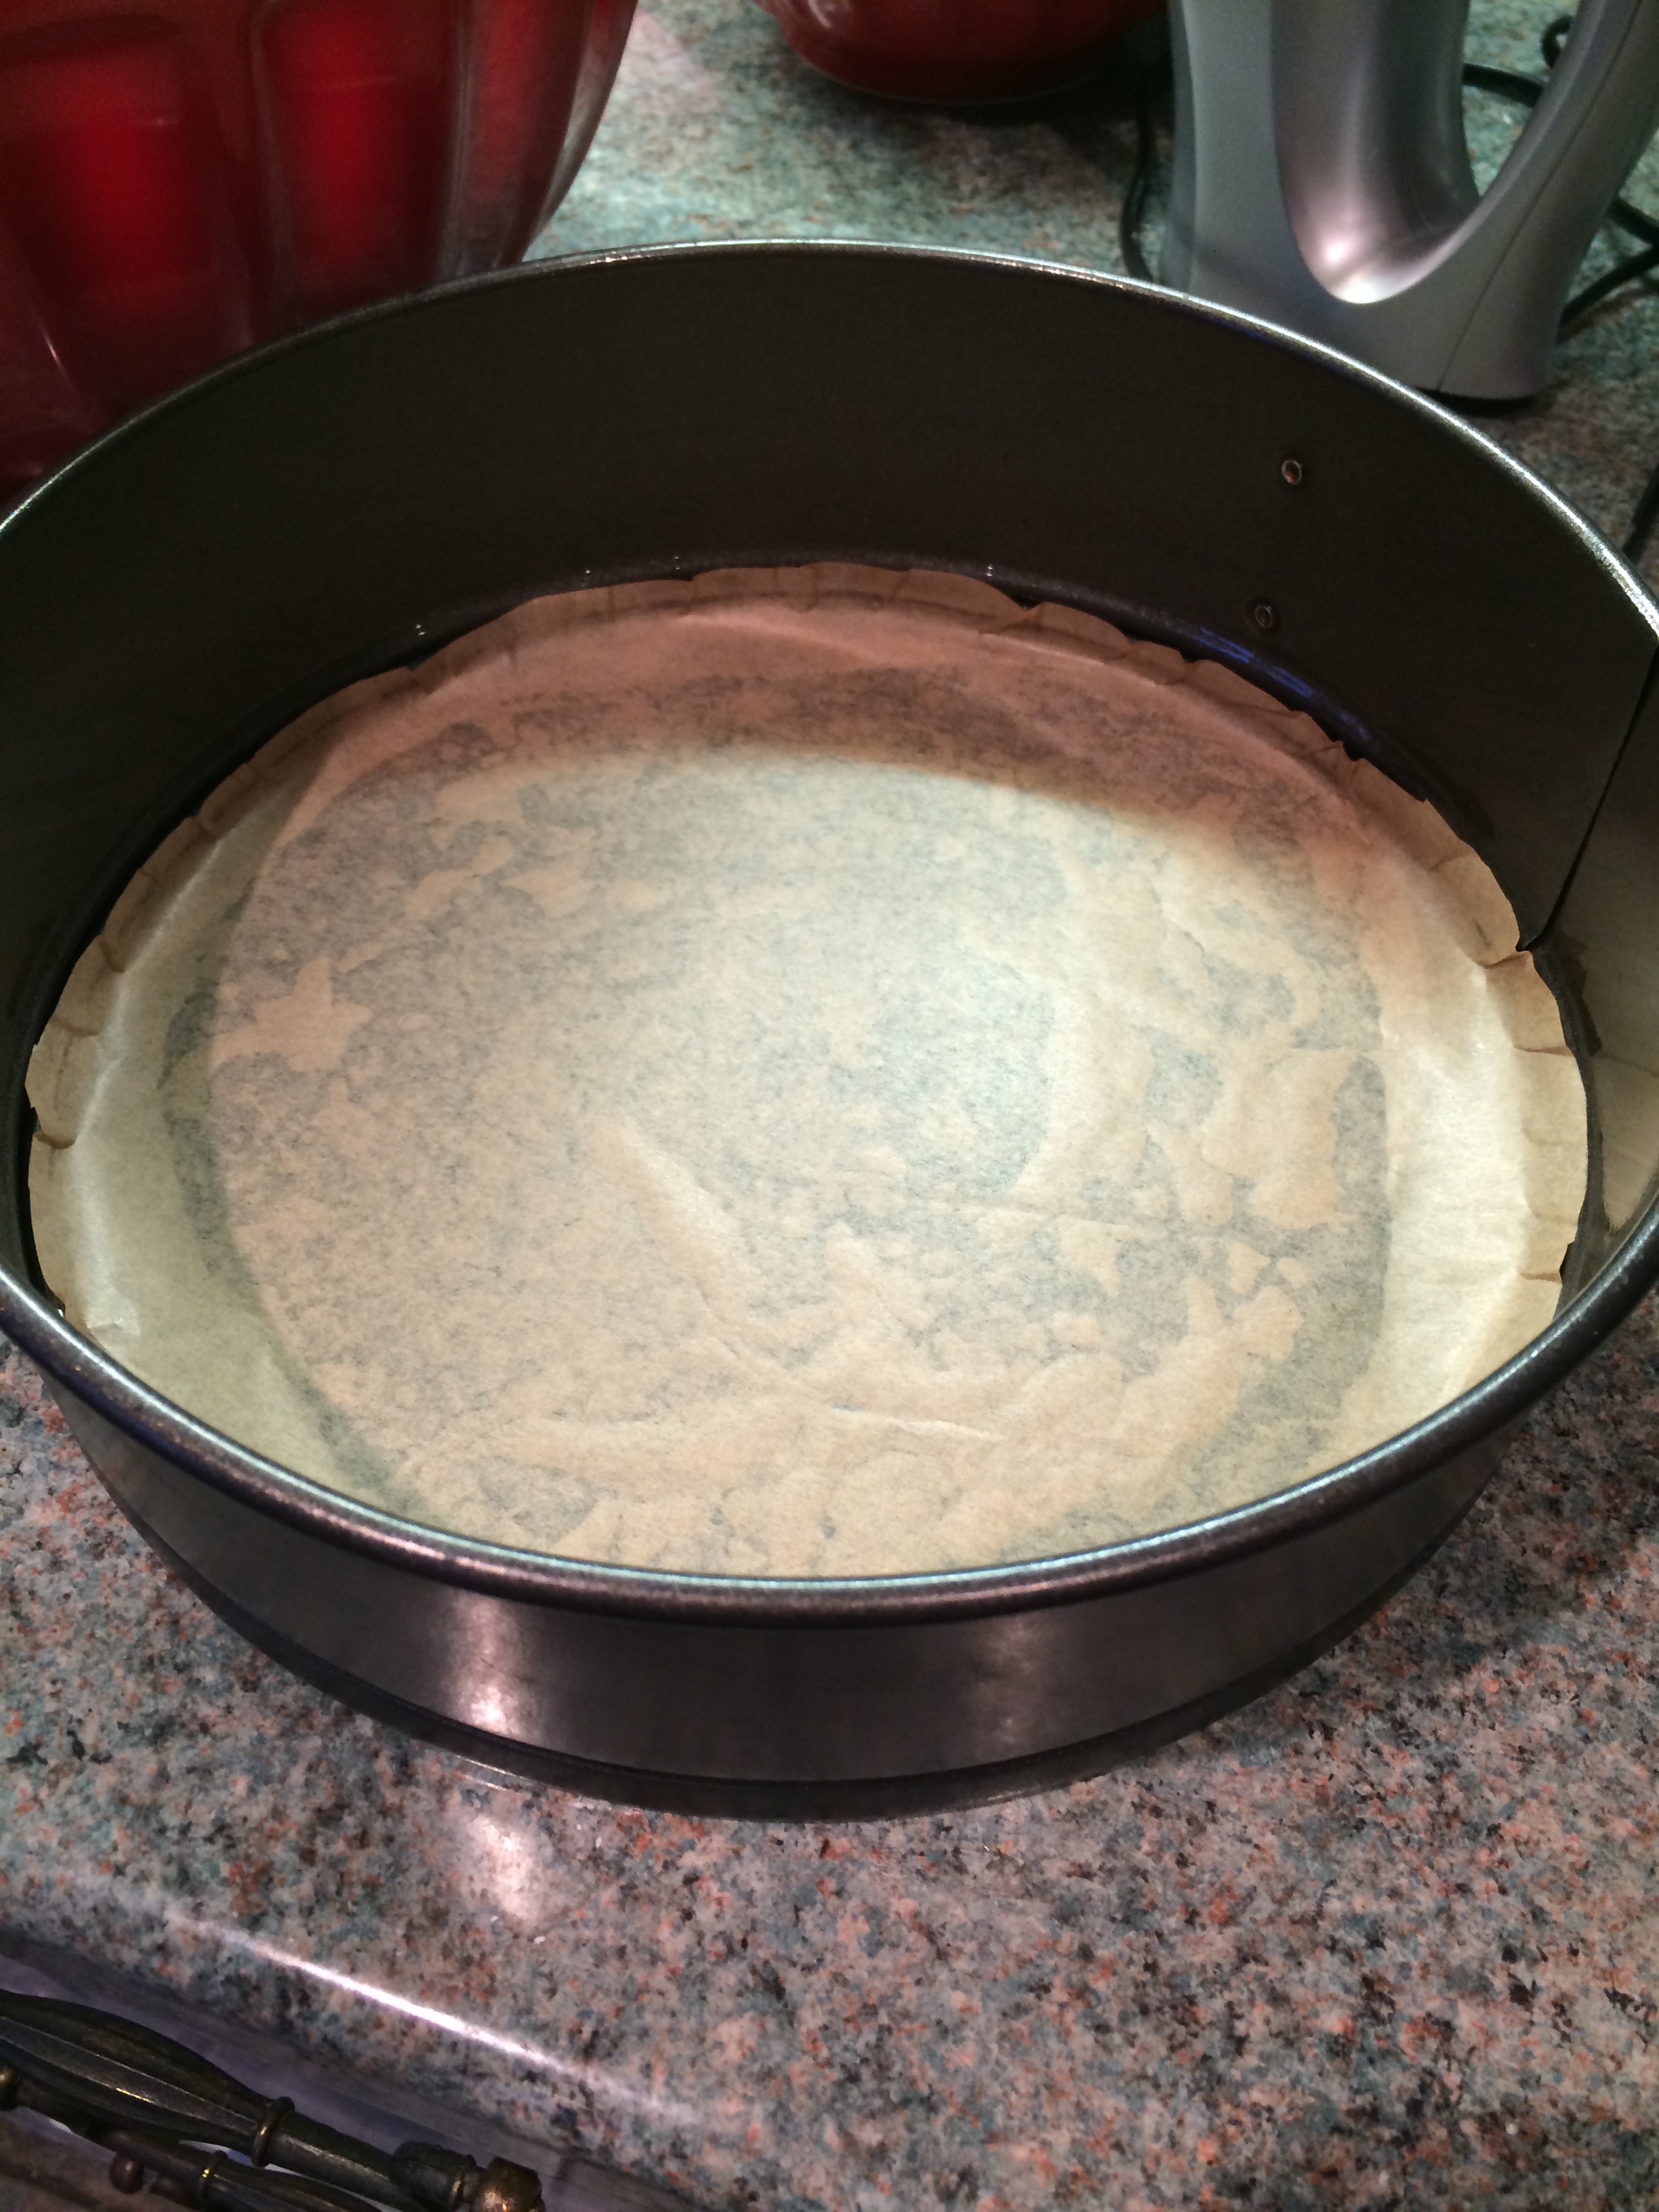
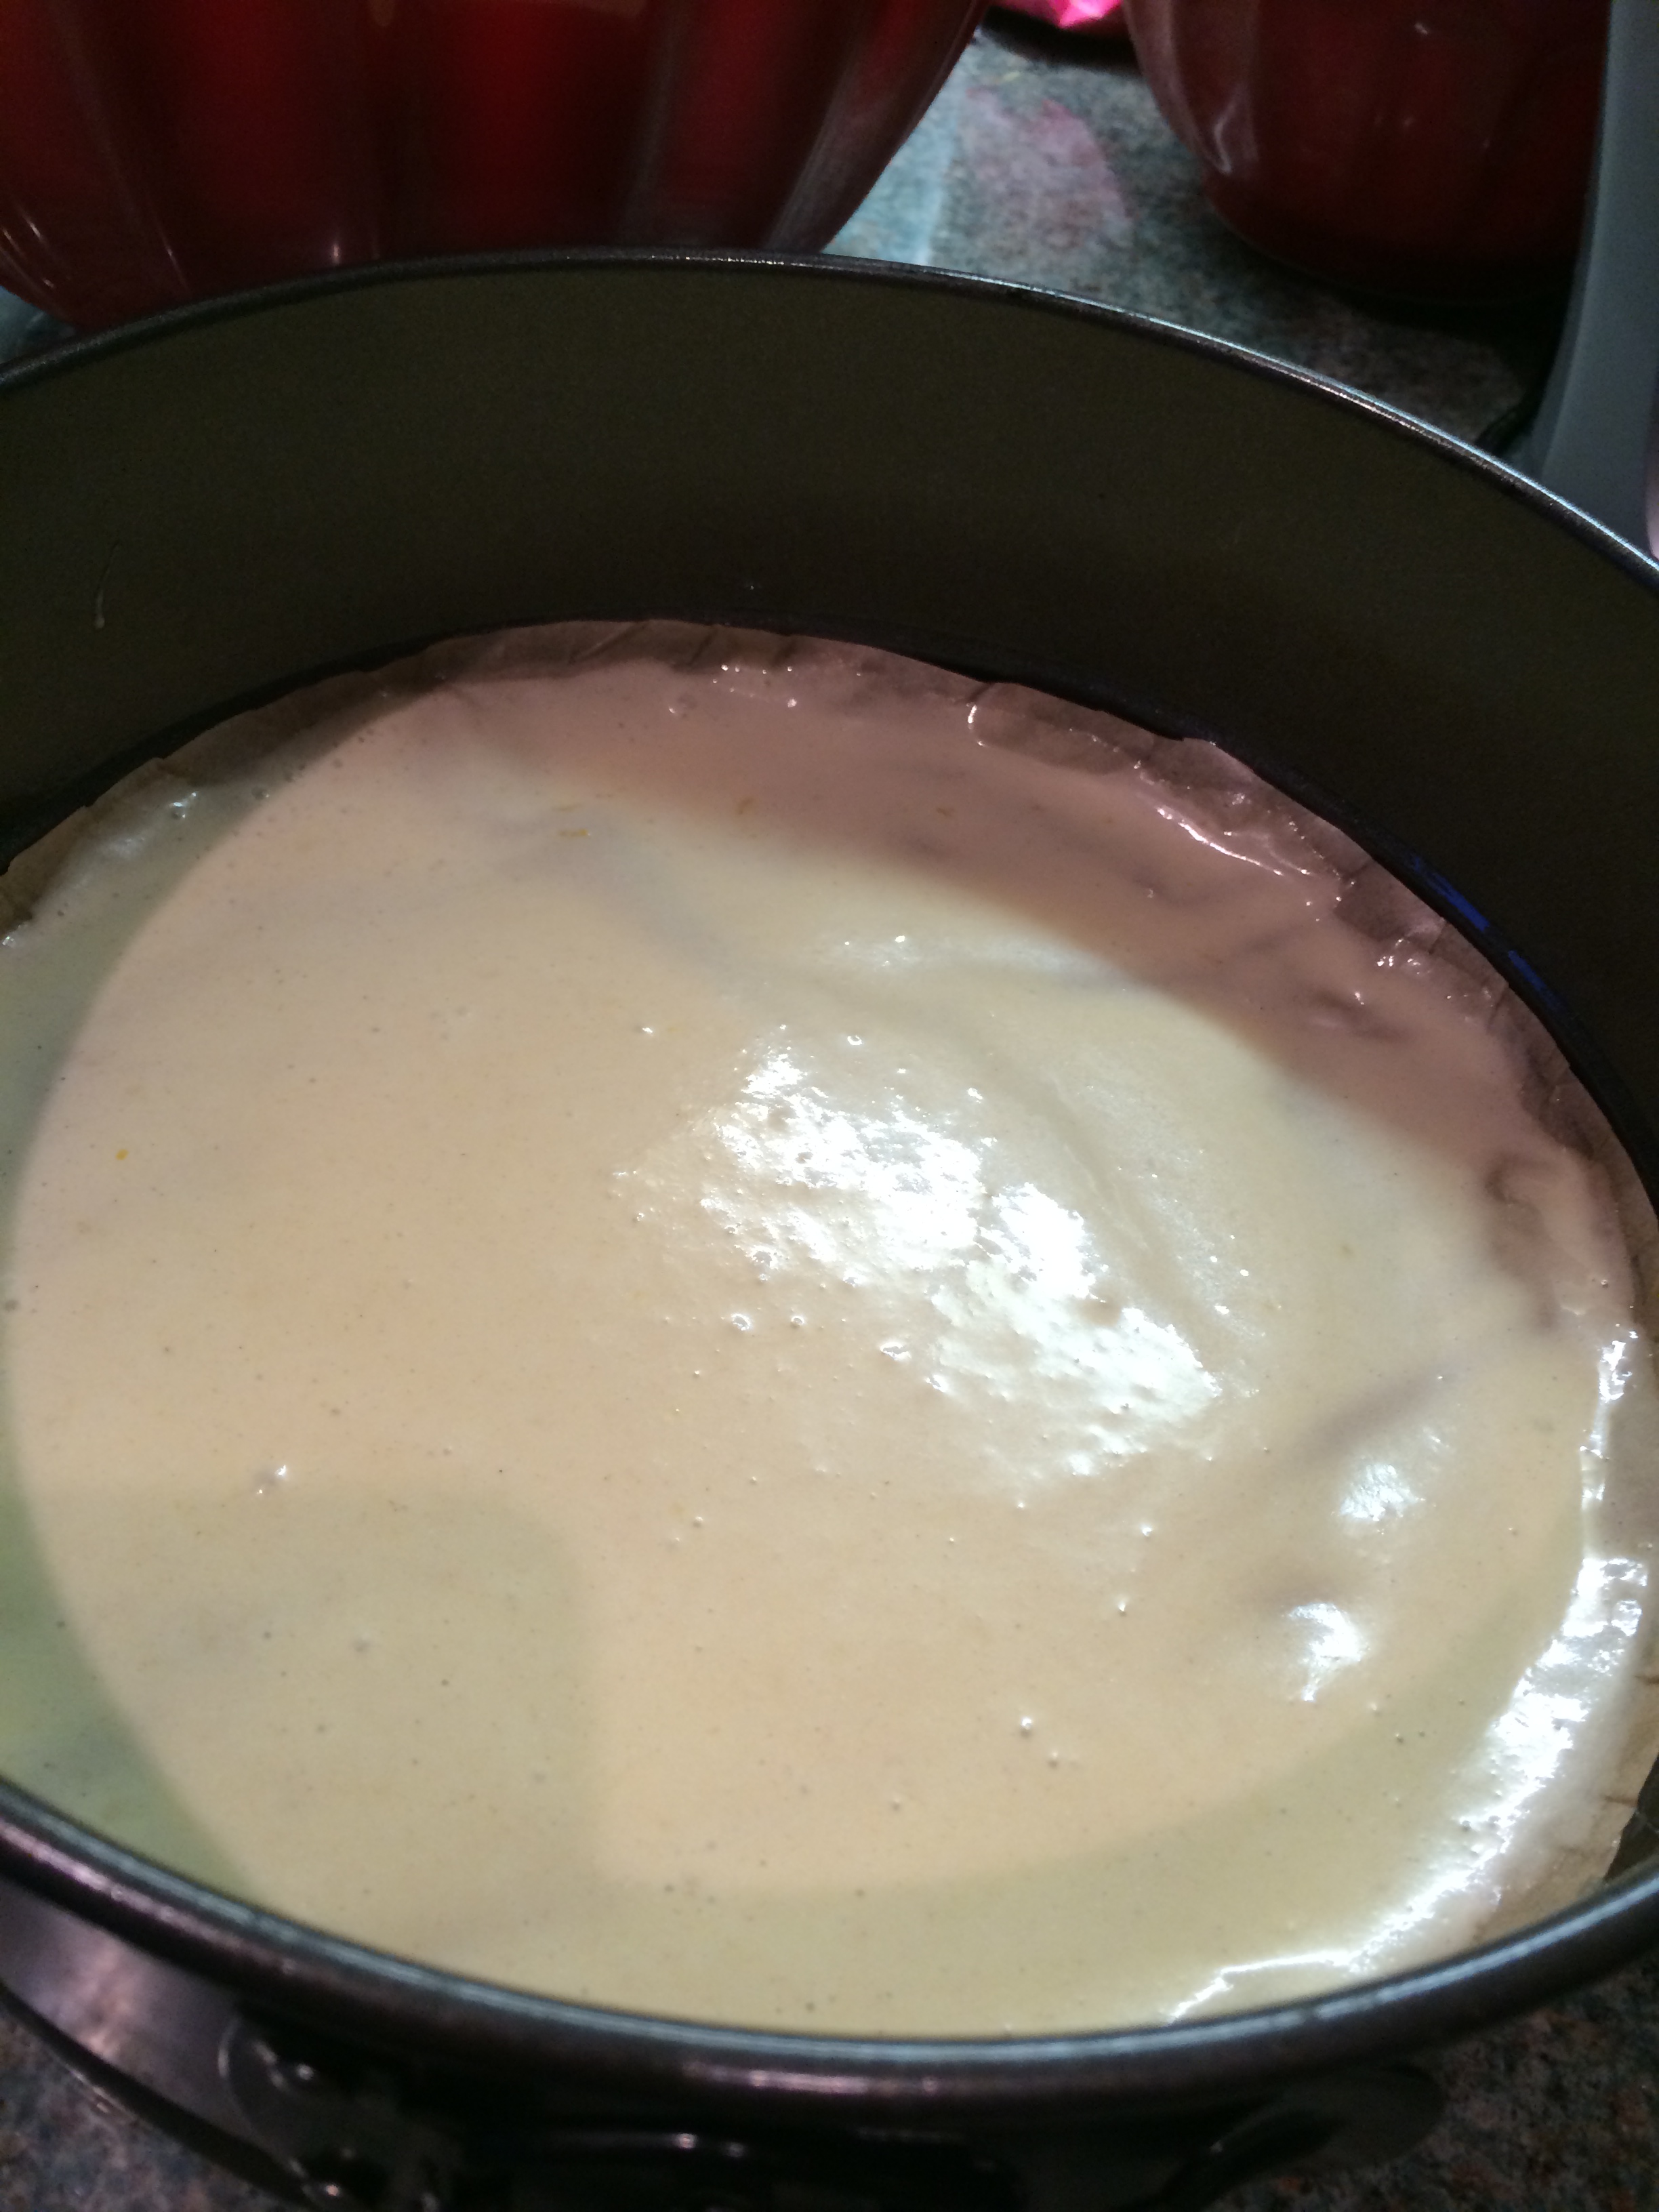
- I preheated the grill to high and then greased a 20cm/8in round springform tin with a little oil and lined the base with greaseproof paper. I then spooned a little bit of the batter into the tin and spread it across the bottom evenly.


- I then placed the tin under the grill and kept a watchful eye over it for a couple of minutes until it was a light brown colour. (As you can see, it went slightly darker than I wanted it to as my high grill setting was just TOO high so I had to turn it down).

- I kept this up over the next couple of hours and noting down which layer I was grilling by marking 1L, 2D, 3L, 4D etc. (L = Light; D = Dark of course!)
(At this point, I was knackered and boiling hot from standing in front of the grill 99% of the time and some of my timings started to slip a little – I will say however, that I had enough batter for 20 layers, HURRAH!).
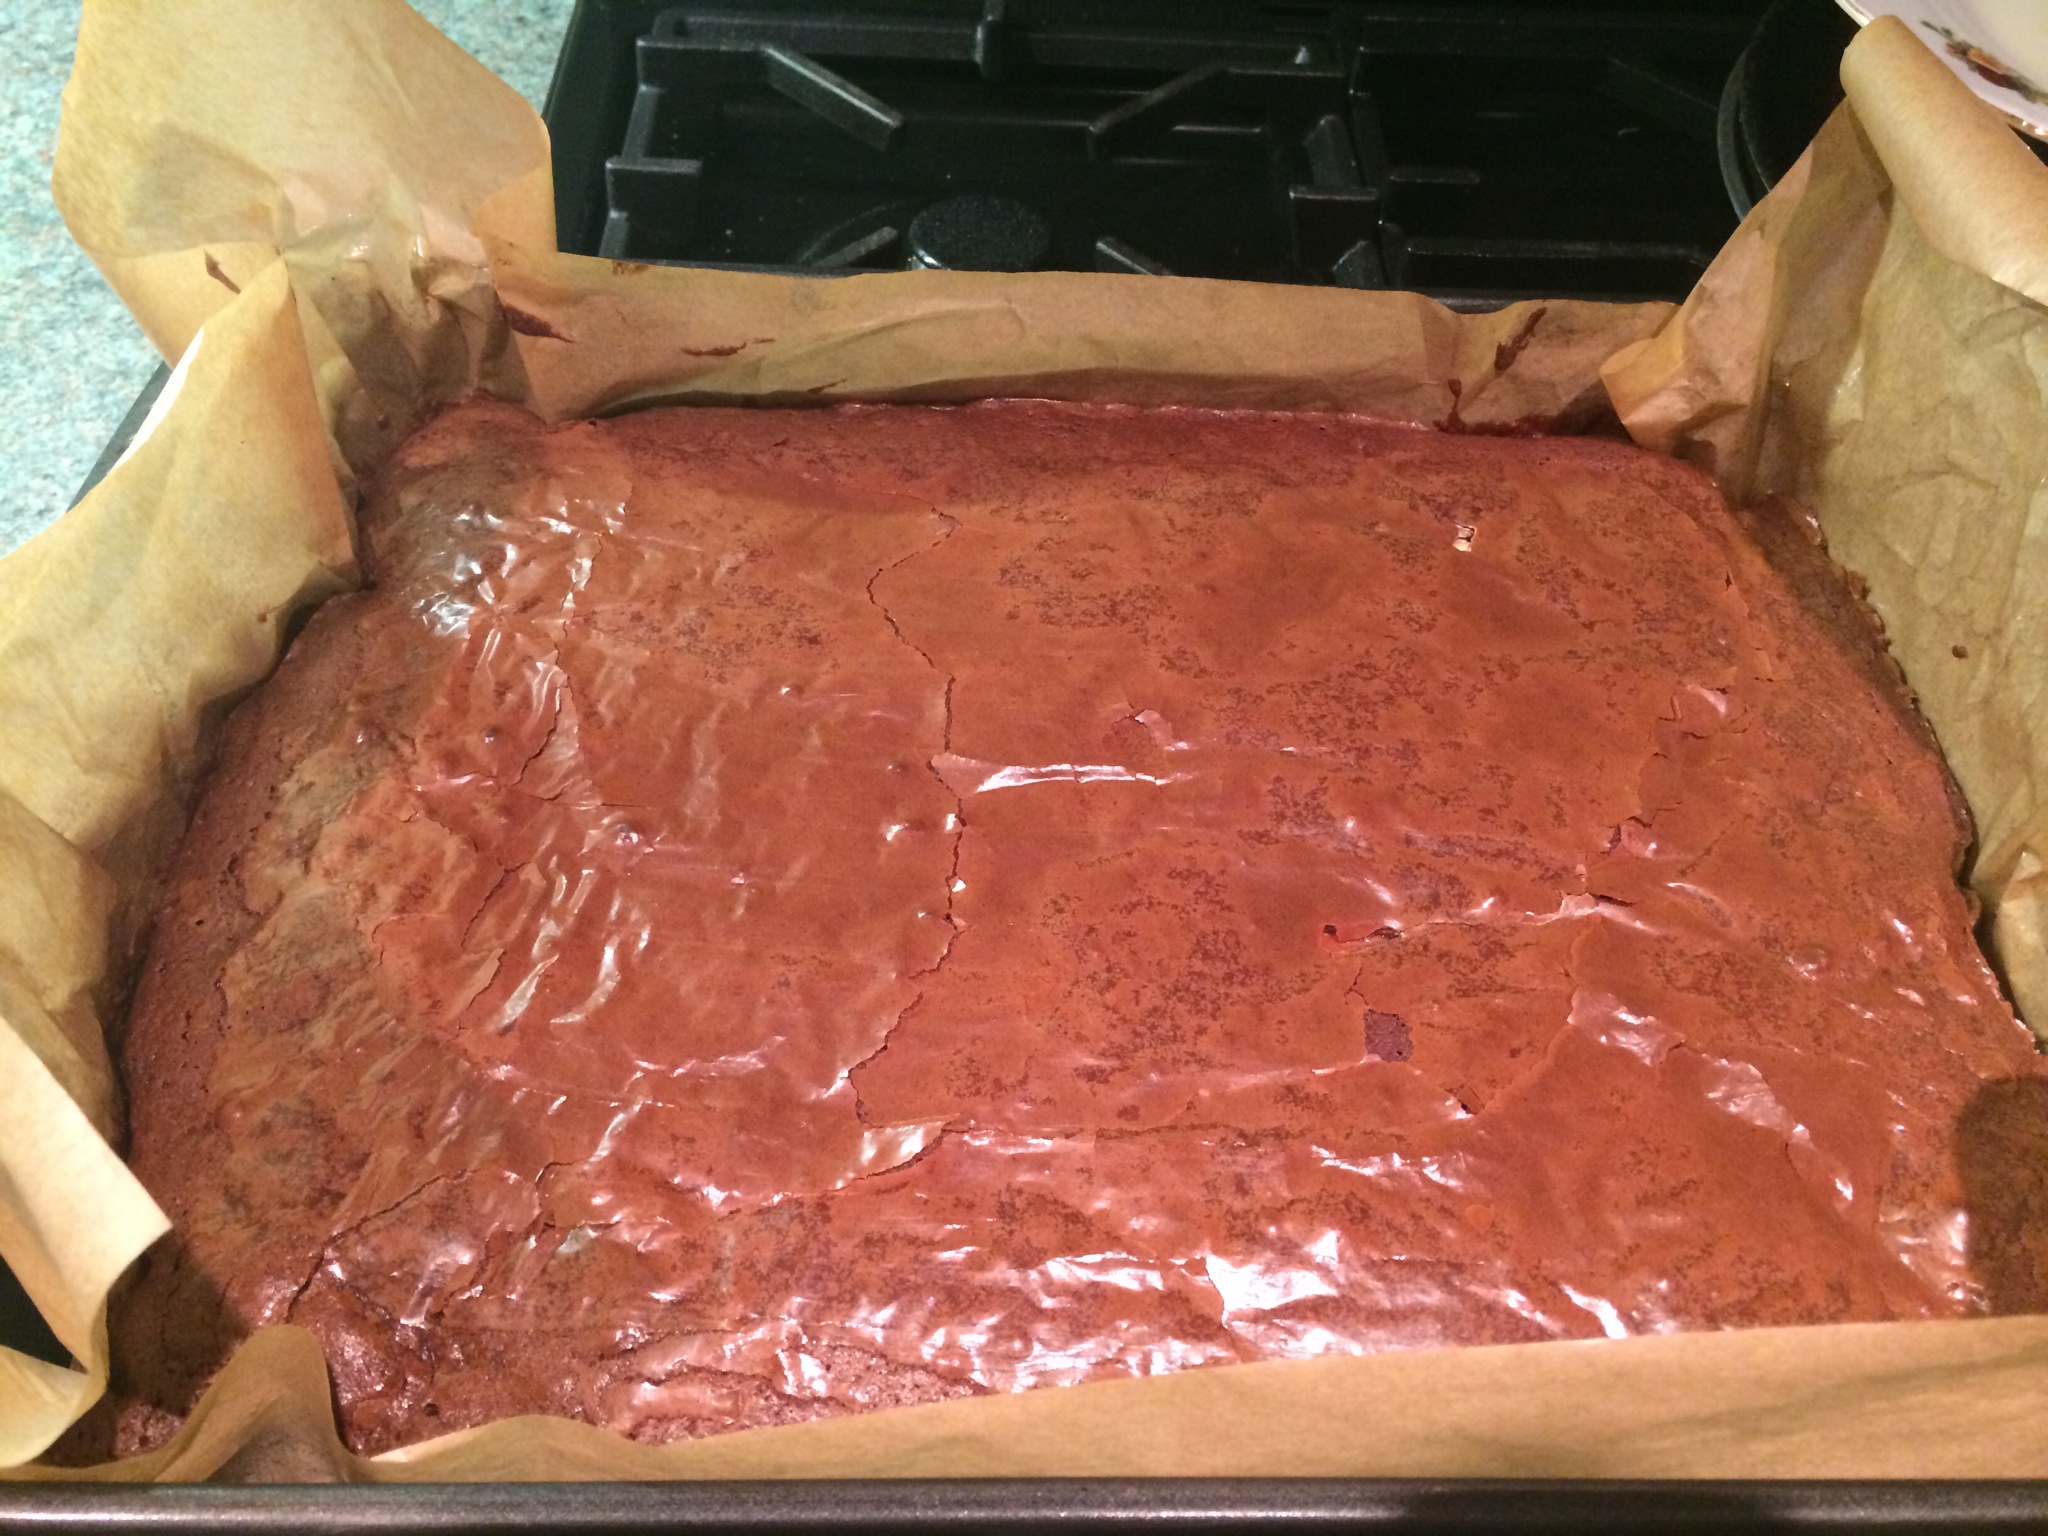
- After I finished grilling all my layers, I absolutely started to hate this cake but I left it for a little while to cool down before turning it out on to a wire rack.
(At this point I was wondering what the heck happened to my 20 layers).

- Nevertheless, I continued! I melted the apricot jam in a pan and then pushed it through a sieve (I actually think 6tbsp seemed a bit much so I lessened the amount). Using a pastry brush, I brushed the jam all over the top and sides of the cake.

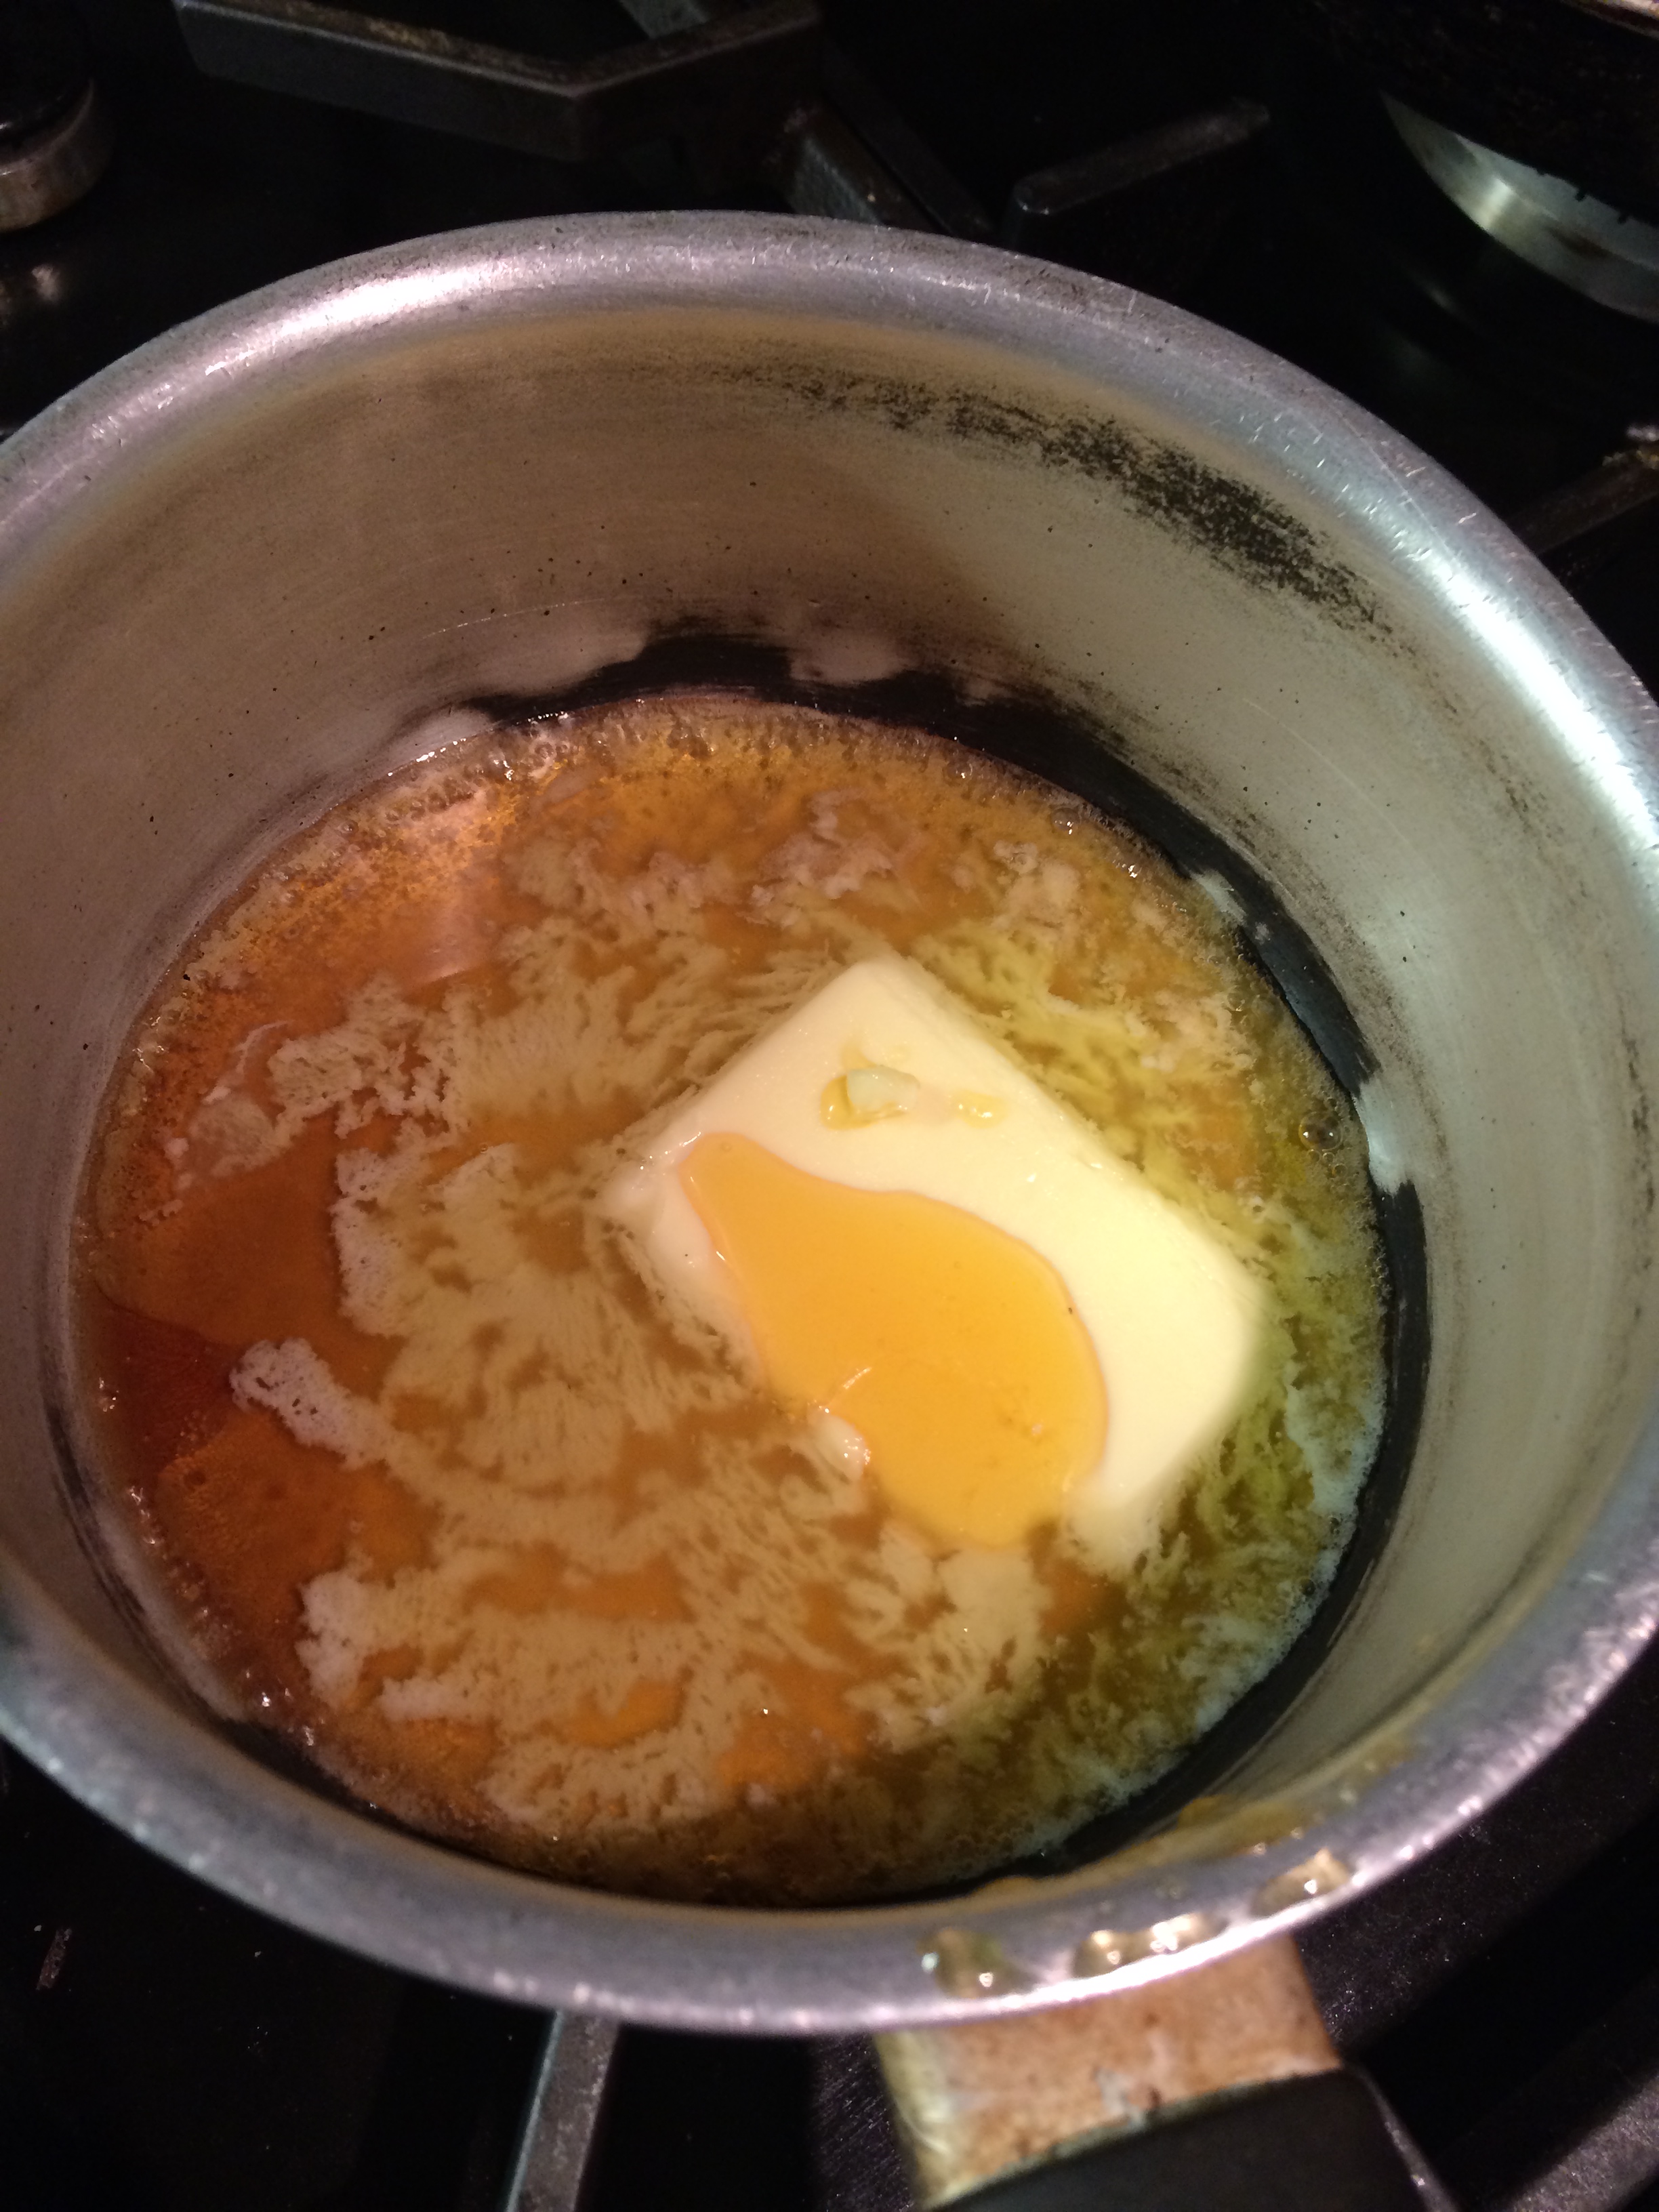
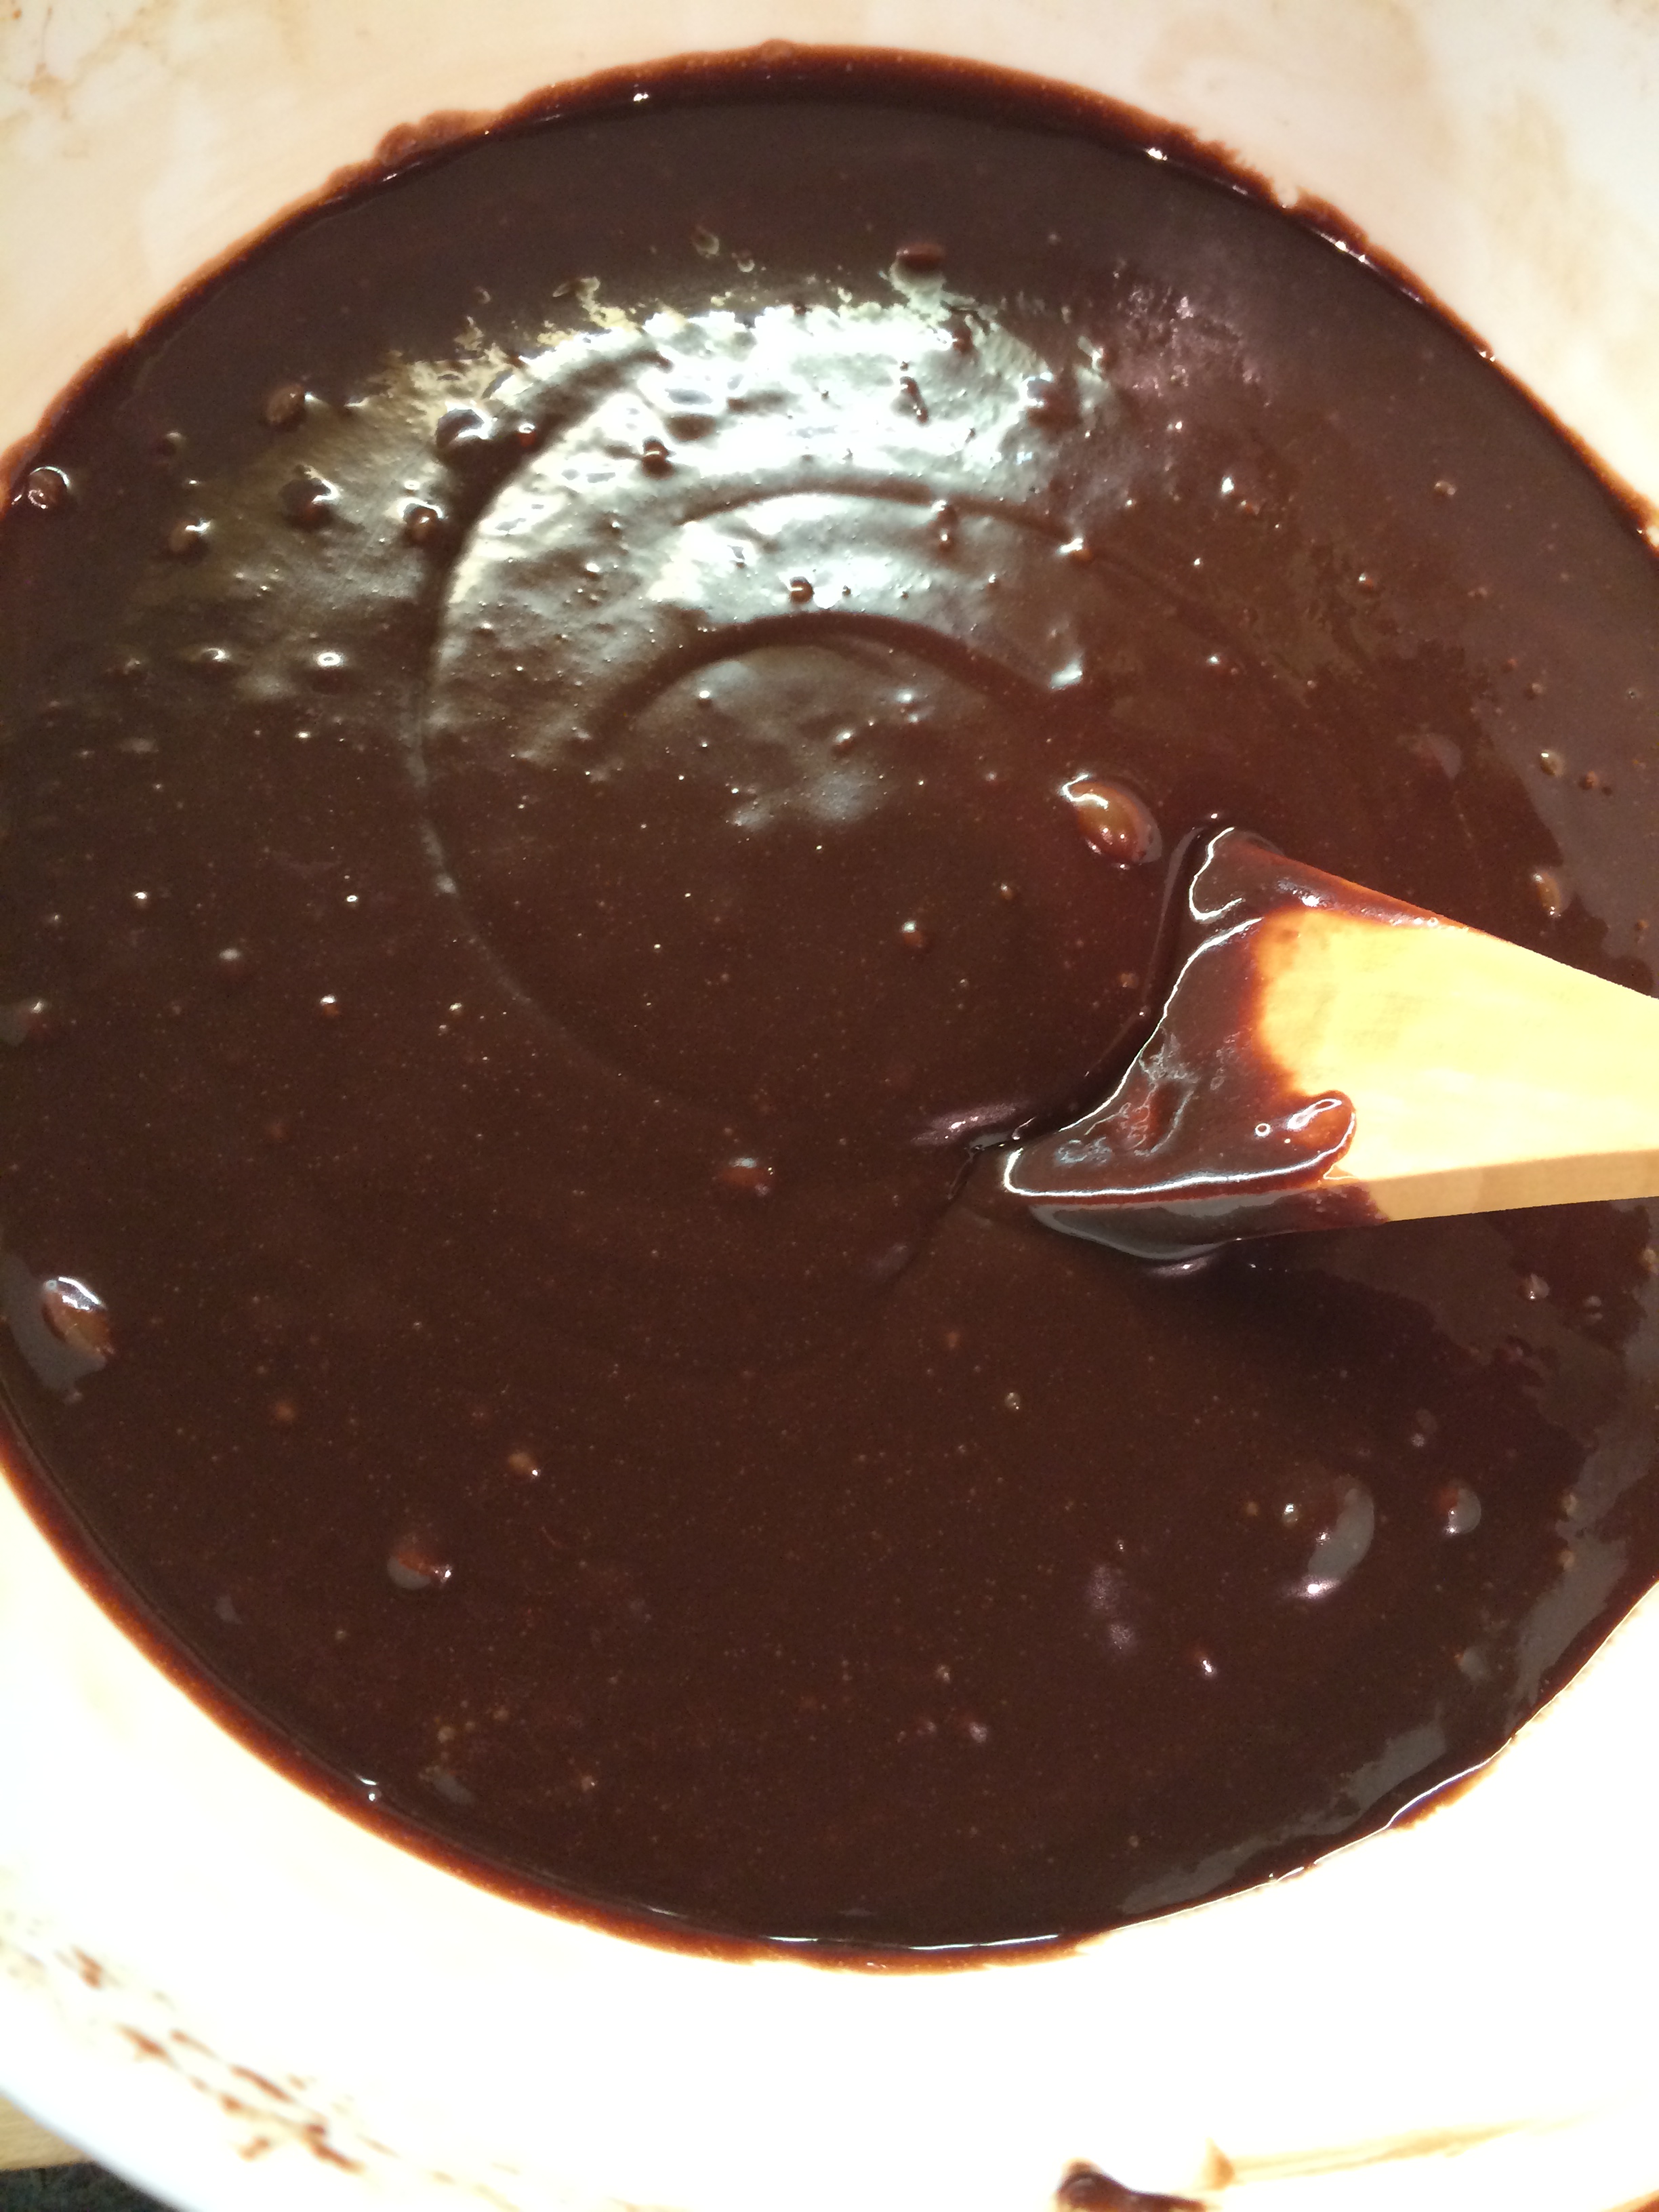
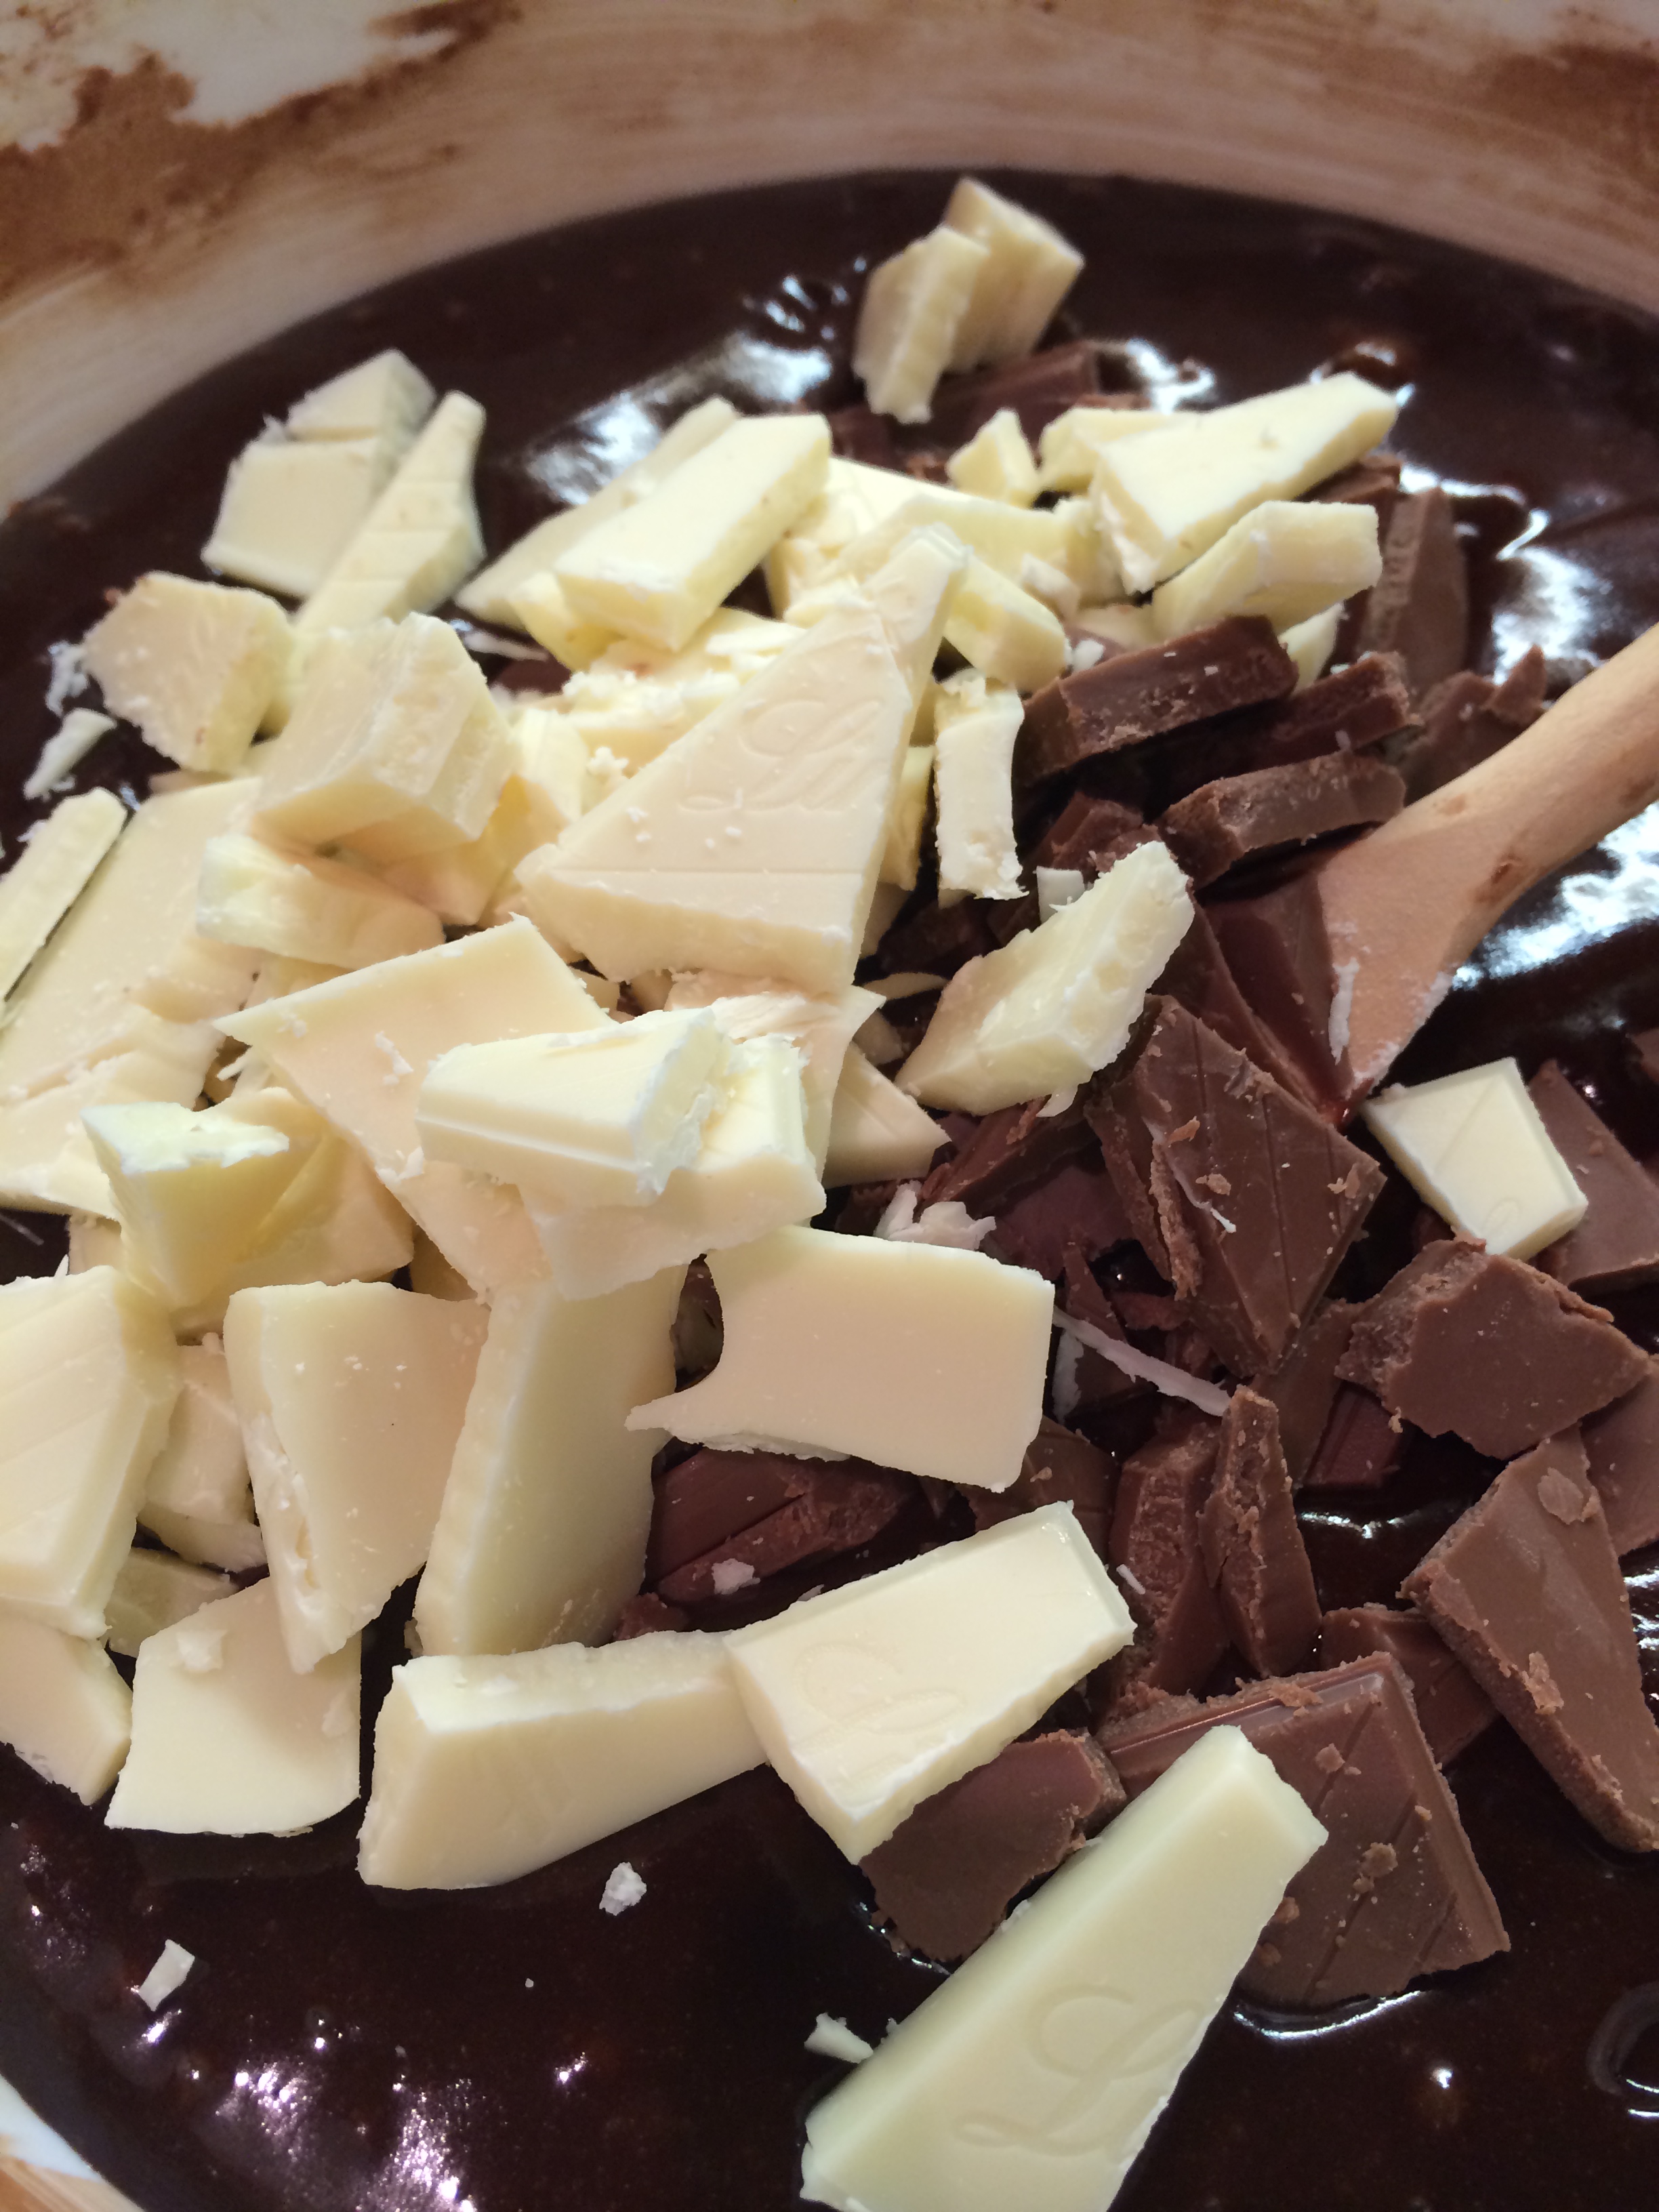
- For the chocolate glaze, I began by melting the butter, golden syrup and vanilla extract in a pan (didn’t use any rum of course!).
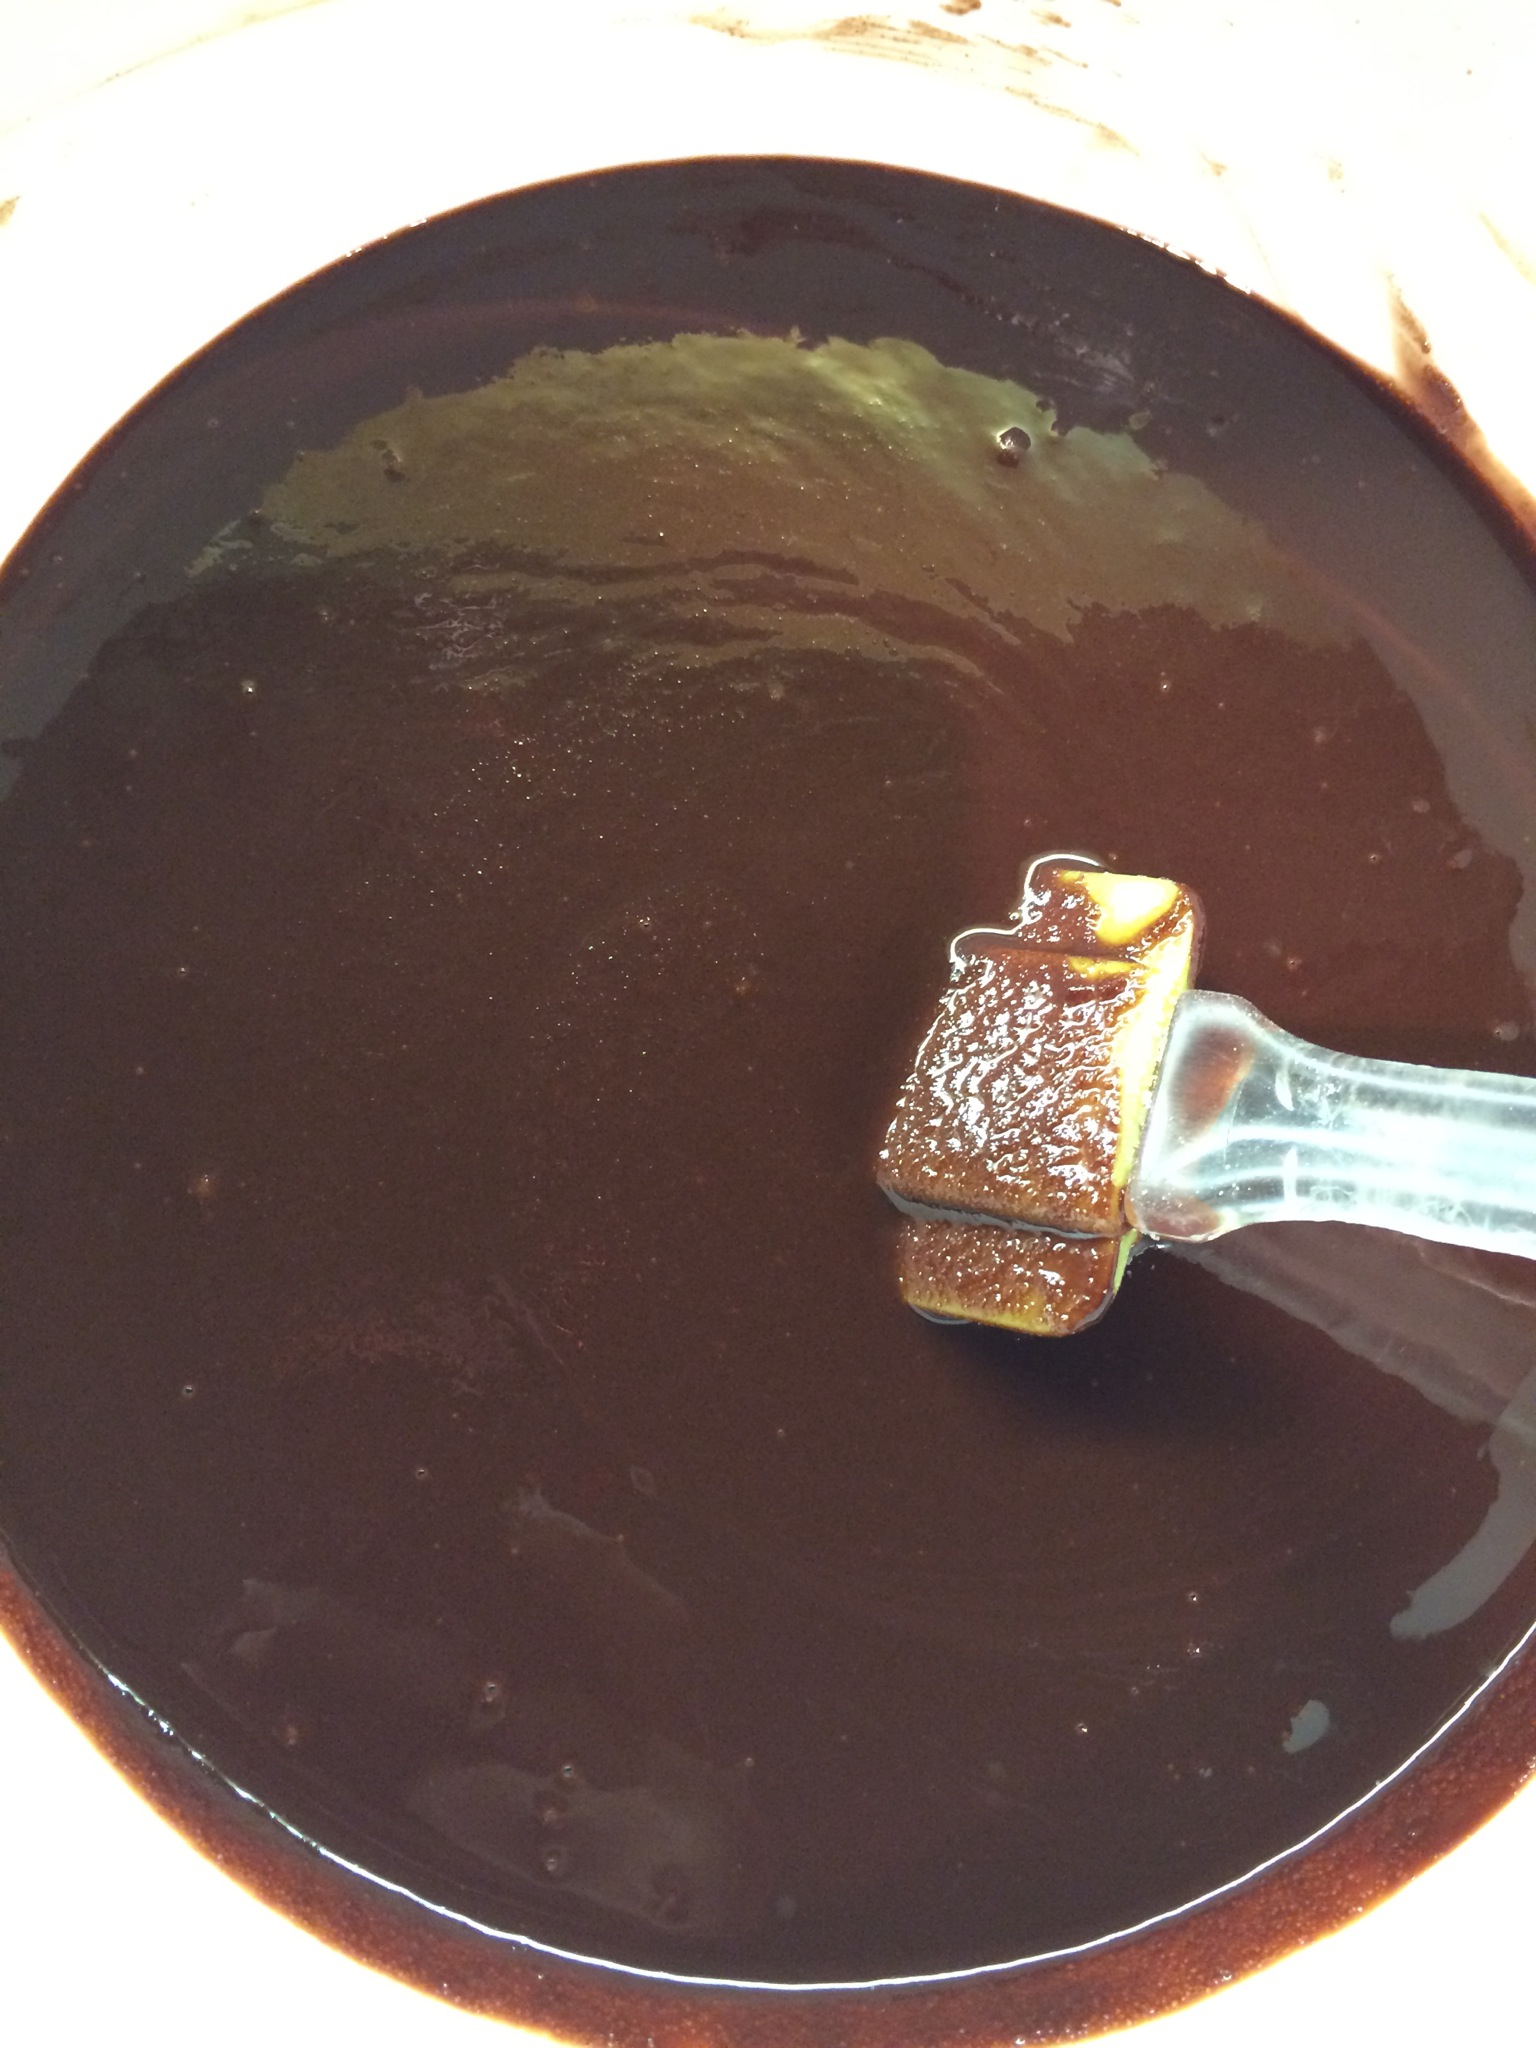
 After the mixture incorporated together, I finely chopped the chocolate (I couldn’t find chocolate that was 36% cocoa solids and so went with 70%, but in hindsight, maybe I should have used milk chocolate!) and after the syrup mixture cooled a little I added the chocolate and stirred until it had melted. I then left the glaze to cool to a coating consistency.
- I made sure to place some parchment underneath the wire rack holding the cake before pouring the glaze over the cake.

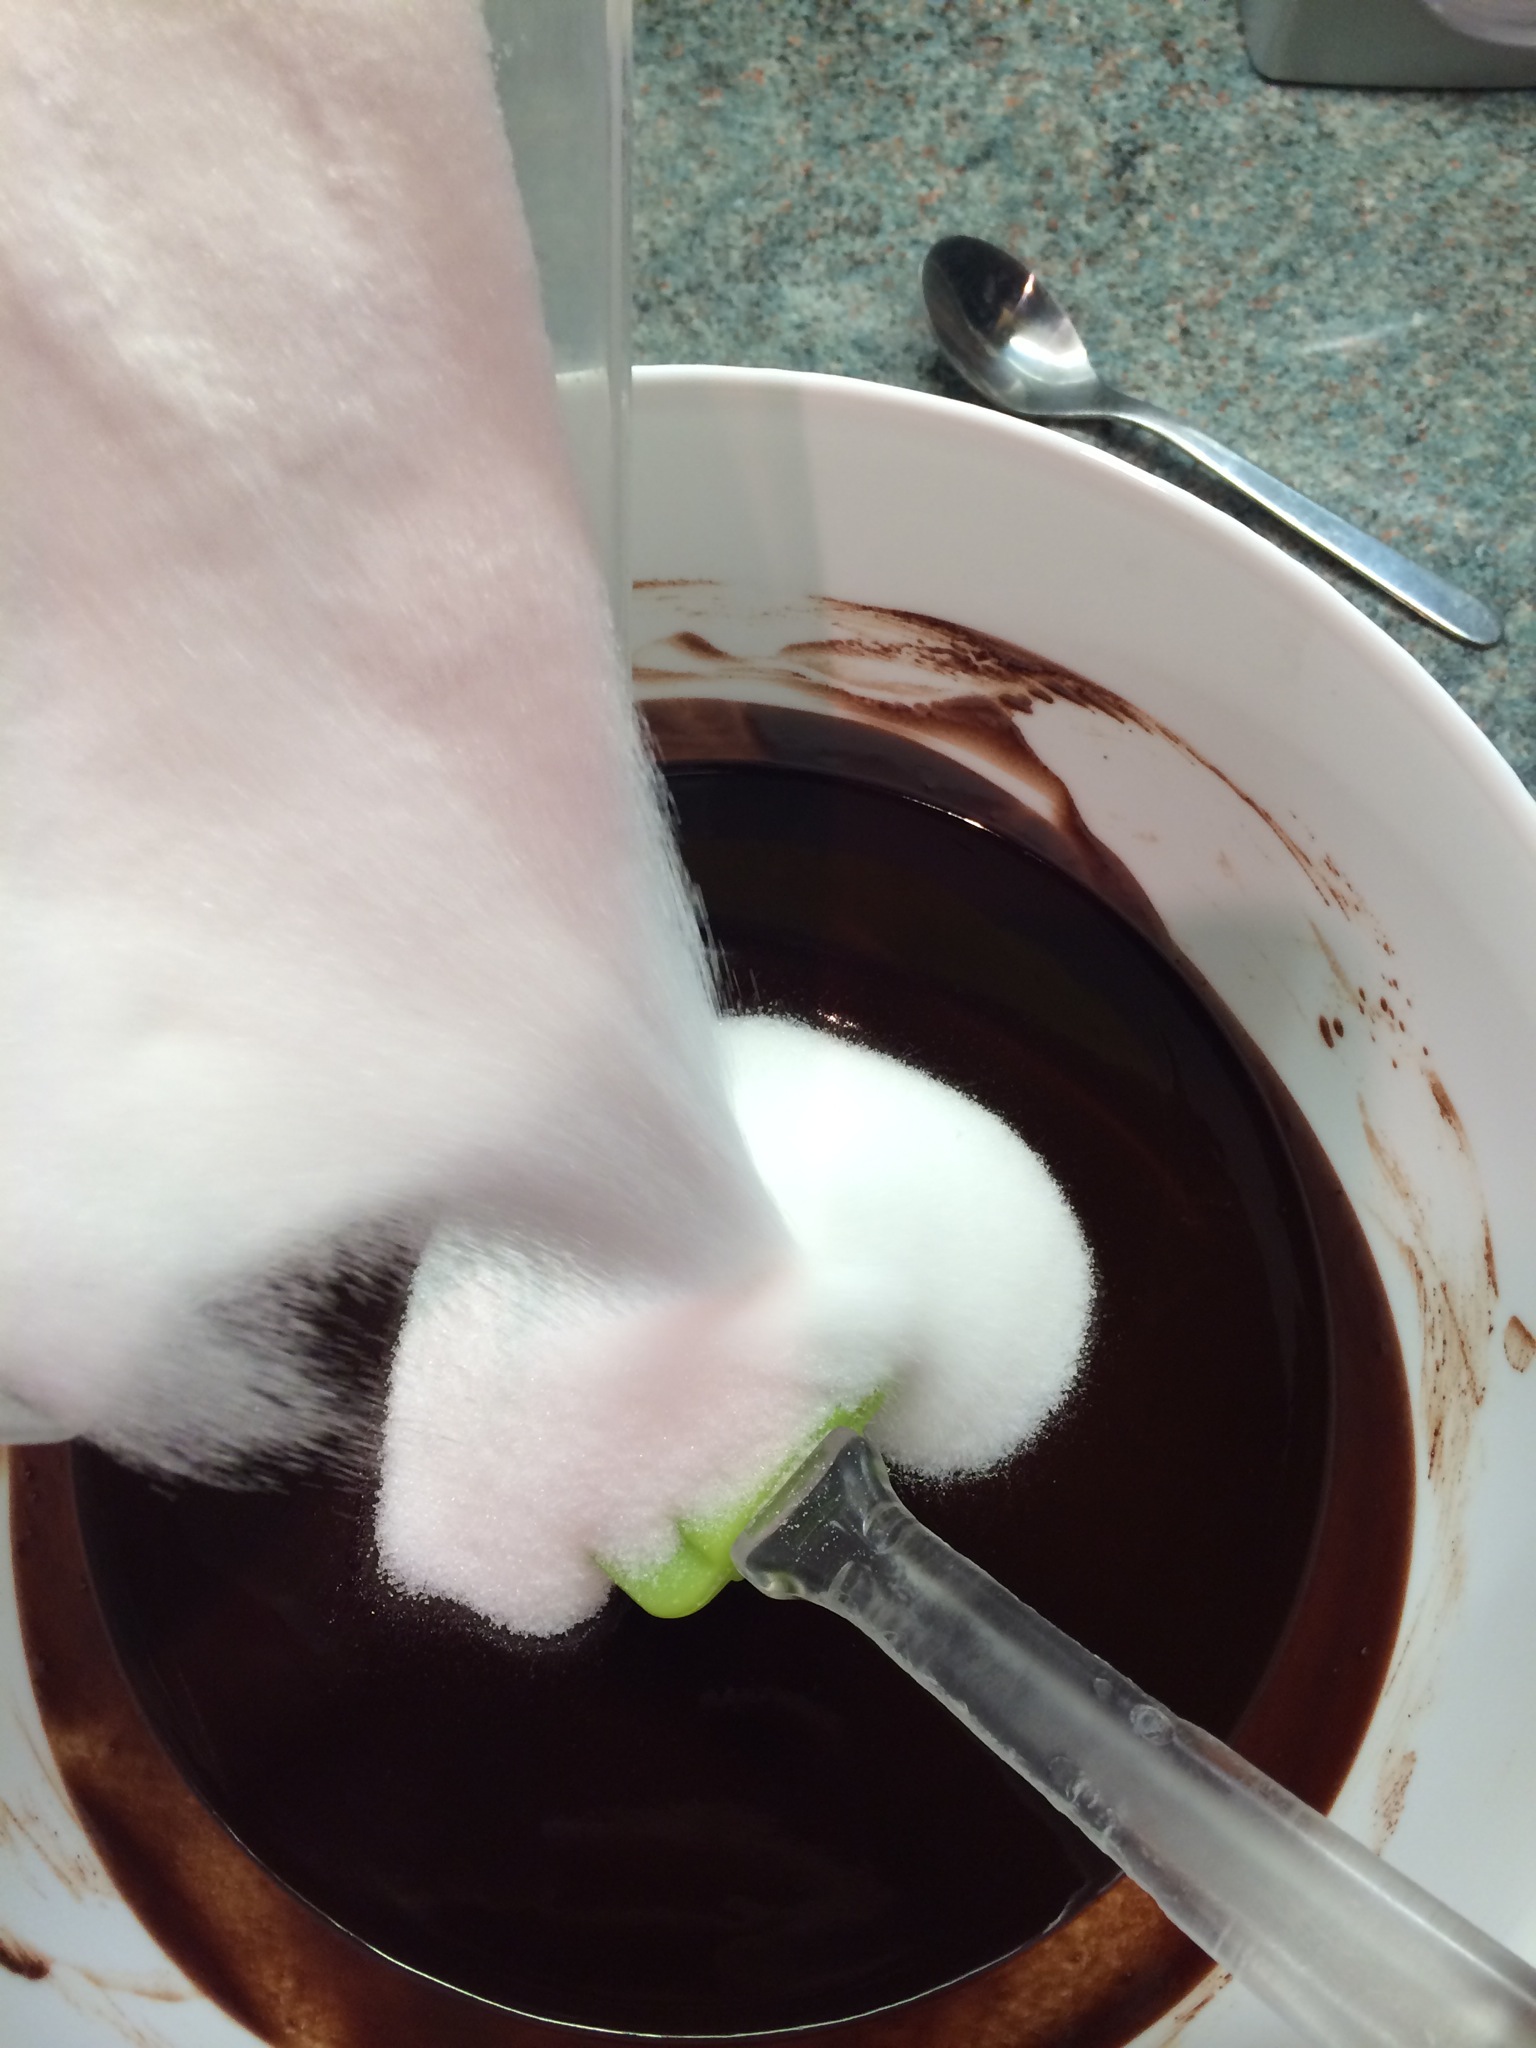
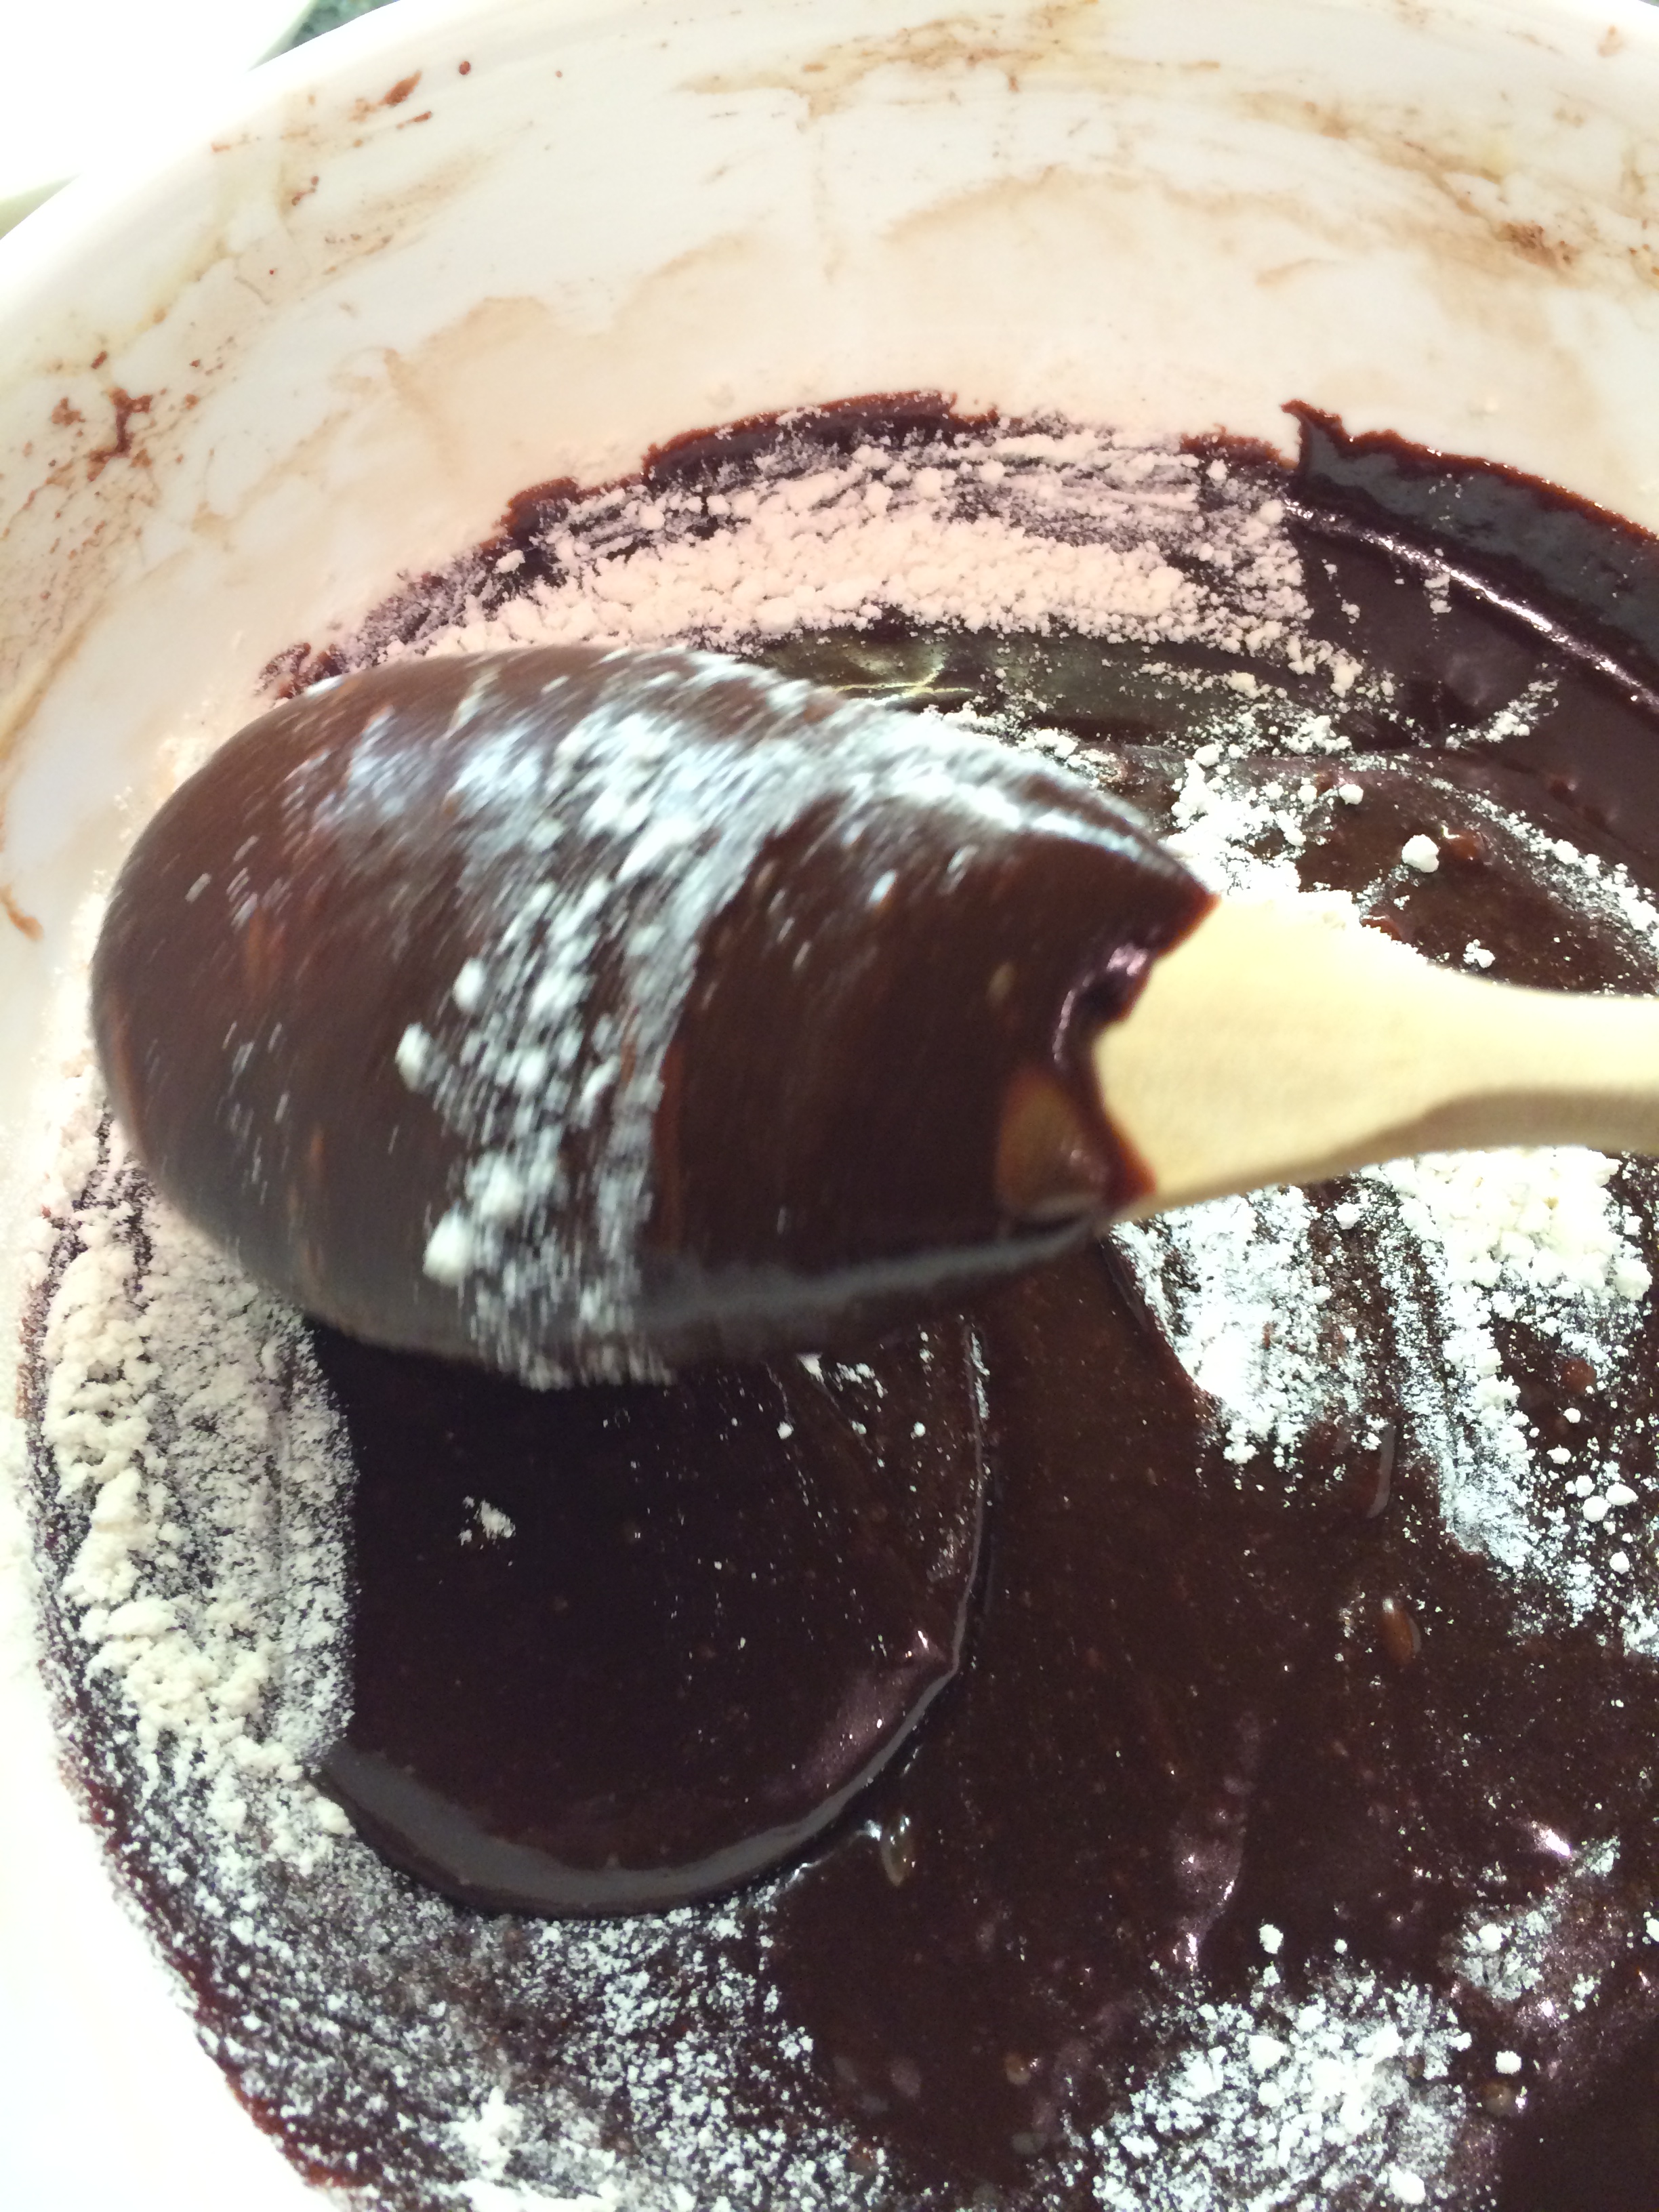
- For the vanilla glaze, I started by sifting the icing sugar into the bowl to which I added the vanilla extract and milk (no rum) and began stirring until smooth. (For some reason I couldn’t get the glaze to thicken enough and in the end I was so hot, bothered and tired that I gave up and just used it.)
- I then went a bit nuts with the drizzle, and because it hadn’t thickened enough, it sort of spread a bit too much…

So, all in all I was quite disappointed by the end result, especially when I finally tasted it. IT WAS SO DRY. Oh, I wanted to cry, all that effort! No need to eat your heart out just yet Paul Hollywood! I think next time, I’ll stick to something a little less ambitious!
Have you ever tried something as ambitious as this cake and how did it turn out? Let me know in the comments below!
Until next time! x